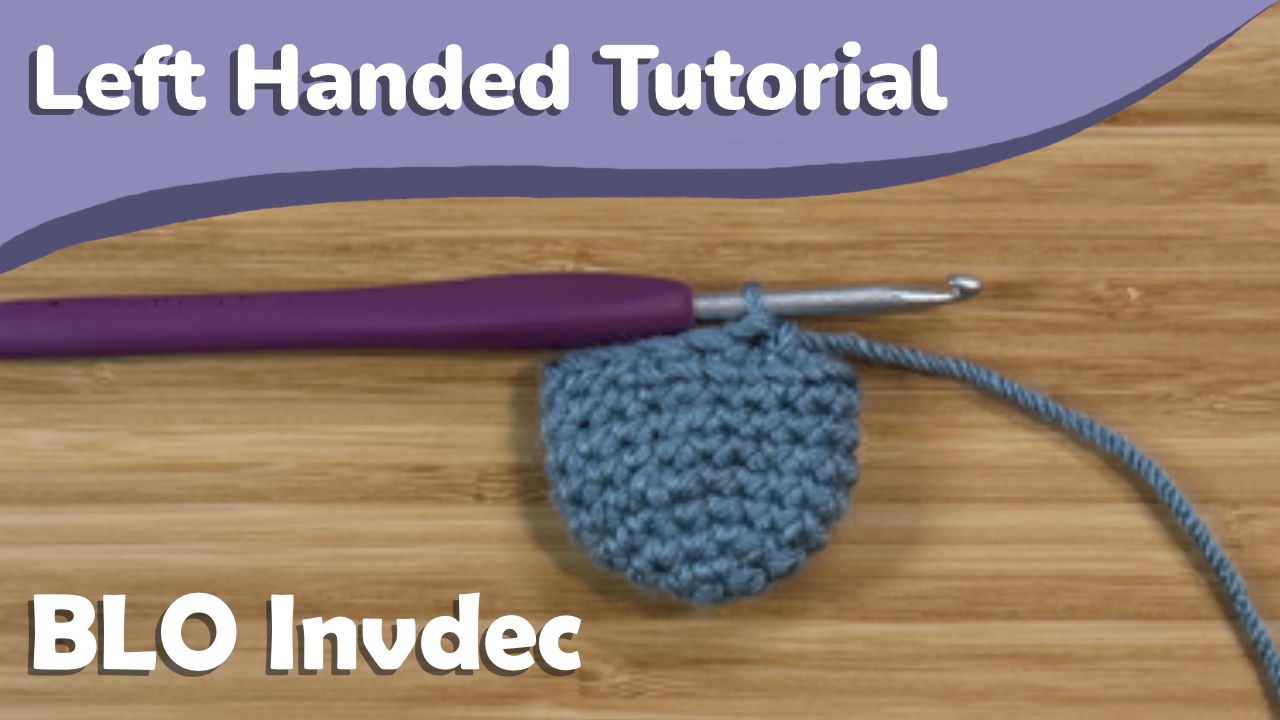
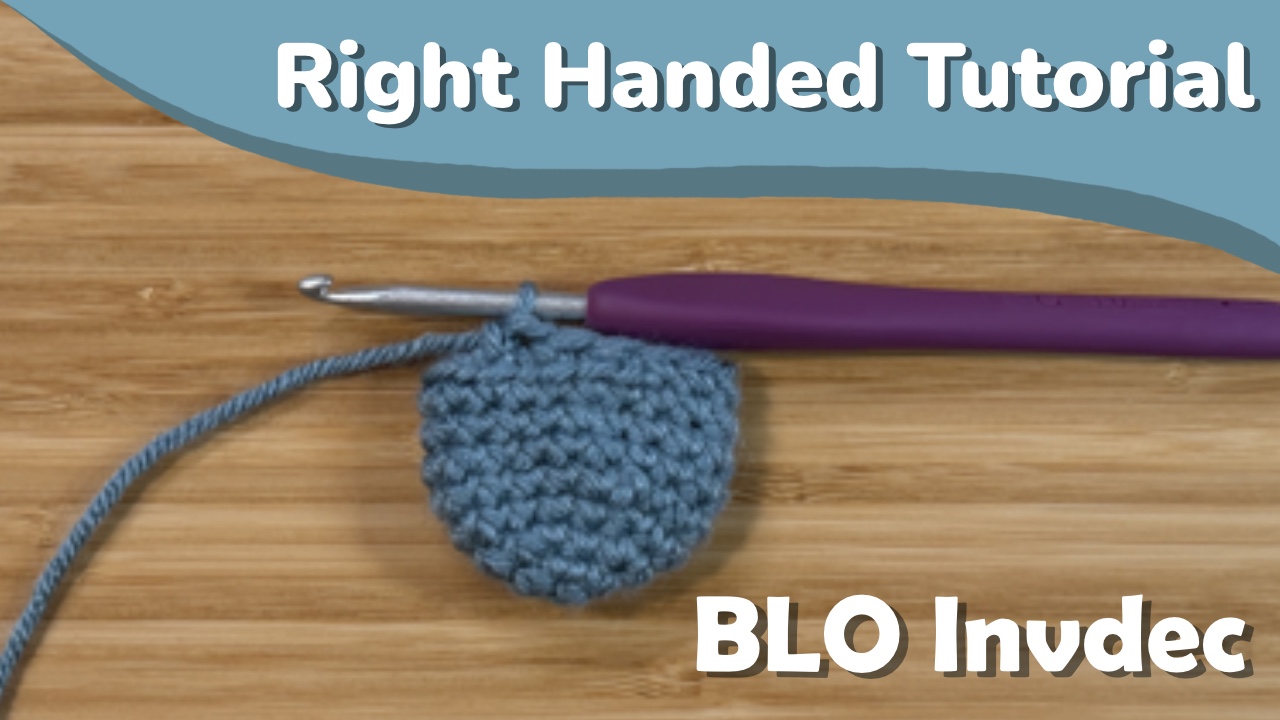
Invisible decreases are, in my opinion, an essential tool for amigurumi or any other crochet project worked in continuous rounds. However, they don’t work when you need to decrease in the back loops of a round. This post will walk you through how I do an invisible decrease in the back loops.
As with all my other tutorials, this is available in multiple formats, as well as in left and right handed versions. If you’re right handed, you can check out that tutorial here, or if you prefer a video tutorial, check that out here.
Using the Stitch
This is not a technique I use often, but it still absolutely has its place. I use this when I’m working a round either partially or entirely in the back loops, but also need some decreases in the same round. This allows me to keep that decrease as invisible as possible and keep the front loops out of the equation.
Stitch Structure
In a traditional invisible decrease, we can just go through the front loops of the next 2 (or however many) stitches. This works because the first loop overlaps the second (which overlaps the third, and so on). It’s really easy to maneuver these loops to go through both at once.
This isn’t as much the case for the back loops. The first loop is under the second when we look at it from the front.
This requires us to take a different approach when trying to do an invisible style decrease through the back loops.
Making the Stitch
Since the first loop is under the second loop, we want to start by inserting our hook into the second loop.
Now, we’re going to go back to work into the first loop. This can be tricky, and is absolutely more difficult than a traditional invisible decrease.
We then finish the stitch as normal. Pull up a loop through the stitches your hook is in.
Yarn over, and pull through both loops on your hook.
And that’s an invisible decrease through the back loops! You can absolutely decrease more than just 2 stitches with this, although the more stitches you decrease, the trickier it will be. Just start in the final stitch of your decrease, and work your way backward through the loops.
Invisible decreases are, in my opinion, an essential tool for amigurumi or any other crochet project worked in continuous rounds. However, they don’t work when you need to decrease in the back loops of a round. This post will walk you through how I do an invisible decrease in the back loops.
As with all my other tutorials, this is available in multiple formats, as well as in left and right handed versions. If you’re left handed, you can check out that tutorial here, or if you prefer a video tutorial, check that out here.
Using the Stitch
This is not a technique I use often, but it still absolutely has its place. I use this when I’m working a round either partially or entirely in the back loops, but also need some decreases in the same round. This allows me to keep that decrease as invisible as possible and keep the front loops out of the equation.
Stitch Structure
In a traditional invisible decrease, we can just go through the front loops of the next 2 (or however many) stitches. This works because the first loop overlaps the second (which overlaps the third, and so on). It’s really easy to maneuver these loops to go through both at once.
This isn’t as much the case for the back loops. The first loop is under the second when we look at it from the front.
This requires us to take a different approach when trying to do an invisible style decrease through the back loops.
Making the Stitch
Since the first loop is under the second loop, we want to start by inserting our hook into the second loop.
Now, we’re going to go back to work into the first loop. This can be tricky, and is absolutely more difficult than a traditional invisible decrease.
We then finish the stitch as normal. Pull up a loop through the stitches your hook is in.
Yarn over, and pull through both loops on your hook.
And that’s an invisible decrease through the back loops! You can absolutely decrease more than just 2 stitches with this, although the more stitches you decrease, the trickier it will be. Just start in the final stitch of your decrease, and work your way backward through the loops.
I love a crochet tapestry. I think they’re so fun, and the shapes that single crochets create on the grid can add some fun texture to that base grid. HOWEVER, it does annoy me just a little bit that when using single crochets the stitches don’t quite line up in a perfect grid- if you do a 1×1 checkerboard, it’ll end up looking more like weird vertical lines. So I spent way too long with way too many stitches trying to figure out how to make the stitches line up in a grid, and this is the result!
Overview
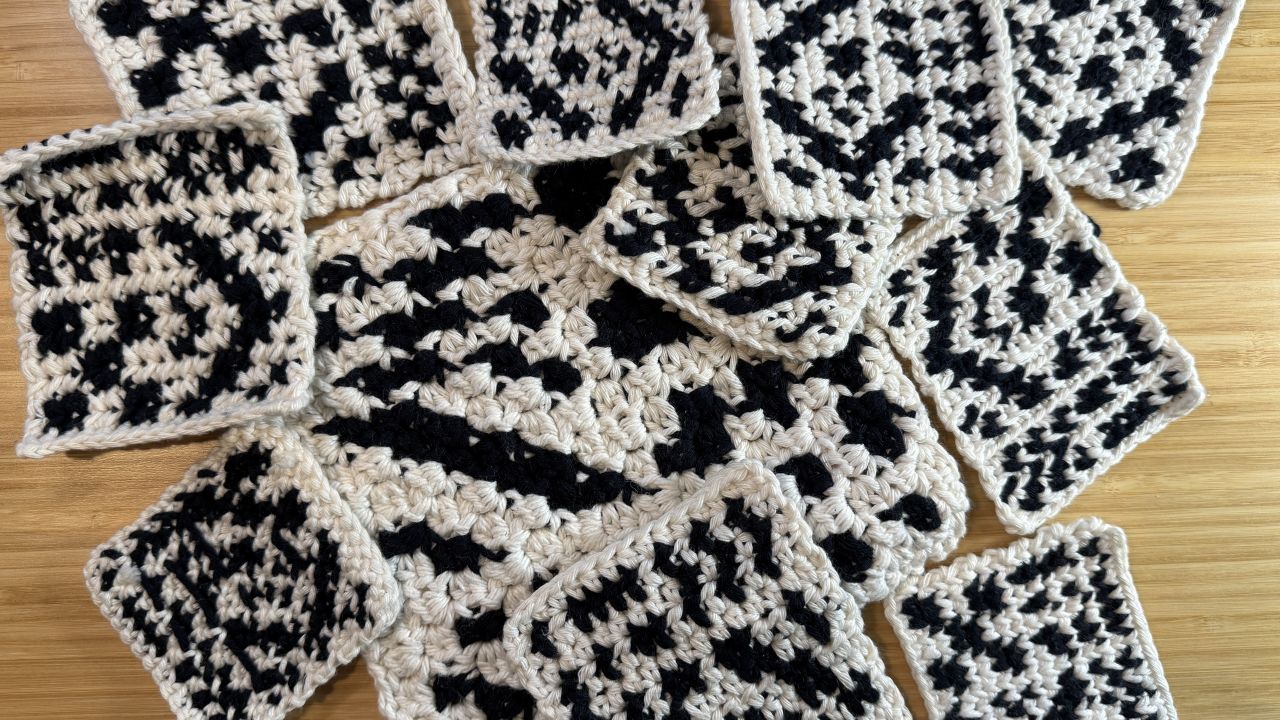
I’ve crocheted the grid below using 11 different crochet stitches to see how it works up with each of them.
The main section I’m looking at for clarity of the grid is that 1×1 checkerboard in the upper right. Using a single crochet (as is standard for tapestries) doesn’t allow this checkerboard to come in clearly, so I wanted to see which stitches, if any, would allow it to do so.
Each stitch has a rating based on how difficult the stitch is to do, a little on my thoughts on the stitch, and then a list of pros and cons for each stitch.
These stitches don’t really work, but it’s still fun to see what they look like!
Yarn Over Slip Stitch
Difficulty: 3/5. Working through the yarn over is difficult.
Yarn over slip stitch is a pain to work, but it does create these funky horizontal ridges in the tapestry, which are pretty fun.
You do lose quite a bit of clarity with this stitch. A lot of the pixels turn into small color blobs, which isn’t what I’m looking for here.
Pros:
The ridges are kinda fun I guess
Cons:
It’s really difficult to work through the yarn over
The image is not clear
BLO/FLO single crochet
Difficulty: 2/5
I really expected this one to keep clarity between the rows! And it kind of does! But mostly it gets a little bit too vertically stretched, and doesn’t quite work.
Pros:
Easy to do
Cons:
Not square 🙁
Half Double Crochet
Difficulty: 1/5
Half double crochet is actually used in some tapestry clothing since it has a bit more flow than single crochet. The thing is, it’s still not square, so when testing this stitch based on a square grid, it kinda fails. It does still look nice, so if your pattern is designed for hdc stitches it should work out fine!
Pros:
Extremely easy to do
Works well for garments!
Cons:
Taller than square
Single Crochet (and variations)
I’ve made 4 different tests using a single crochet stitch. Traditional single crochets are worked using yarn overs, but I’ve tested this using a yarn under single crochet, as well as mirrored single crochets (more on that later!)
Single Crochet (yarn over)
Difficulty: 1/5
This is the traditional single crochet, and the stitch used in most crochet tapestries.
The major thing I notice with this stitch is the fact that stitches aren’t perfectly aligned with the grid. This is most obvious in the 1×1 checkerboard in the upper right, but is also notable in the rightward chevron. The lower portion of the chevron is fairly smooth, but the upper portion is more jagged.
Pros:
Traditional tapestry stitch- patterns are designed for this stitch
Intuitive
Stitch is mostly square
Cons:
Not aligned- staggered checkerboard
Single Crochet (yarn over, mirrored)
Difficulty: 3/5 if unfamiliar with mirroring, 2/5 with practice
Mirror crochet is what I call it when I work from the back of my work on wrong side rows in order to put the fronts of my stitches all on the same side. It’s essentially working wrong side rows using your non-dominant hand, but it can be done without changing the hand you hold your hook in. You can also think of it like how when you knit in rows, you purl the wrong side rows to keep the v’s of the stitches on the right side of your work. I have a tutorial on this stitch in particular in both left handed and right handed formats.
This stitch gets rid of the “bars” that exist on the back of single crochets, making the front of the tapestry exclusively the “v’s” of a single crochet.
Pros:
Slightly cleaner than normal single crochet
Cons:
Mirror stitches are difficult if you’re not used to them
Almost not worth the extra effort to mirror, since it looks similar to normal single crochet
Single crochet (yarn under)
Difficulty: 1/5
This is a yarn under single crochet- instead of yarning over, you do a yarn under or hook over to grab your yarn. This creates a tighter fabric, and I’ve seen it most often used in amigurumi. It’s also known as an x single crochet since the front v of the stitch crosses over itself, making an x.
Pros:
I feel that this lines up slightly better than a normal single crochet
Cons:
Barely more difficult than normal single crochet, just due to muscle memory
1×1 checkerboard is still misaligned
Single crochet (yarn under, mirrored)
Difficulty: 3/5 if unfamiliar with mirroring, 2/5 with practice
For this tapestry I mirrored every other row of my yarn under single crochets to get the fronts of the stitches all on the same side.
Pros:
Most of the pattern is clear
Cons:
The 1×1 checkerboard seemed to somehow get worse?
Single Crochet Grid Comparison
Since these four are all just variations on a single crochet stitch, they do look pretty similar to each other. I’ve laid them out in a grid below so you can compare yarn over and yarn under stitches, as well as normal or mirrored stitches.
Center Single Crochet
Difficulty: 3/5
This is kind of a modified waistcoat stitch- if you look up a waistcoat stitch tutorial it’ll likely tell you to work your stitches between each single crochet, but we want to go through the middle of each single crochet so they’re centered on each other. Waistcoat stitch makes more of a brick-like pattern, which could still be used for tapestries (if you’ve ever made non-alpha patterned friendship bracelets, those are often made in a similar pattern), but I’m focused on stitches that lie on a grid.
This stitch is very tight. Crochet is stiff as is, but center single crochet is even more so. I wouldn’t use this for anything you’re going to be wearing.
This stitch is also slightly shorter than square. You may be able to work your stitches a little taller to mitigate this, but it’s still something to note.
Using this stitch does keep everything on a grid, which is great news though! And that 1×1 checkerboard looks great!
Pros:
Can be worked without mirroring
Extremely tight- no gapping
Everything lines up really well
Cons:
Because this is so tight, it’s really hard to work into
Need to be really mindful to insert hook into stitches correctly
Shorter than square
Single Crochet Decrease
Difficulty: 4/5 if unfamiliar with mirroring, 3/5 with practice
This stitch makes a tapestry follow a grid pretty well! If you look at the upper right checkerboard, you can see that the black and white pixels align in that checkerboard pattern.
Stitches here are worked into the previous and last stitch, exactly the same way I’d do with pixel stitch.
It’s also pretty clear that color changes with this stitch aren’t nearly as clean as some other stitches. You can see white peeking through in a lot of the places that are supposed to be fully black.
I did make this one using a normal color changing method (pulling the last loop up using the new color), so there may be a different method that mitigates these color gaps.
This is also a stitch that has to be mirrored in order to work! If you don’t mirror your decreases it won’t come out right.
I do really like the texture this stitch creates- I think it’s fun while still keeping the grid!
Pros:
1×1 checkerboard lines up!
Fun texture
Cons:
Lots of peek through of other colors
Must be mirrored
Pixel Stitch
Difficulty: 5/5
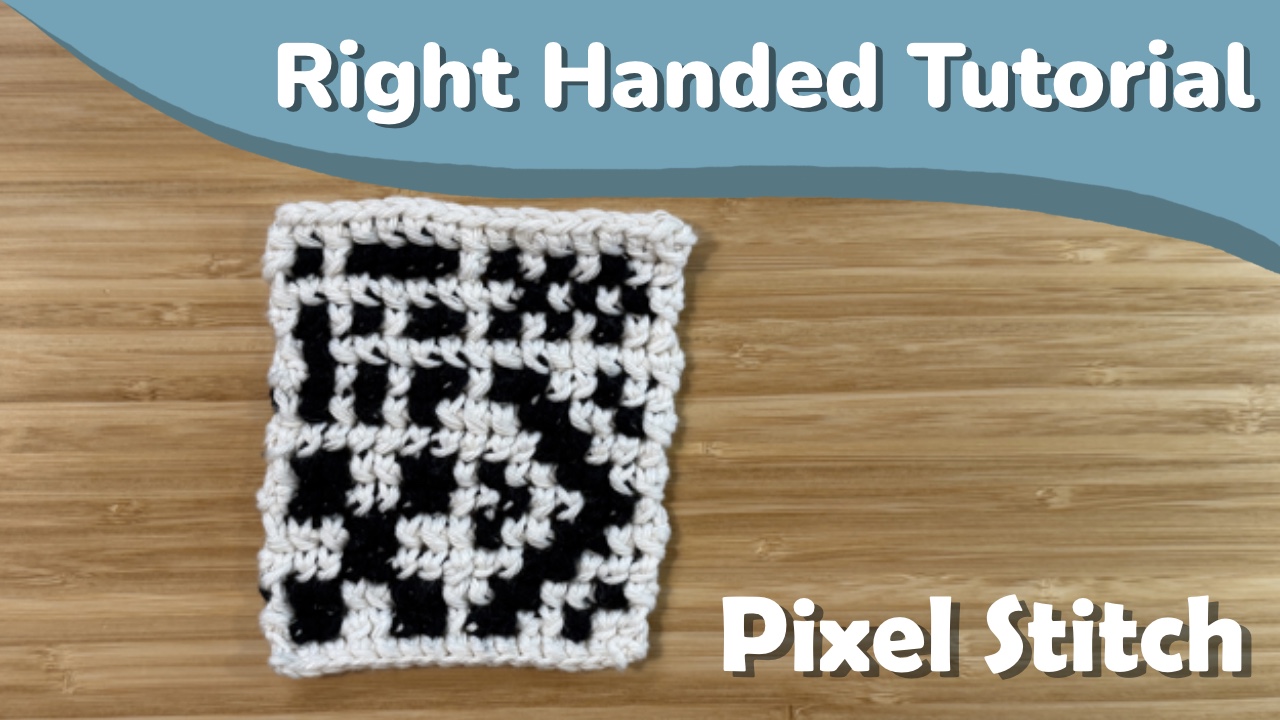
This stitch is by far the best at making a tapestry look like pixel art, but it’s also one of the hardest to use. I have a tutorial on this stitch in both left handed and right handed formats if you want to learn how to crochet it.
The 1×1 checkerboard is essentially PERFECT. There are quite a few points where one color peeks through the other, but they’re pretty minimal when looking at the tapestry at large.
The only downside, and it’s a very minimal one, is that this stitch is just barely taller than square. You can see that this tapestry, while based on a square grid, sits slightly rectangular, and it’s pretty stiff so you probably won’t be able to block it out to square.
Pros:
Stitch creates near perfect pixels
1×1 checkerboard has perfect alignment
Cons:
By far the hardest stitch to learn, partially due to mirroring
Color peeks through
Barely taller than square
Corner to Corner (hdc’s)
Difficulty: 2/5 if unfamiliar with graphghans, 1/5 with familiarity
I’m not super familiar with corner to corner (or c2c) crochet, but people often use it for graphghans. I decided to use hdc’s rather than dc’s to keep the pixels as small as I could, but even then it’s about four times bigger than any of my other swatches.
Since this is truly my first time making a c2c graph, my color changes are definitely not ideal. The chevron in the bottom right is the most glaring example of this, with the lower leg being really spotty. Other than that, the pixels tend to be pretty clear, and someone who’s well acquainted with c2c would likely have a clearer end product.
Pros:
Very common crochet technique, and relatively easy to learn
Creates clean squares!
Works well for smaller designs, especially if you want to blow them up larger
Cons:
Larger, takes up more yarn- this is roughly 4x the size of my other samples
Color peeks through. this could be due to my unfamiliarity with c2c crochet though, and not color changing properly.
Final notes
The stitches that create the best checkerboard and are the most accurate to the original grid are single crochet decreases, pixel stitch, and c2c crochet. When we look at just sc dec and pixel stitch, both of these are worked through two stitches, which is likely what centers these stitches on their grid, so it seems like if you want a stitch that completely follows a grid, you’ll want to work through two stitches at a time.
Most people (myself included!) are still going to want to stick with single crochets for tapestries since they’re by far the easiest stitch to work with, but I do think it’s fun to take a look at what other stitches or combinations are out there and what they look like in a tapestry setting.
I’ve also tried combining stitches in the same tapestry! The ducks below use pixel stitch for the black outlines, single crochet for the background, and single crochet decreases for all infill. The texture difference is definitely interesting, but the stitch height differences make it so the tapestry isn’t square, even after blocking.
These are also just a small selection of the stitches that might be useful for this. You could also make a tapestry not based on a grid at all, and use something like Suzette, lemon peel, or any other stitch combination to get some different texture behind your color work. That’s definitely a project for another time, but it WILL now haunt me until I try it.
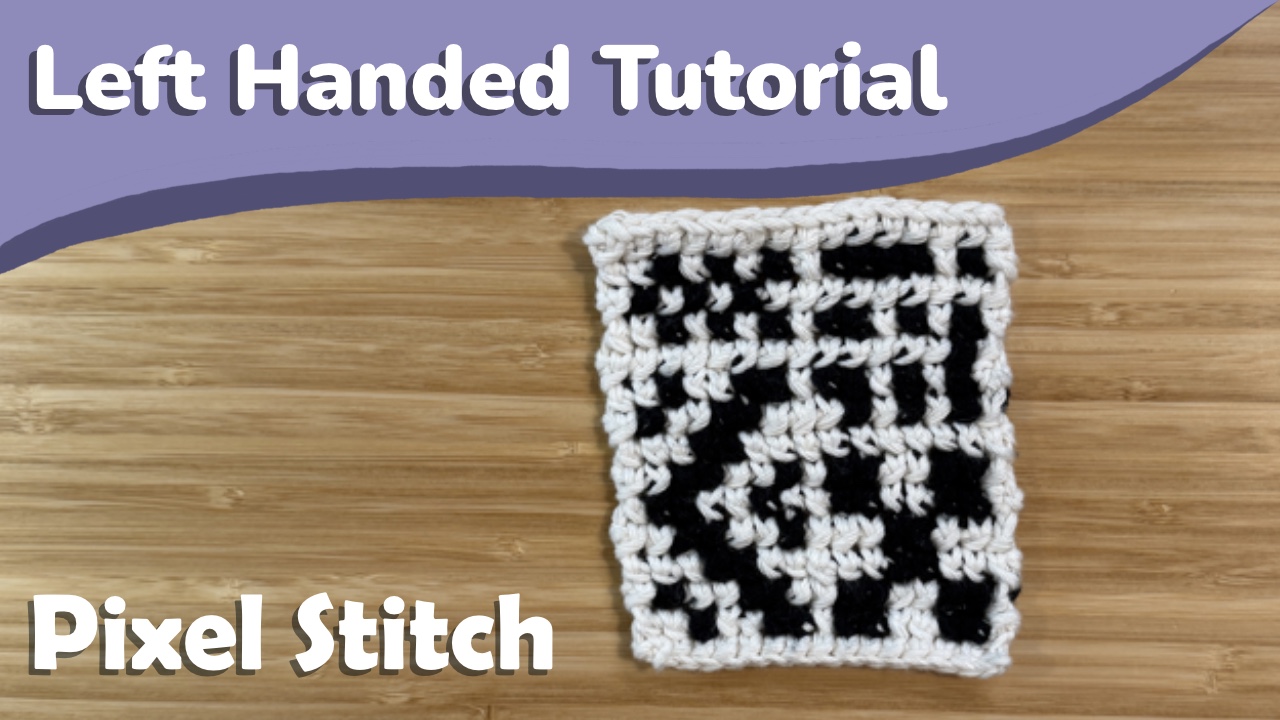
In this post I’ll be covering how to crochet what I call the pixel stitch. I came across a version of this stitch on Pinterest worked in the round, and modified it to be used mirrored in rows for crochet tapestries!
If you’re not familiar with the concept of mirror crochet, I’ve done a tutorial on a mirrored single crochet stitch that you can use to learn the concept. There may be other names for this idea, but what is essentially happening is you’re crocheting as if you were working with your non-dominant hand so the fronts of your stitches are all on the same side when working in rows. You can do this without changing which hand you hold your hook in by just going in through the back of your work on wrong side rows. I’ll show you exactly how to mirror this stitch in this post.
If you’re right handed, you can check out that tutorial here, or if you prefer a video tutorial, check that out here.
The Pixel Stitch
To begin with this stitch, you’re going to want to chain the number of stitches you want plus one. So if you want to work a row of 30 stitches, you’ll chain 31. You may want to size up your hook for this starting chain as well, since the first row tends to be a bit tighter than subsequent ones.
This stitch is worked through two stitches, similar to a decrease.
Working the first row
The first row is definitely one of the harder parts of this stitch. I’ll show you the setup, but if you’re having trouble with the stitch I recommend looking at the next section to see how the stitch is worked into existing rows- it might make it a bit easier to understand.
Make sure you keep track of the second chain from your hook. We’ll start by working around or under our starting chain to pull up a loop.
Now, go into the second chain from your hook and pull up a loop. You should have three loops on your hook at this point.
You’re now going to pull that loop you just pulled up through the middle loop on your hook.
Now, yarn over and pull through the remaining two loops on your hook.
That’s one stitch done! The starts of rows are the trickiest. To work the next stitch, you’re going to go back into the previous chain you worked into- the second chain from your hook. Pull up a loop.
Now, work into the next chain and pull a loop through this chain and the first loop on your hook.
Now yarn over and pull through both loops.
You’ll continue like this across the row- starting in the previous stitch you worked into before going into the next, unworked stitch.
Working at the start of a row
I make my first stitch also a pixel stitch worked around my starting chain and into the first stitch of my row. It’s a little tricky, but it works, and it’s what makes rows of pixel stitch a consistent length since this stitch is worked through two stitches!
This stitch has a chain one turning chain, so make sure you have that done before starting your row.
Now, you’re going to go around and behind this turning chain to pick up a loop. This is your “previous stitch” if you were working in the middle of a row.
Now go into the first stitch of your row and pull a loop through that stitch and the first loop on your hook.
Pull a loop through the two stitches on your hook.
That’s how I do the starts of my rows! It’s definitely a bit tricky, but it keeps everything looking consistent.
Working in the middle of a row
When working this stitch, you’ll be working into the previous and next stitch, just like we did into the starting chain with the first row. These stitches are marked on the image below.
Start by inserting your hook into the previous stitch and pulling up a loop.
Now insert your hook into the next stitch, and pull a loop through this stitch and the first loop on your hook.
Finish the stitch by pulling a loop through both loops on your hook.
That’s the stitch! You’ll always be working into the previous and the next stitch, so if you work in all stitches across the row, you’ll end up with one fewer stitch than the previous row. I make sure that I end with the same number of stitches as I started with by doing that modified stitch at the start of my rows.
Mirroring the Stitch (Wrong Side Rows)
When working the wrong side rows, we need to mirror the stitch to put the fronts on the same side. If this stitch isn’t mirrored, the pixels don’t work! You can find a tutorial on how to mirror a single crochet stitch here if you’re unfamiliar with the technique.
To mirror this stitch we’re going to be following a very similar process to mirroring a single crochet. Usually when you do a yarn over and pull the loop through your work, the mouth of your hook will turn towards you, or towards the front of your work. To mirror this, we’ll be inserting our hook through the back of our work and turning the mouth of the hook away from us.
Starting a mirrored row
The first stitch in our mirrored rows is worked similarly to the first stitches in our non-mirrored rows. I like to turn my work so that my working yarn is on the side of my work that’s facing me- it tends to make the first loop easier to grab in my experience.
Start by working around your turning chain to pull a loop to the back (right side) of your work. I don’t tend to worry as much about mirroring this loop properly since it’s already tricky to pull up a loop.
Now, insert your hook through the back of your next stitch.
Lay the yarn over your hook and turn the mouth of your hook away from you as you pull up a loop.
Pull that loop through the middle loop on your hook. I like to do this by turning the mouth of my hook towards me since it’s more natural.
Lay the yarn over your hook, and turn it away from you as you pull a loop through the last two stitches.
The middle of a mirrored row
Begin by inserting your hook in the previous stitch through the back of your work. Lay the yarn over your hook and turn your hook away from you to pull the loop through the stitch.
Repeat that for the next stitch. Insert your hook through the back of your work, lay the yarn over your hook, and turn it away from you as you pull it through.
Pull that second loop through the first one.
To finish the stitch, lay the yarn over your hook one more time, and turn your hook away from you to catch it and pull it through both loops on your hook.
And that’s how you mirror this stitch! You’ll be alternating mirrored and non-mirrored rows to ensure the fronts of your stitches are all on the same side.
Final notes
This stitch centers each row on top of the previous one, likely due to working in two stitches at once. This centering is most obvious when you compare a 1×1 checkerboard using single crochet and the pixel stitch (the upper right sections of the tapestries below).
If you look at the single crochet example, you can see that although the pattern was worked in a checkerboard, the resulting design seems more like zigzags.
The pixel stitch on the other hand actually shows the checkerboard that the stitches are actually worked in.
I color change with this stitch in the same way I would for any other stitch- by making the last loop you pull up in your new color. This does leave some peek through of other colors, so there might be a better way to color change that mitigates this, but I think this method still works pretty well!
These stitches are also slightly taller than square! It doesn’t tend to be super obvious, but it is something to note.
I hope you find this stitch useful in your tapestries or whatever else you use it for!
In this post I’ll be covering how to crochet what I call the pixel stitch. I came across a version of this stitch on Pinterest worked in the round, and modified it to be used mirrored in rows for crochet tapestries!
If you’re not familiar with the concept of mirror crochet, I’ve done a tutorial on a mirrored single crochet stitch that you can use to learn the concept. There may be other names for this idea, but what is essentially happening is you’re crocheting as if you were working with your non-dominant hand so the fronts of your stitches are all on the same side when working in rows. You can do this without changing which hand you hold your hook in by just going in through the back of your work on wrong side rows. I’ll show you exactly how to mirror this stitch in this post.
If you’re left handed, you can check out that tutorial here, or if you prefer a video tutorial, check that out here.
The Pixel Stitch
To begin with this stitch, you’re going to want to chain the number of stitches you want plus one. So if you want to work a row of 30 stitches, you’ll chain 31. You may want to size up your hook for this starting chain as well, since the first row tends to be a bit tighter than subsequent ones.
This stitch is worked through two stitches, similar to a decrease.
Working the first row
The first row is definitely one of the harder parts of this stitch. I’ll show you the setup, but if you’re having trouble with the stitch I recommend looking at the next section to see how the stitch is worked into existing rows- it might make it a bit easier to understand.
Make sure you keep track of the second chain from your hook. We’ll start by working around or under our starting chain to pull up a loop.
Now, go into the second chain from your hook and pull up a loop. You should have three loops on your hook at this point.
You’re now going to pull that loop you just pulled up through the middle loop on your hook.
Now, yarn over and pull through the remaining two loops on your hook.
That’s one stitch done! The starts of rows are the trickiest. To work the next stitch, you’re going to go back into the previous chain you worked into- the second chain from your hook. Pull up a loop.
Now, work into the next chain and pull a loop through this chain and the first loop on your hook.
Now yarn over and pull through both loops.
You’ll continue like this across the row- starting in the previous stitch you worked into before going into the next, unworked stitch.
Working at the start of a row
I make my first stitch also a pixel stitch worked around my starting chain and into the first stitch of my row. It’s a little tricky, but it works, and it’s what makes rows of pixel stitch a consistent length since this stitch is worked through two stitches!
This stitch has a chain one turning chain, so make sure you have that done before starting your row.
Now, you’re going to go around and behind this turning chain to pick up a loop. This is your “previous stitch” if you were working in the middle of a row.
Now go into the first stitch of your row and pull a loop through that stitch and the first loop on your hook.
Pull a loop through the two stitches on your hook.
That’s how I do the starts of my rows! It’s definitely a bit tricky, but it keeps everything looking consistent.
Working in the middle of a row
When working this stitch, you’ll be working into the previous and next stitch, just like we did into the starting chain with the first row. These stitches are marked on the image below.
Start by inserting your hook into the previous stitch and pulling up a loop.
Now insert your hook into the next stitch, and pull a loop through this stitch and the first loop on your hook.
Finish the stitch by pulling a loop through both loops on your hook.
That’s the stitch! You’ll always be working into the previous and the next stitch, so if you work in all stitches across the row, you’ll end up with one fewer stitch than the previous row. I make sure that I end with the same number of stitches as I started with by doing that modified stitch at the start of my rows.
Mirroring the Stitch (Wrong Side Rows)
When working the wrong side rows, we need to mirror the stitch to put the fronts on the same side. If this stitch isn’t mirrored, the pixels don’t work! You can find a tutorial on how to mirror a single crochet stitch here if you’re unfamiliar with the technique.
To mirror this stitch we’re going to be following a very similar process to mirroring a single crochet. Usually when you do a yarn over and pull the loop through your work, the mouth of your hook will turn towards you, or towards the front of your work. To mirror this, we’ll be inserting our hook through the back of our work and turning the mouth of the hook away from us.
Starting a mirrored row
The first stitch in our mirrored rows is worked similarly to the first stitches in our non-mirrored rows. I like to turn my work so that my working yarn is on the side of my work that’s facing me- it tends to make the first loop easier to grab in my experience.
Start by working around your turning chain to pull a loop to the back (right side) of your work. I don’t tend to worry as much about mirroring this loop properly since it’s already tricky to pull up a loop.
Now, insert your hook through the back of your next stitch.
Lay the yarn over your hook and turn the mouth of your hook away from you as you pull up a loop.
Pull that loop through the middle loop on your hook. I like to do this by turning the mouth of my hook towards me since it’s more natural.
Lay the yarn over your hook, and turn it away from you as you pull a loop through the last two stitches.
The middle of a mirrored row
Begin by inserting your hook in the previous stitch through the back of your work. Lay the yarn over your hook and turn your hook away from you to pull the loop through the stitch.
Repeat that for the next stitch. Insert your hook through the back of your work, lay the yarn over your hook, and turn it away from you as you pull it through.
Pull that second loop through the first one.
To finish the stitch, lay the yarn over your hook one more time, and turn your hook away from you to catch it and pull it through both loops on your hook.
And that’s how you mirror this stitch! You’ll be alternating mirrored and non-mirrored rows to ensure the fronts of your stitches are all on the same side.
Final notes
This stitch centers each row on top of the previous one, likely due to working in two stitches at once. This centering is most obvious when you compare a 1×1 checkerboard using single crochet and the pixel stitch (the upper right sections of the tapestries below).
If you look at the single crochet example, you can see that although the pattern was worked in a checkerboard, the resulting design seems more like zigzags.
The pixel stitch on the other hand actually shows the checkerboard that the stitches are actually worked in.
I color change with this stitch in the same way I would for any other stitch- by making the last loop you pull up in your new color. This does leave some peek through of other colors, so there might be a better way to color change that mitigates this, but I think this method still works pretty well!
These stitches are also slightly taller than square! It doesn’t tend to be super obvious, but it is something to note.
I hope you find this stitch useful in your tapestries or whatever else you use it for!
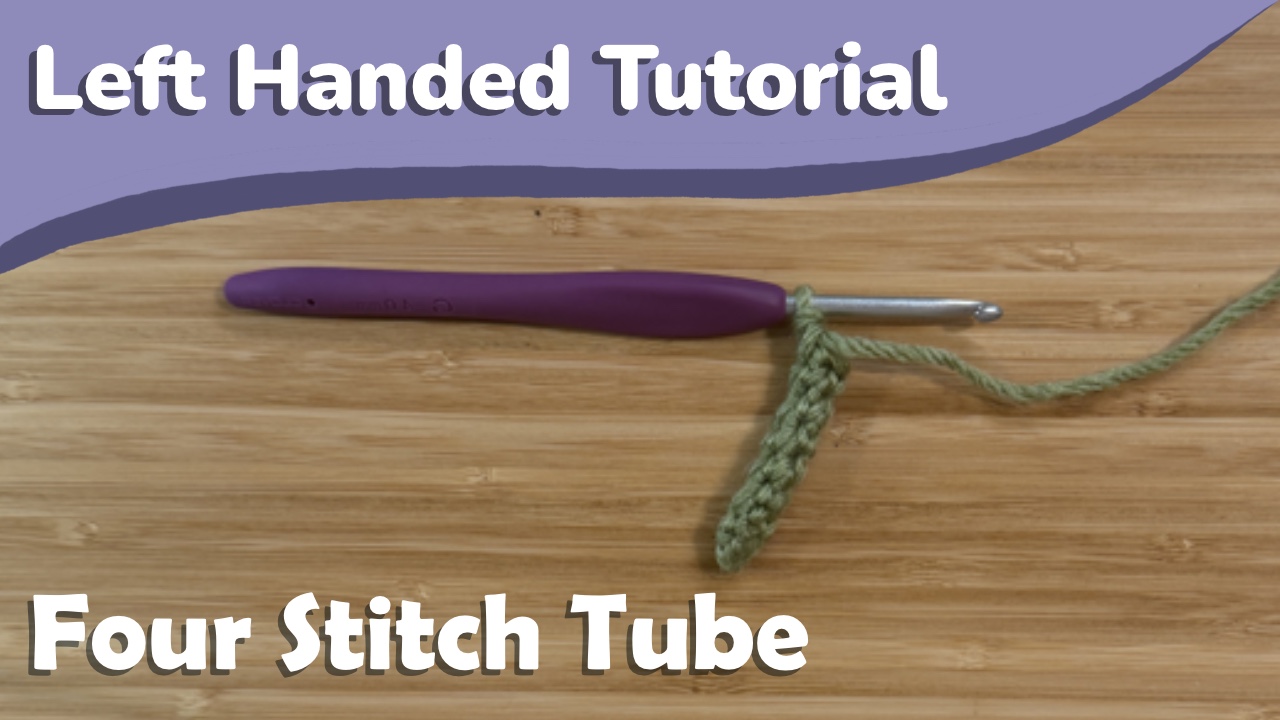
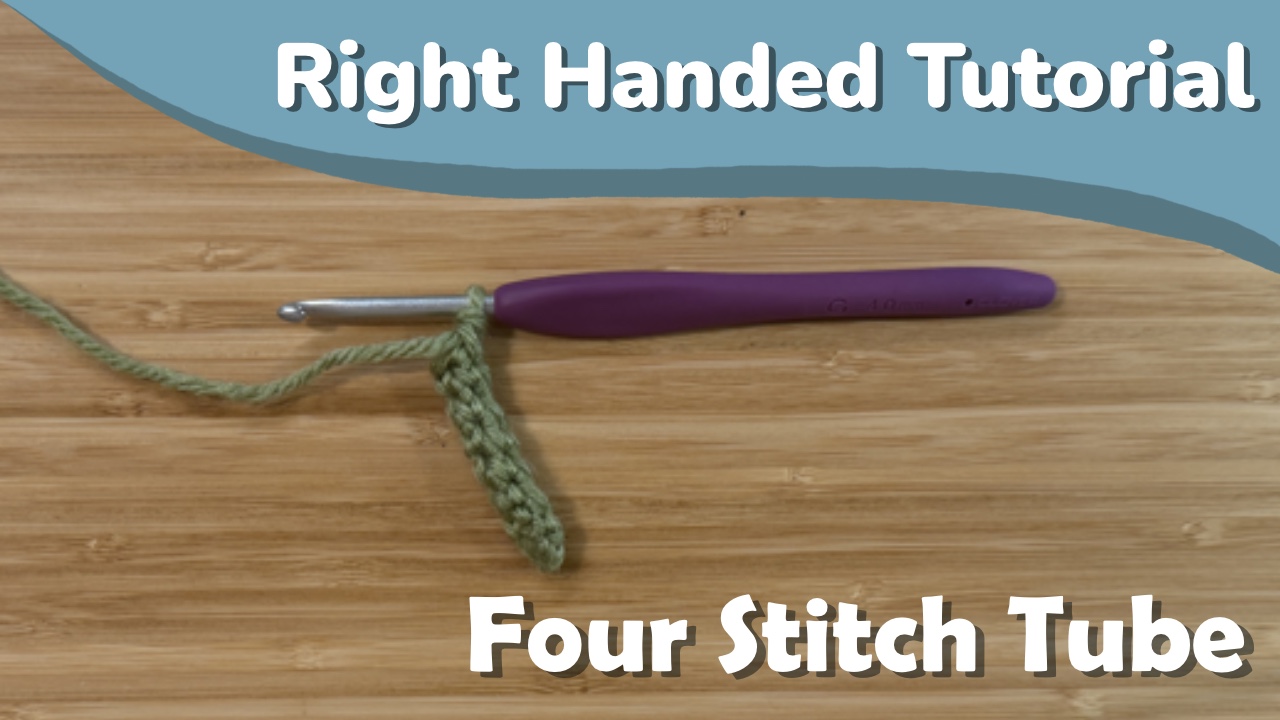
Sometimes I like to make crochet tubes for limbs or hair, but sometimes the tube that works best is four stitches around, and kind of a pain to make. In this post, I’ll show you how I work into a four stitch magic circle while ensuring that my work is flipped right side out.
If you’re right handed, you can find that tutorial here, or if you prefer a video tutorial you can check that out here.
Tutorial
Start by making a magic circle with four stitches.
I don’t put a stitch marker in yet since it tends to get in the way. Sc 3 in your second round.
Your tube will begin to form, but it’s likely to be inside out at this point. You can tell based on where the tail from your magic circle is- if the tail is on the outside of the tube, you’ve got your tube inside out
This is the point where I flip my piece right side out. I’ve found that 3 stitches is the sweet spot where I can still flip the tube right side out but not have it flip itself back the other way with the next stitches worked. This may be a bit tricky, so it could help to use your crochet hook or something similar to push the tube right side out.
The next stitch can be a bit tricky to find with how tight these rounds tend to be worked, but find it and work a final sc into that stitch.
From here on out you’re good to go! You can place your stitch marker in if you want, but I tend to just crochet until my tube is as long as I want it and not pay attention to round starts.
That’s all there is to it! I hope this helps you with any of your tiny tube needs!
Sometimes I like to make crochet tubes for limbs or hair, but sometimes the tube that works best is four stitches around, and kind of a pain to make. In this post, I’ll show you how I work into a four stitch magic circle while ensuring that my work is flipped right side out.
If you’re left handed, you can find that tutorial here, or if you prefer a video tutorial you can check that out here.
Tutorial
Start by making a magic circle with four stitches.
I don’t put a stitch marker in yet since it tends to get in the way. Sc 3 in your second round.
Your tube will begin to form, but it’s likely to be inside out at this point. You can tell based on where the tail from your magic circle is- if the tail is on the outside of the tube, you’ve got your tube inside out
This is the point where I flip my piece right side out. I’ve found that 3 stitches is the sweet spot where I can still flip the tube right side out but not have it flip itself back the other way with the next stitches worked. This may be a bit tricky, so it could help to use your crochet hook or something similar to push the tube right side out.
The next stitch can be a bit tricky to find with how tight these rounds tend to be worked, but find it and work a final sc into that stitch.
From here on out you’re good to go! You can place your stitch marker in if you want, but I tend to just crochet until my tube is as long as I want it and not pay attention to round starts.
That’s all there is to it! I hope this helps you with any of your tiny tube needs!
This is a technique I’ve used for years to add built-in joints to my crochet designs. You don’t have to cut and reattach your yarn at all, which is a bonus! Everything is worked as one continuous piece.
If you’re right handed, you can find that tutorial here, or if you prefer a video tutorial, you can check that out here.
This technique is definitely a little funky, but is super intuitive once you understand what’s going on. Make sure to pay close attention to the instructions, and refer to the video if you need to!
The Setup
There are three things you need to have or do to use this technique properly:
Even stitch count rounds
Start at the side of the limb
Face the back of the joint
I’ve also only used this technique when working a limb bottom up (so working from hand to shoulder, or from foot to hip), but there shouldn’t be any issue with this technique being used for a top down limb.
In the following examples, I’ll be using a leg and foot to make it clearer what parts of the limb should be facing towards or away from you.
Even stitch count rounds
In order to use this technique, you must have an even number of stitches in your round. We’re going to be pinching the joint shut by crocheting through two stitches at once, one in the back of the limb, and one in the front. Since these stitches get paired, we need an even number to work this properly!
It’s likely possible to do this with an odd number of stitches in your round, but it’s definitely easier to do if your stitch count is even.
Start at the side of the limb
You’re going to want to make sure that when you pinch your round shut, the last stitch you worked is at the end of your pinch point. Correct and incorrect examples of this are shown below.
You may have to add or remove stitches from your limb in order to start in the proper position.
Face the back of the joint
Before starting, make sure you’re facing the back of the joint. You want to be working facing the part of the joint that will be compressed when bent. For legs, this means facing the back of the leg, and for arms, this means facing the front of the arm.
The joints created through this technique like to bend one way more than the other. Making sure you’re starting at the back of the joint, in the compressing section, ensures that your joint bends in the correct direction!
Creating the joint
Set yourself up for your joint using the setup tips above. Also, make sure to stuff your limb before starting- we’re crocheting this part shut, so you won’t be able to add stuffing later!
I’m working a knee joint, so I’m going to start at the side of the leg, with my next stitches going into the back of the leg.
I’ll also be placing a stitch marker in the front loop of the last stitch I worked, which will help us later.
1. Slip stitch across in the back loops
We’ll be closing the limb by slip stitching through pairs of stitches in their back loops. These stitches are paired up by being adjacent when the round is pinched shut
Begin by inserting your hook into the back loop of the next stitch.
Now, insert your hook through the back loop of the last stitch of your round- this is the stitch I marked earlier. Go through this loop back to front.
Slip stitch through both of these stitches. That’s our first pair connected!
Continue this process for all subsequent pairs of stitches, closing up the round. In the image below, you can see lines marking how my stitches are paired for the rest of this step.
You’ll go through the back loop in the next stitch facing you, then the back loop of the next stitch facing away from you.
In total, you’ll have slip stitched half the total stitch count of your round- there were 10 stitches in my round, so I had 5 total slip stitches.
2. Single crochet in the front loops
Now we build our round back up around this seam. There are a couple ways to figure out where your first single crochet should be.
The easiest is to use the stitch marker and count back half your stitches in the round. For my round of 10, I’m starting with the stitch that’s marked and counting back 5 stitches. This locates the last stitch you worked into with your slip stitches, and is where we want to work.
Once you find that stitch, work a single crochet into it. Continue working single crochets in the leftover front loops all the way around the limb. You’ll have the same number of stitches in your round as you had before working the joint.
You can now continue the limb by working in continuous rounds!
Final thoughts
The major thing to note with this technique is it puts the starts of your rounds 180 degrees away from where they were before you worked the joint. This means that you may not be able to incorporate this technique into existing patterns like you can with the layered rounds technique.
This is a technique I’ve used for years to add built-in joints to my crochet designs. You don’t have to cut and reattach your yarn at all, which is a bonus! Everything is worked as one continuous piece.
If you’re left handed, you can find that tutorial here, or if you prefer a video tutorial, you can check that out here.
This technique is definitely a little funky, but is super intuitive once you understand what’s going on. Make sure to pay close attention to the instructions, and refer to the video if you need to!
The Setup
There are three things you need to have or do to use this technique properly:
Even stitch count rounds
Start at the side of the limb
Face the back of the joint
I’ve also only used this technique when working a limb bottom up (so working from hand to shoulder, or from foot to hip), but there shouldn’t be any issue with this technique being used for a top down limb.
In the following examples, I’ll be using a leg and foot to make it clearer what parts of the limb should be facing towards or away from you.
Even stitch count rounds
In order to use this technique, you must have an even number of stitches in your round. We’re going to be pinching the joint shut by crocheting through two stitches at once, one in the back of the limb, and one in the front. Since these stitches get paired, we need an even number to work this properly!
It’s likely possible to do this with an odd number of stitches in your round, but it’s definitely easier to do if your stitch count is even.
Start at the side of the limb
You’re going to want to make sure that when you pinch your round shut, the last stitch you worked is at the end of your pinch point. Correct and incorrect examples of this are shown below.
You may have to add or remove stitches from your limb in order to start in the proper position.
Face the back of the joint
Before starting, make sure you’re facing the back of the joint. You want to be working facing the part of the joint that will be compressed when bent. For legs, this means facing the back of the leg, and for arms, this means facing the front of the arm.
The joints created through this technique like to bend one way more than the other. Making sure you’re starting at the back of the joint, in the compressing section, ensures that your joint bends in the correct direction!
Creating the joint
Set yourself up for your joint using the setup tips above. Also, make sure to stuff your limb before starting- we’re crocheting this part shut, so you won’t be able to add stuffing later!
I’m working a knee joint, so I’m going to start at the side of the leg, with my next stitches going into the back of the leg.
I’ll also be placing a stitch marker in the front loop of the last stitch I worked, which will help us later.
1. Slip stitch across in the back loops
We’ll be closing the limb by slip stitching through pairs of stitches in their back loops. These stitches are paired up by being adjacent when the round is pinched shut
Begin by inserting your hook into the back loop of the next stitch.
Now, insert your hook through the back loop of the last stitch of your round- this is the stitch I marked earlier. Go through this loop back to front.
Slip stitch through both of these stitches. That’s our first pair connected!
Continue this process for all subsequent pairs of stitches, closing up the round. In the image below, you can see lines marking how my stitches are paired for the rest of this step.
You’ll go through the back loop in the next stitch facing you, then the back loop of the next stitch facing away from you.
In total, you’ll have slip stitched half the total stitch count of your round- there were 10 stitches in my round, so I had 5 total slip stitches.
2. Single crochet in the front loops
Now we build our round back up around this seam. There are a couple ways to figure out where your first single crochet should be.
The easiest is to use the stitch marker and count back half your stitches in the round. For my round of 10, I’m starting with the stitch that’s marked and counting back 5 stitches. This locates the last stitch you worked into with your slip stitches, and is where we want to work.
Once you find that stitch, work a single crochet into it. Continue working single crochets in the leftover front loops all the way around the limb. You’ll have the same number of stitches in your round as you had before working the joint.
You can now continue the limb by working in continuous rounds!
Final thoughts
The major thing to note with this technique is it puts the starts of your rounds 180 degrees away from where they were before you worked the joint. This means that you may not be able to incorporate this technique into existing patterns like you can with the layered rounds technique.
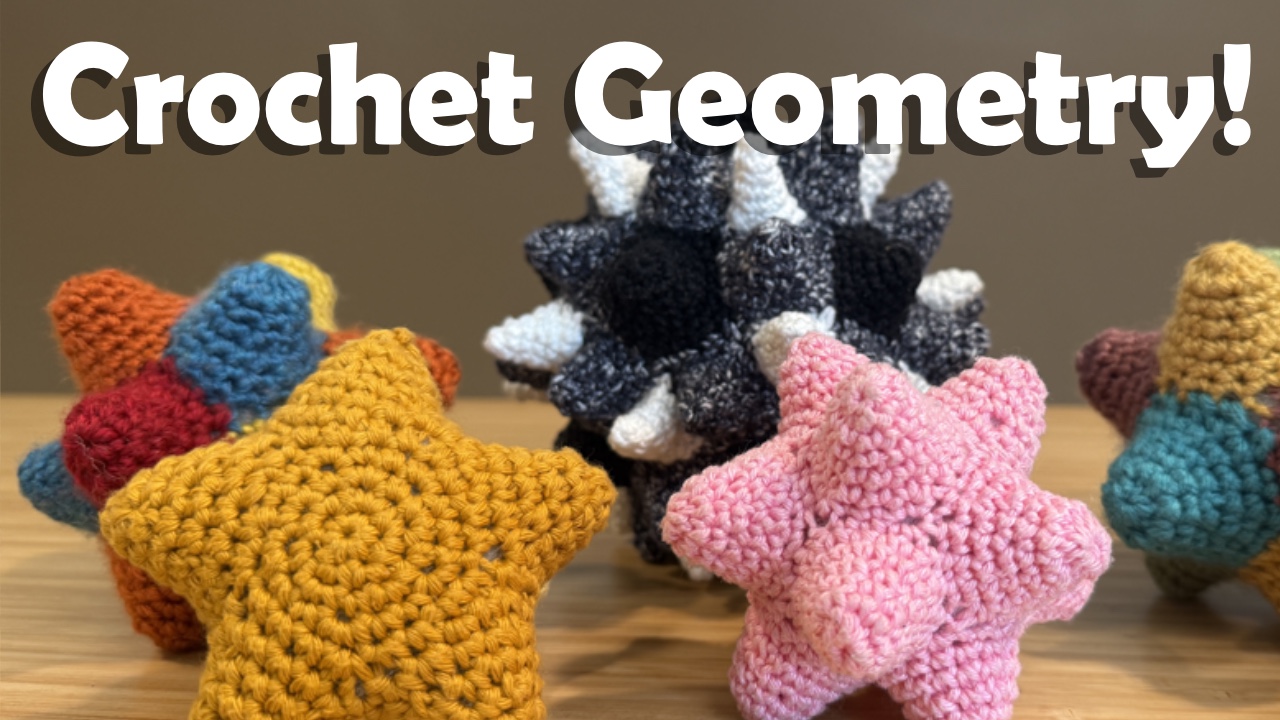
Over the past few months, I’ve been messing around with a technique that allows me to crochet spiky versions of geometric shapes. I’ve found this really fun to work with, and wanted to share the technique so that others can also experiment with it!
I’m not claiming to be the first person to make something like this- I found this Berocco pattern from this page on the MOMATH site after messing around with my own version for a bit. I just want to share my personal approach to this sort of thing in the chance others find it useful.
The crochet stitches used to create this are all pretty basic, but the application of them could get tricky if you aren’t comfortable with freehanding your crochet projects or otherwise not working from a pattern. I do my best to spell out every step you need to take here, but this truly is meant to be a crochet technique tutorial and not a pattern. I’ll be explaining the process using an example in this tutorial, but that example only covers one possible application and approach!
This is also a fairly mathematical technique! I’ve done my best to keep all the math as simple as possible for those of you who aren’t as into it as I am, but you will need some understanding of basic shapes and geometry terms here. I’ve split the math into two sections as well: the basic stuff you need to get started with this technique, and the more in depth math and other suggestions for those of you who want to really take this idea and run with it.
There is also a video version of this technique available here on my YouTube channel, if you feel you learn better through video.
If you’re sticking around with the post version of this tutorial, we’ll get started by talking about the stitches used for this technique!
Part 1: The Stitches
The stitches you need to know for this technique are single crochet (sc), foundation single crochet (fsc), and the invisible decrease (invdec). You can also do this technique using a traditional single crochet decrease, but seeing as we’re working in continuous rounds like we would with amigurumi, an invisible decrease is a little more useful here.
You’re also going to want to know how to use a foundation single crochet to work from existing stitches, and technically how to do a standing single crochet as well. If you don’t know what that is, it’s essentially a single crochet into an existing project with a slip knot of new yarn on your hook.
I’ve linked all the tutorials necessary below, in both right and left handed formats depending on your preference.
Before we get into the math, I want to do a quick overview of how this technique works so the next section makes a bit more sense. We’ll be creating a loop using fsc’s to make the perimeter of the faces of our shape. This serves as the first round of our spike, which we’ll work upwards towards the point. New spikes will be worked directly into the base of existing ones, and we’ll be using fsc’s to complete a ring going away and then back to this base, again tracing out the perimeter of the face.
When you’re ready, join me on the next page to get into the math of this technique!
Used to monitor number of Google Analytics server requests when using Google Tag Manager
1 minute
_gid
ID used to identify users for 24 hours after last activity
24 hours
_gac_
Contains information related to marketing campaigns of the user. These are shared with Google AdWords / Google Ads when the Google Ads and Google Analytics accounts are linked together.
90 days
_gali
Used by Google Analytics to determine which links on a page are being clicked
30 seconds
_ga
ID used to identify users
2 years
__utmx
Used to determine whether a user is included in an A / B or Multivariate test.
18 months
__utmv
Contains custom information set by the web developer via the _setCustomVar method in Google Analytics. This cookie is updated every time new data is sent to the Google Analytics server.
2 years after last activity
__utmz
Contains information about the traffic source or campaign that directed user to the website. The cookie is set when the GA.js javascript is loaded and updated when data is sent to the Google Anaytics server
6 months after last activity
__utmc
Used only with old Urchin versions of Google Analytics and not with GA.js. Was used to distinguish between new sessions and visits at the end of a session.
End of session (browser)
__utmb
Used to distinguish new sessions and visits. This cookie is set when the GA.js javascript library is loaded and there is no existing __utmb cookie. The cookie is updated every time data is sent to the Google Analytics server.
30 minutes after last activity
__utmt
Used to monitor number of Google Analytics server requests
10 minutes
__utma
ID used to identify users and sessions
2 years after last activity
SourceBuster is used by WooCommerce for order attribution based on user source.
Name
Description
Duration
sbjs_migrations
Technical data to help with migrations between different versions of the tracking feature
session
sbjs_current_add
Timestamp, referring URL, and entry page for your visitor’s current visit to your store
session
sbjs_first_add
Timestamp, referring URL, and entry page for your visitor’s first visit to your store (only applicable if the visitor returns before the session expires)
session
sbjs_current
Traffic origin information for the visitor’s current visit to your store
session
sbjs_first
Traffic origin information for the visitor’s first visit to your store (only applicable if the visitor returns before the session expires)
session
sbjs_udata
Information about the visitor’s user agent, such as IP, the browser, and the device type
session
sbjs_session
The number of page views in this session and the current page path