Blog

  • Mirrored Single Crochet – Left Handed

    Mirrored Single Crochet – Left Handed

    In this post, we’ll cover how to do a mirrored single crochet. This is a fairly niche technique that allows us to crochet as if we were using our non-dominant hand without learning to crochet right-handed. That said, this can be really awkward to do at first, but is incredibly useful when switching between working in continuous rounds and working in rows to mitigate the texture difference between the two.

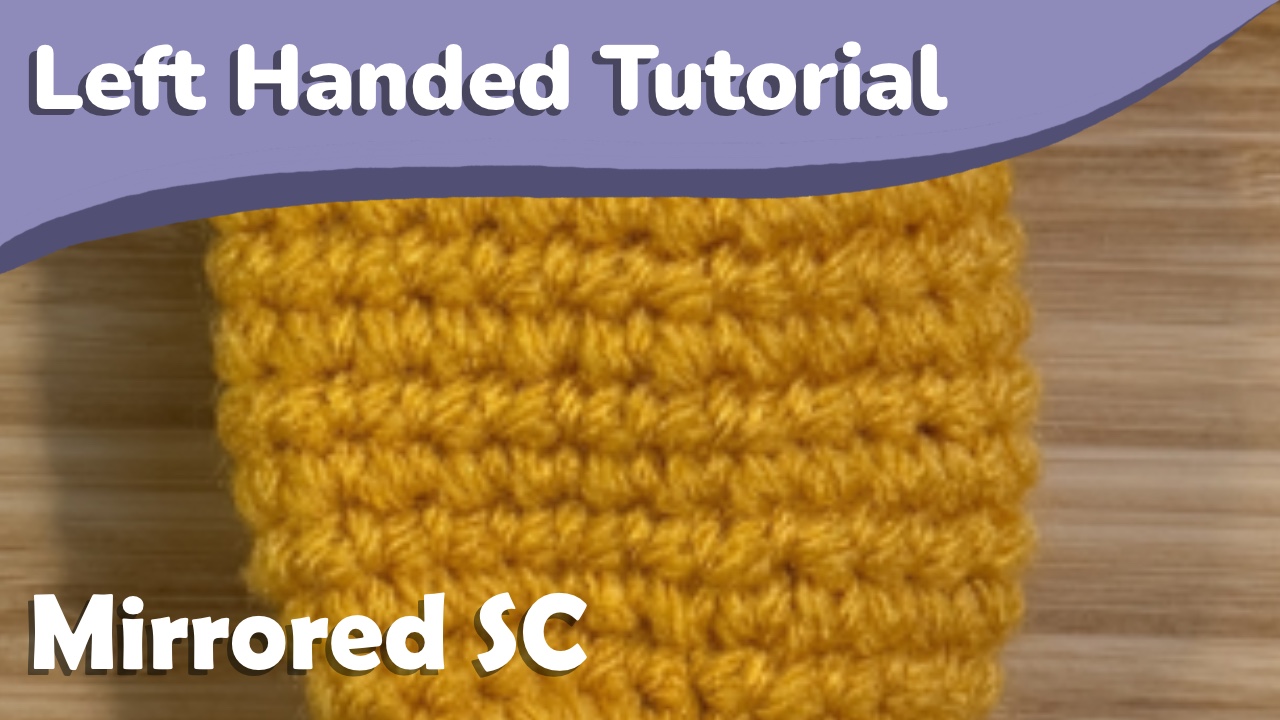
    Comparison of normal sc and mirrored sc- on the right mirrored rows and normal rows alternate to keep the fronts of the single crochets on the same side.

    If you’re right handed, check that tutorial out here, and if you prefer a video tutorial, you can find that here.

    Single Crochet

    First I want to look at how a single crochet is worked in a little more depth so that we can ensure that our mirrored stitches are exactly matching how we’d work a normal single crochet.

    When we grab our yarn while working a single crochet, we turn the hook towards us, or towards the front of our work.

    This means that when we work a mirrored stitch, we want to turn the hook away from us.

    Mirroring the stitch

    Since we’re treating this as if it’s being worked with our other hand, we want to go into the next stitch through the back of our work. This will end up being the front of our mirrored stitch.

    We then lay the yarn over the hook, and grab it by turning the hook away from us.

    We pull that loop up to get two loops on our hook.

    We now do the same thing to complete the mirrored stitch. Lay the yarn over the hook, and grab it by turning the hook away. Pull this loop through both loops on your hook.

    That’s how we work a mirrored single crochet! This can be applied to other stitches as well. Pay close attention to how your hook moves while working as you normally would, and mirror it as we’ve done here. If you’re having trouble figuring out the mirrored version of a stitch, what I’ve done is taken a video from the back of my work to watch how the yarn and hook move on the back side. This allows me to see how the back of my work looks as I crochet it, and to copy that as I work facing the back in the mirrored version.


  • Mirrored Single Crochet – Right Handed

    Mirrored Single Crochet – Right Handed

    In this post, we’ll cover how to do a mirrored single crochet. This is a fairly niche technique that allows us to crochet as if we were using our non-dominant hand without learning to crochet left-handed. That said, this can be really awkward to do at first, but is incredibly useful when switching between working in continuous rounds and working in rows to mitigate the texture difference between the two.

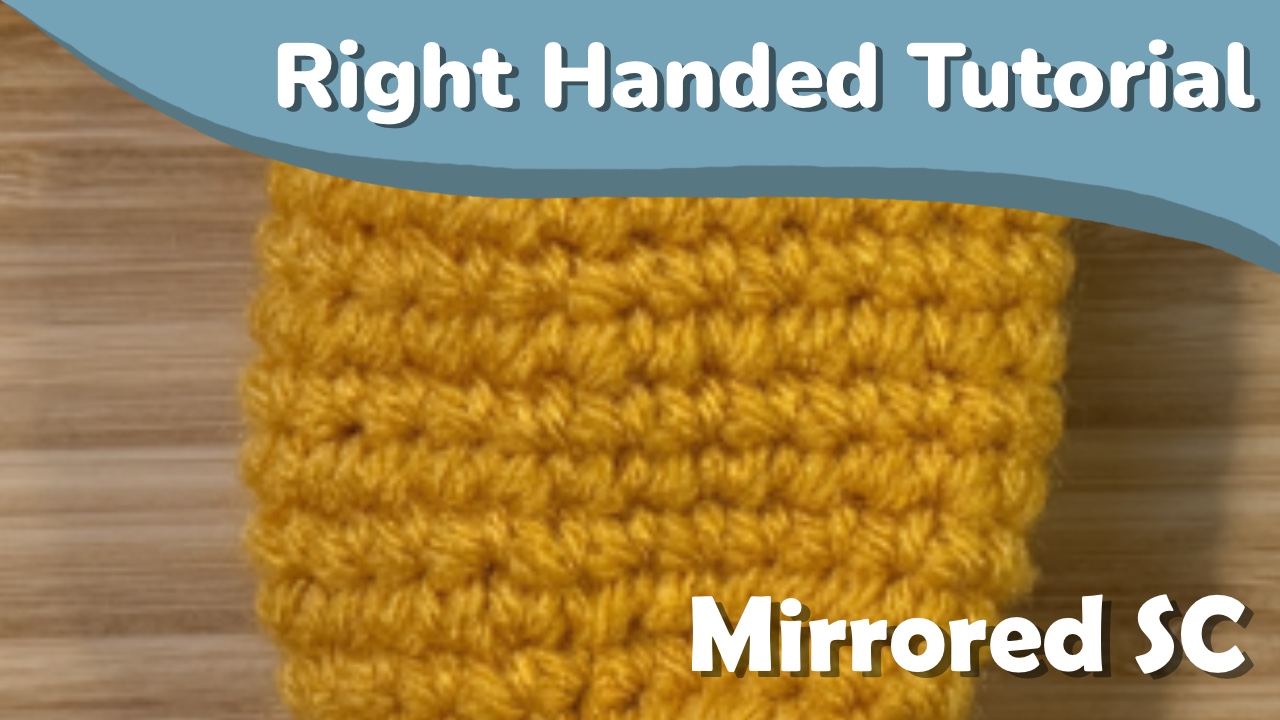
    Comparison of mirrored sc and normal sc- on the left mirrored rows and normal rows alternate to keep the fronts of the single crochets on the same side.

    If you’re left handed, check that tutorial out here, and if you prefer a video tutorial, you can find that here.

    Single Crochet

    First I want to look at how a single crochet is worked in a little more depth so that we can ensure that our mirrored stitches are exactly matching how we’d work a normal single crochet.

    When we grab our yarn while working a single crochet, we turn the hook towards us, or towards the front of our work.

    This means that when we work a mirrored stitch, we want to turn the hook away from us.

    Mirroring the stitch

    Since we’re treating this as if it’s being worked with our other hand, we want to go into the next stitch through the back of our work. This will end up being the front of our mirrored stitch.

    We then lay the yarn over the hook, and grab it by turning the hook away from us.

    We pull that loop up to get two loops on our hook.

    We now do the same thing to complete the mirrored stitch. Lay the yarn over the hook, and grab it by turning the hook away. Pull this loop through both loops on your hook.

    That’s how we work a mirrored single crochet! This can be applied to other stitches as well. Pay close attention to how your hook moves while working as you normally would, and mirror it as we’ve done here. If you’re having trouble figuring out the mirrored version of a stitch, what I’ve done is taken a video from the back of my work to watch how the yarn and hook move on the back side. This allows me to see how the back of my work looks as I crochet it, and to copy that as I work facing the back in the mirrored version.


  • Invisible Decrease – Left Handed

    Invisible Decrease – Left Handed

    In this post, we’ll cover how to do an invisible decrease. This stitch is often used in amigurumi or other patterns worked in continuous rounds because it creates a stitch that is less visible than a traditional single crochet decrease.

    If you’re left handed, you can find that tutorial here, or if you prefer a video tutorial you can find that here.

    Working the invisible decrease

    This stitch really only works in continuous rounds due to the way the stitches overlap. We’re working into the front stitches of the two stitches we want to decrease into, marked in the image below.

    Put your hook through the front loop of the first stitch.

    Now put your hook through the front loop of the second stitch.

    Your hook is now through the front loops of the two stitches we want to decrease through. We do this by working a single crochet through them both. Yarn over and pull a loop through both of these front loops.

    Now, yarn over and pull through both loops on your hook.

    And that’s all there is to an invisible decrease! You can also do this with more than just 2 stitches if you need to- I tend to use 3 stitch decreases when I’m making a cube shape.


  • Invisible Decrease – Right Handed

    Invisible Decrease – Right Handed

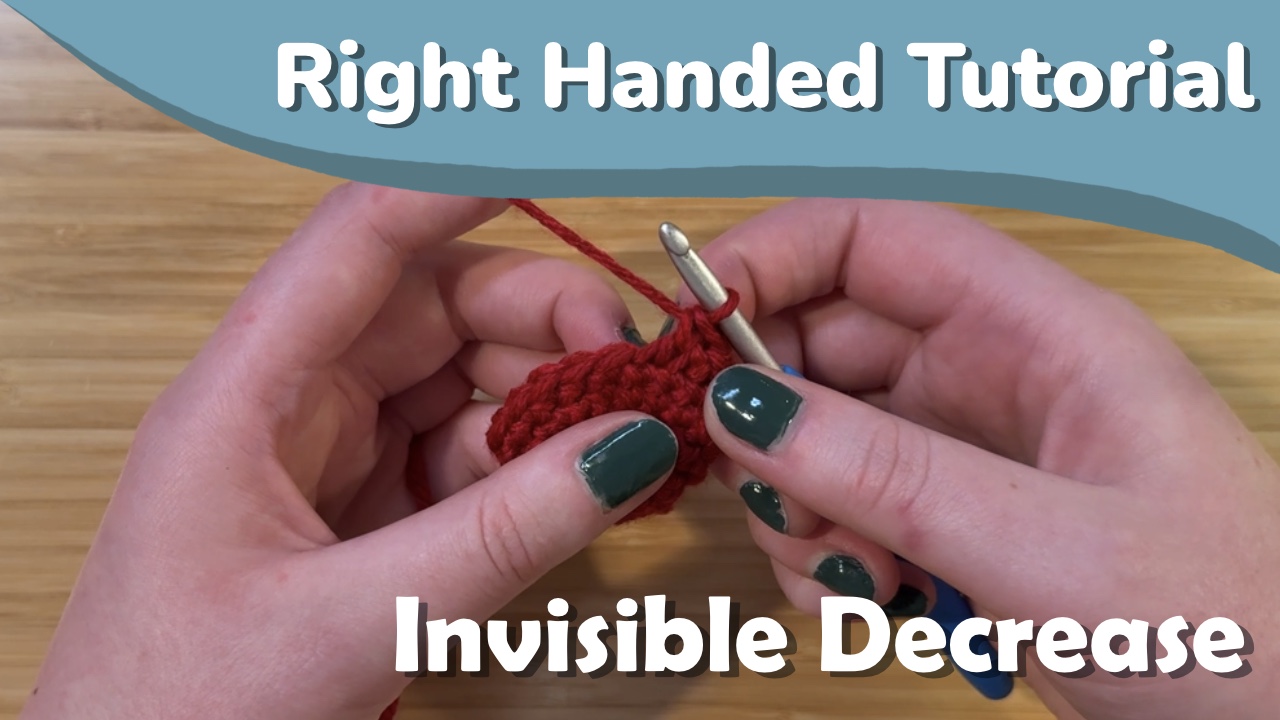
    In this post, we’ll cover how to do an invisible decrease. This stitch is often used in amigurumi or other patterns worked in continuous rounds because it creates a stitch that is less visible than a traditional single crochet decrease.

    If you’re left handed, you can find that tutorial here, or if you prefer a video tutorial you can find that here.

    Working the invisible decrease

    This stitch really only works in continuous rounds due to the way the stitches overlap. We’re working into the front stitches of the two stitches we want to decrease into, marked in the image below.

    Put your hook through the front loop of the first stitch.

    Now put your hook through the front loop of the second stitch.

    Your hook is now through the front loops of the two stitches we want to decrease through. We do this by working a single crochet through them both. Yarn over and pull a loop through both of these front loops.

    Now, yarn over and pull through both loops on your hook.

    And that’s all there is to an invisible decrease! You can also do this with more than just 2 stitches if you need to- I tend to use 3 stitch decreases when I’m making a cube shape.


  • FSC Into Existing Piece – Left Handed

    FSC Into Existing Piece – Left Handed

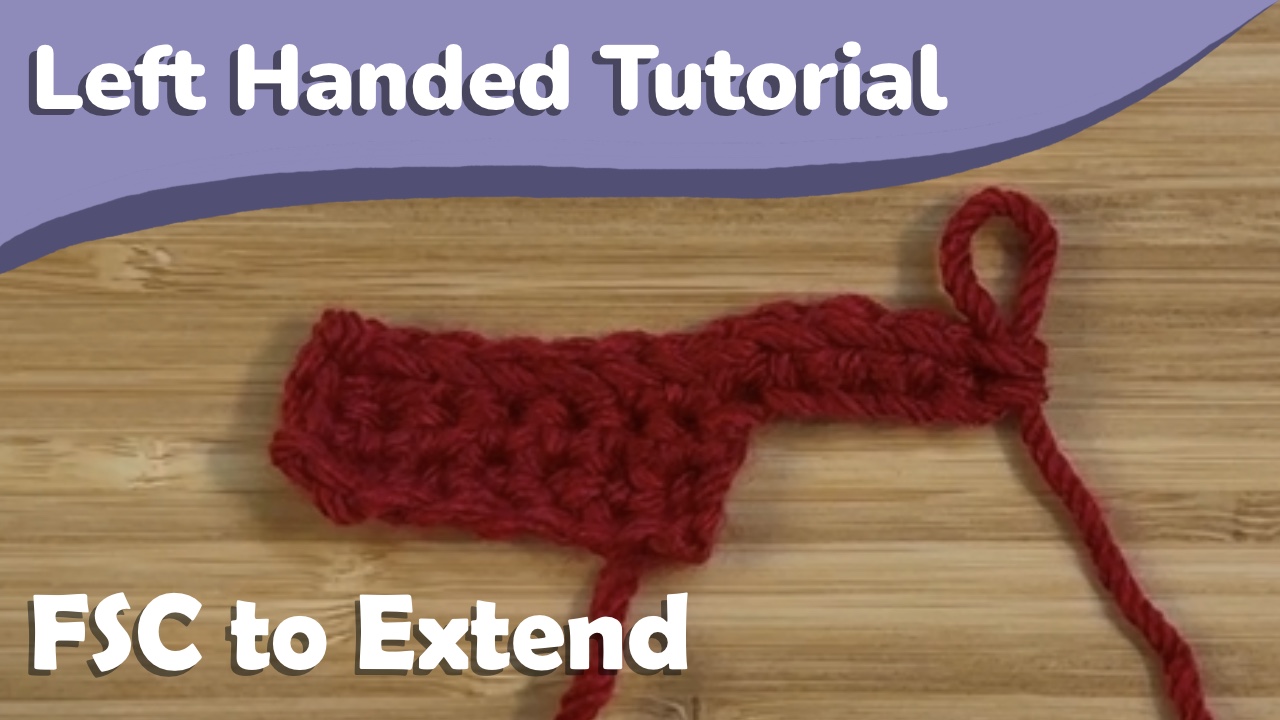
    In this post, we’ll cover how to use a foundation single crochet (fsc) to extend an existing crochet piece. This is great for creating 90° corners on flat pieces, or creating branching in a 3D piece.

    If you aren’t familiar with foundation single crochets, you can find a tutorial for them here.

    If you prefer a video tutorial, you can find that here, and if you’re right handed you can find that tutorial here.

    Working into an existing piece

    The foundation single crochet is worked the same as normal, but the difference is where we begin the stitch. We aren’t working into a chain or into another foundation stitch, since we already have a piece we’re working on.

    To extend a piece with foundation single crochet at the end of a row, you’ll insert your hook back into the last stitch and pull up a loop, as if you’re doing an increase

    Now, you’ll yarn over and pull through just one loop on your hook.

    Then you’ll yarn over and pull through both loops.

    That point where we pull a loop through just one loop on our hook is essentially creating a chain at the bottom of the current row we’re working into. This keeps the fsc’s we’re using to extend this piece in line with the existing row. If we were to chain at the end of this row and work back, we’d be extending on the other side of our row. Using a chain at the start of a row and fsc’s at the end can allow you to make more of a T shape in your piece, with the chain and fsc’s keeping all stitches in line.


  • FSC Into Existing Piece – Right Handed

    FSC Into Existing Piece – Right Handed

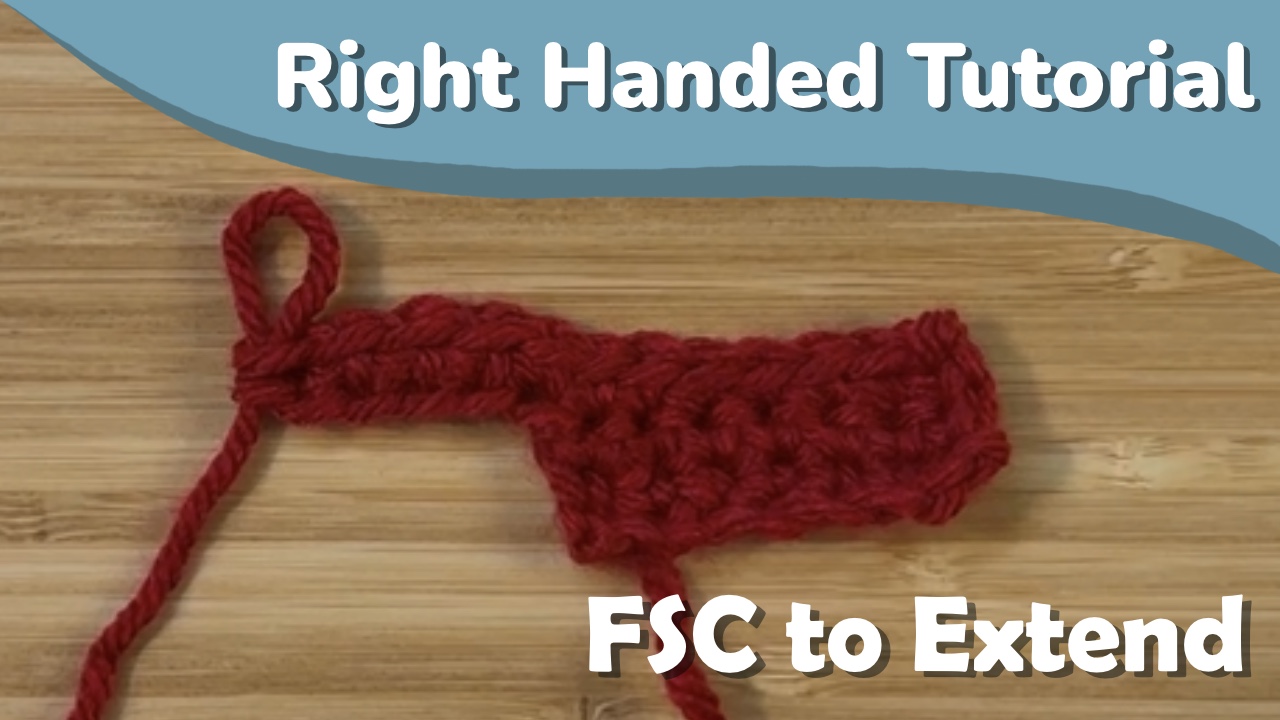
    In this post, we’ll cover how to use a foundation single crochet (fsc) to extend an existing crochet piece. This is great for creating 90° corners on flat pieces, or creating branching in a 3D piece.

    If you aren’t familiar with foundation single crochets, you can find a tutorial for them here.

    If you prefer a video tutorial, you can find that here, and if you’re left handed you can find that tutorial here.

    Working into an existing piece

    The foundation single crochet is worked the same as normal, but the difference is where we begin the stitch. We aren’t working into a chain or into another foundation stitch, since we already have a piece we’re working on.

    To extend a piece with foundation single crochet at the end of a row, you’ll insert your hook back into the last stitch and pull up a loop, as if you’re doing an increase

    Now, you’ll yarn over and pull through just one loop on your hook.

    Then you’ll yarn over and pull through both loops.

    That point where we pull a loop through just one loop on our hook is essentially creating a chain at the bottom of the current row we’re working into. This keeps the fsc’s we’re using to extend this piece in line with the existing row. If we were to chain at the end of this row and work back, we’d be extending on the other side of our row. Using a chain at the start of a row and fsc’s at the end can allow you to make more of a T shape in your piece, with the chain and fsc’s keeping all stitches in line.


  • Foundation Single Crochet – Left Handed

    Foundation Single Crochet – Left Handed

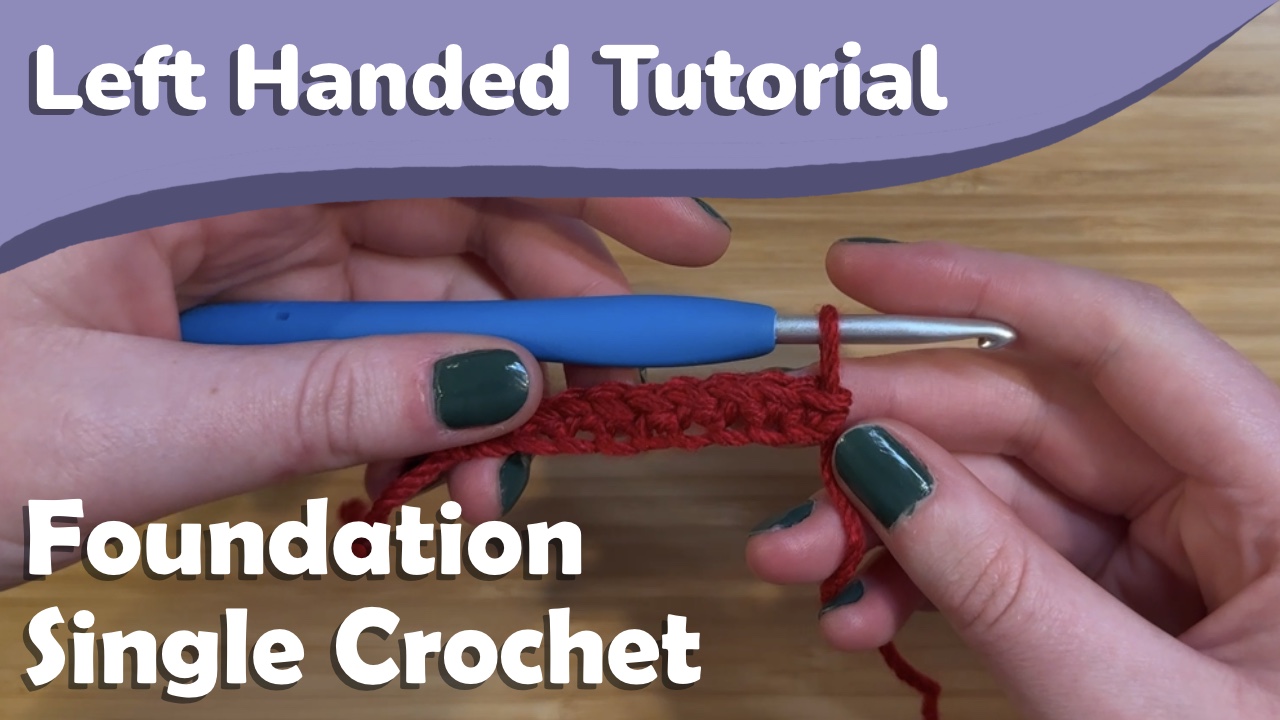
    Foundation stitches allow you to make the first row of your crochet work without a starting chain, as well as extend an existing piece (more on that here!). They don’t always work for everything, and they don’t have as clean of an edge as if you were to work in the back bumps of a starting chain, but they’re a great tool to have in your crochet toolbelt.

    This post focuses on a foundation single crochet, but at the end we’ll also cover using this technique to do the foundation version of other stitches.

    If you prefer a video tutorial, you can find that here, and if you’re right handed you can find that tutorial here.

    Working the First Stitch

    Start with a slip knot on your hook and chain 2.

    Insert your hook into the second chain from your hook, and pull up a loop.

    Yarn over, and pull through the first loop on your hook. This step is what allows us to extend our single crochets into a foundation stitch- it sort of turns the loop we pulled up into a chain.

    Now, yarn over, and pull through both loops on your hook.

    That’s the start of our foundation single crochet!

    Working the Next Stitches

    The process for working a foundation single crochet is the same as for the first stitch, but we’re going to be working in the bottom of the previous foundation stitch.

    Insert your hook into the bottom of the previous foundation single crochet. This is the loop that I mentioned acted as a chain in our first stitch, and is indicated in the image below.

    From here on, the steps to work a foundation single crochet are the same as the first stitch. Pull up a loop.

    Yarn over, and pull through one loop on your hook.

    Yarn over and pull through both loops on your hook.

    For Other Stitches

    The process for working other stitches in a foundation-like way is the same as for single crochet. Start with a chain of length turning chain + 1, as if you’re working a row of 1 stitch. For double crochet, since it requires a turning chain of 3, this means chaining 4.

    You’ll then go into the first chain as if you’re making a row of one stitch. For double crochet, this means yarning over, inserting your hook into that first chain, and pulling up a loop.

    You’re then going to yarn over and pull a loop through one loop on your hook. Again, this is creating the “chain” for our foundation stitches. From there you complete your stitch as normal.


  • Foundation Single Crochet – Right Handed

    Foundation Single Crochet – Right Handed

    Foundation stitches allow you to make the first row of your crochet work without a starting chain, as well as extend an existing piece (more on that here!). They don’t always work for everything, and they don’t have as clean of an edge as if you were to work in the back bumps of a starting chain, but they’re a great tool to have in your crochet toolbelt.

    This post focuses on a foundation single crochet, but at the end we’ll also cover using this technique to do the foundation version of other stitches.

    If you prefer a video tutorial, you can find that here, and if you’re left handed you can find that tutorial here.

    Working the First Stitch

    Start with a slip knot on your hook and chain 2.

    Insert your hook into the second chain from your hook, and pull up a loop.

    Yarn over, and pull through the first loop on your hook. This step is what allows us to extend our single crochets into a foundation stitch- it sort of turns the loop we pulled up into a chain.

    Now, yarn over, and pull through both loops on your hook.

    That’s the start of our foundation single crochet!

    Working the Next Stitches

    The process for working a foundation single crochet is the same as for the first stitch, but we’re going to be working in the bottom of the previous foundation stitch.

    Insert your hook into the bottom of the previous foundation single crochet. This is the loop that I mentioned acted as a chain in our first stitch, and is indicated in the image below.

    From here on, the steps to work a foundation single crochet are the same as the first stitch. Pull up a loop.

    Yarn over, and pull through one loop on your hook.

    Yarn over and pull through both loops on your hook.

    For Other Stitches

    The process for working other stitches in a foundation-like way is the same as for single crochet. Start with a chain of length turning chain + 1, as if you’re working a row of 1 stitch. For double crochet, since it requires a turning chain of 3, this means chaining 4.

    You’ll then go into the first chain as if you’re making a row of one stitch. For double crochet, this means yarning over, inserting your hook into that first chain, and pulling up a loop.

    You’re then going to yarn over and pull a loop through one loop on your hook. Again, this is creating the “chain” for our foundation stitches. From there you complete your stitch as normal.


  • How to Make a Magic Circle – Left Handed

    How to Make a Magic Circle – Left Handed

    In this post, we’ll cover how to make a magic circle. If you prefer a video tutorial, you can find that here, and if you’re right handed you can find that tutorial here.

    Magic circles are most often used in amigurumi because they eliminate the gap at the center of the starting circle, but they can also be used for anything worked in the round where you want to mitigate gapping.

    Making the Magic Circle

    There are a few different ways to start your magic circle, but I prefer wrapping the yarn around my fingers since it helps to keep the yarn strands in place.

    Start by placing the yarn tail over the palm of your right hand.

    Now, wrap the yarn around the back of your hand and under your index and middle finger.

    Cross the yarn over, angling it towards your wrist. Catch this yarn under your index and ring fingers again.

    The yarn strands should be parallel on the back of your hand.

    Now, using your hook, go under the strand closest to your fingertips, and over the strand closest to your wrist.

    Grab this second strand, and pull it under the first.

    Turning the mouth of your hook towards you, twist this strand around your hook so it loops on itself.

    You’re now going to grab and chain one with your working yarn. This strand is indicated on the image above- it’s the part of the second strand towards the top of your hand.

    Using your hook, go under this working yarn to grab it, and pull it through the twisted loop on your hook.

    That chain one secures our magic loop, and we can now take it off our fingers.

    Working into the Magic Circle

    We’ll use single crochet in this example. You’ll already have a chain one from making the circle, so we don’t have to chain more to get to stitch height.

    Start by opening the circle with your fingers. You’re going to be working both into the loop and around the yarn tail. Working around the yarn tail is what lets us close the loop at the end.

    Again, you’re working into the loop and around the yarn tail, so make sure your hook goes under both of these strands.

    You can now work your single crochets around these two strands.

    If you’re working other stitches into the magic circle, just make sure you chain the correct number, keeping in mind that we already have a chain one to start. If you’re working double crochets in the magic circle, you’re going to want to chain two more to get up to a turning chain of 3 before working into the magic circle.

    If your yarn tail is starting to get too short to work around, just pull on it a little bit. This will lengthen the tail, but also begin to close the loop, so don’t pull on it too much.

    Closing the magic circle

    Once you’ve worked the number of stitches you need into the magic circle, grab the yarn tail, and pull it tight.

    And that’s it!

    As you can see above, there’s no gap in the center of this round of stitches.


  • How to Make a Magic Circle – Right Handed

    How to Make a Magic Circle – Right Handed

    In this post, we’ll cover how to make a magic circle. If you prefer a video tutorial, you can find that here, and if you’re left handed you can find that tutorial here.

    Magic circles are most often used in amigurumi because they eliminate the gap at the center of the starting circle, but they can also be used for anything worked in the round where you want to mitigate gapping.

    Making the Magic Circle

    There are a few different ways to start your magic circle, but I prefer wrapping the yarn around my fingers since it helps to keep the yarn strands in place.

    Start by placing the yarn tail over the palm of your left hand.

    Now, wrap the yarn around the back of your hand and under your index and middle finger.

    Cross the yarn over, angling it towards your wrist. Catch this yarn under your index and ring fingers again.

    The yarn strands should be parallel on the back of your hand.

    Now, using your hook, go under the strand closest to your fingertips, and over the strand closest to your wrist.

    Grab this second strand, and pull it under the first.

    Turning the mouth of your hook towards you, twist this strand around your hook so it loops on itself.

    You’re now going to grab and chain one with your working yarn. This strand is indicated on the image above- it’s the part of the second strand towards the top of your hand.

    Using your hook, go under this working yarn to grab it, and pull it through the twisted loop on your hook.

    That chain one secures our magic loop, and we can now take it off our fingers.

    Working into the Magic Circle

    We’ll use single crochet in this example. You’ll already have a chain one from making the circle, so we don’t have to chain more to get to stitch height.

    Start by opening the circle with your fingers. You’re going to be working both into the loop and around the yarn tail. Working around the yarn tail is what lets us close the loop at the end.

    Again, you’re working into the loop and around the yarn tail, so make sure your hook goes under both of these strands.

    You can now work your single crochets around these two strands.

    If you’re working other stitches into the magic circle, just make sure you chain the correct number, keeping in mind that we already have a chain one to start. If you’re working double crochets in the magic circle, you’re going to want to chain two more to get up to a turning chain of 3 before working into the magic circle.

    If your yarn tail is starting to get too short to work around, just pull on it a little bit. This will lengthen the tail, but also begin to close the loop, so don’t pull on it too much.

    Closing the magic circle

    Once you’ve worked the number of stitches you need into the magic circle, grab the yarn tail, and pull it tight.

    And that’s it!

    As you can see above, there’s no gap in the center of this round of stitches.