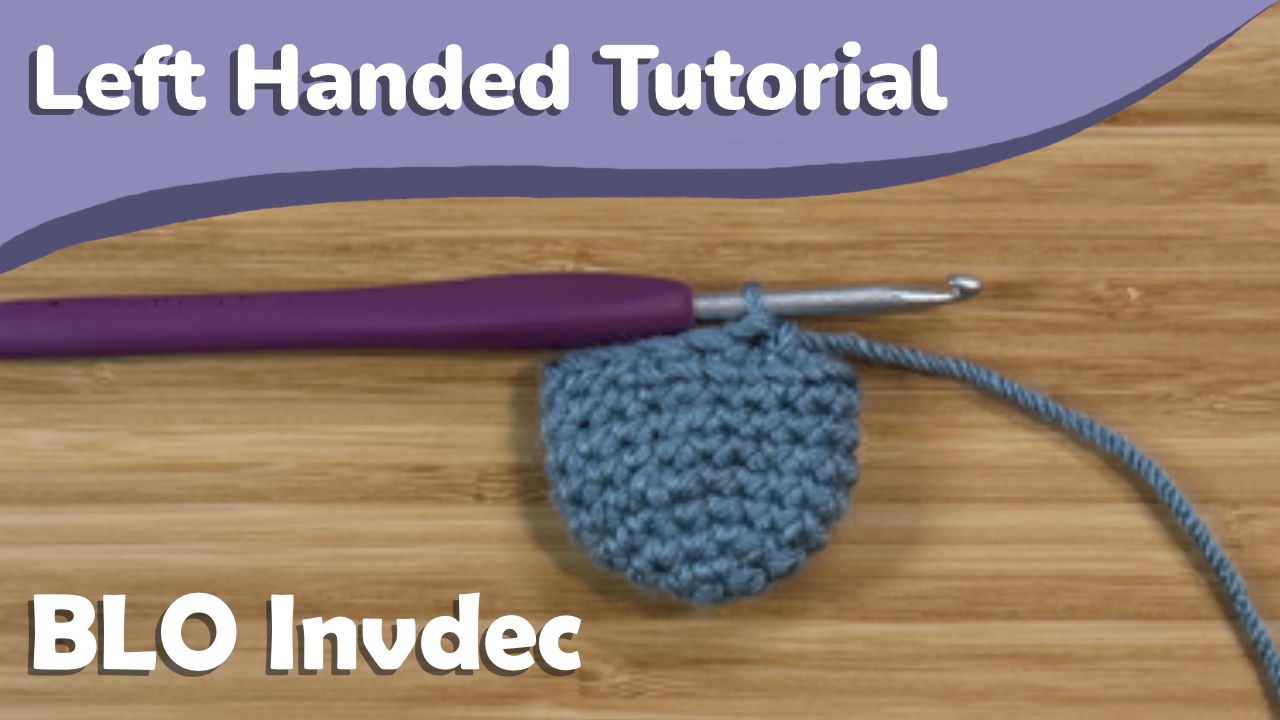
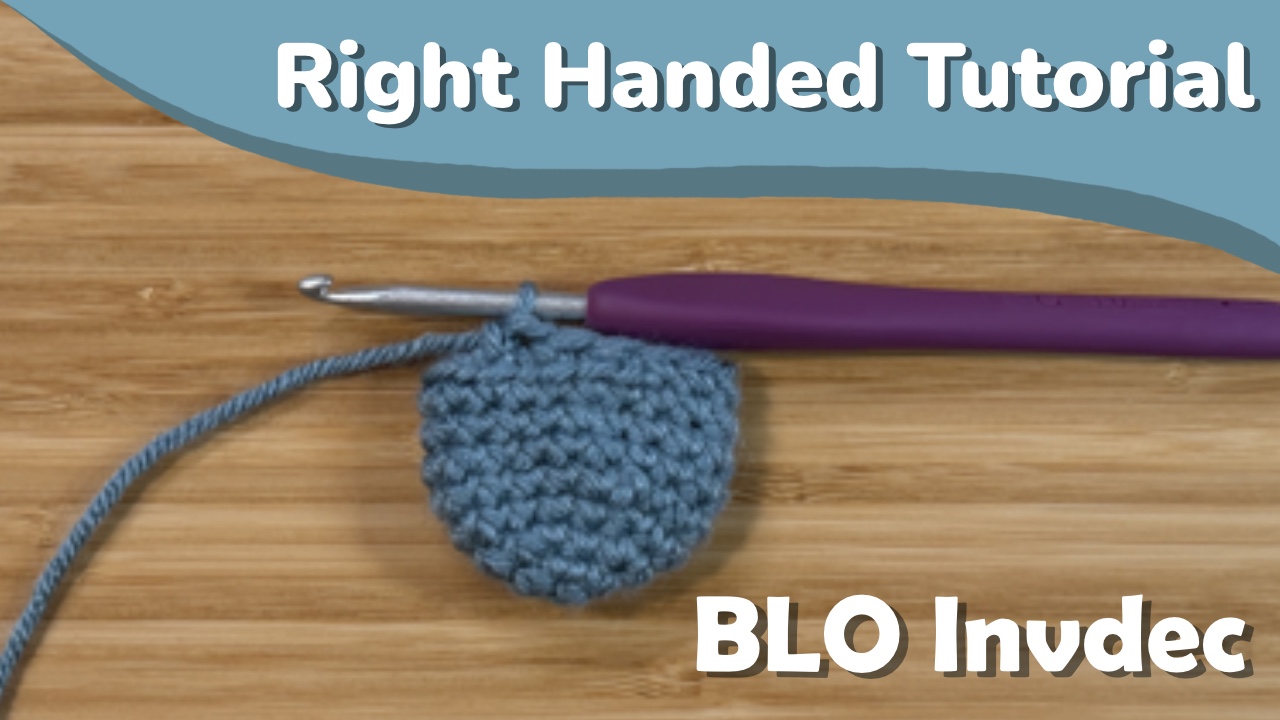
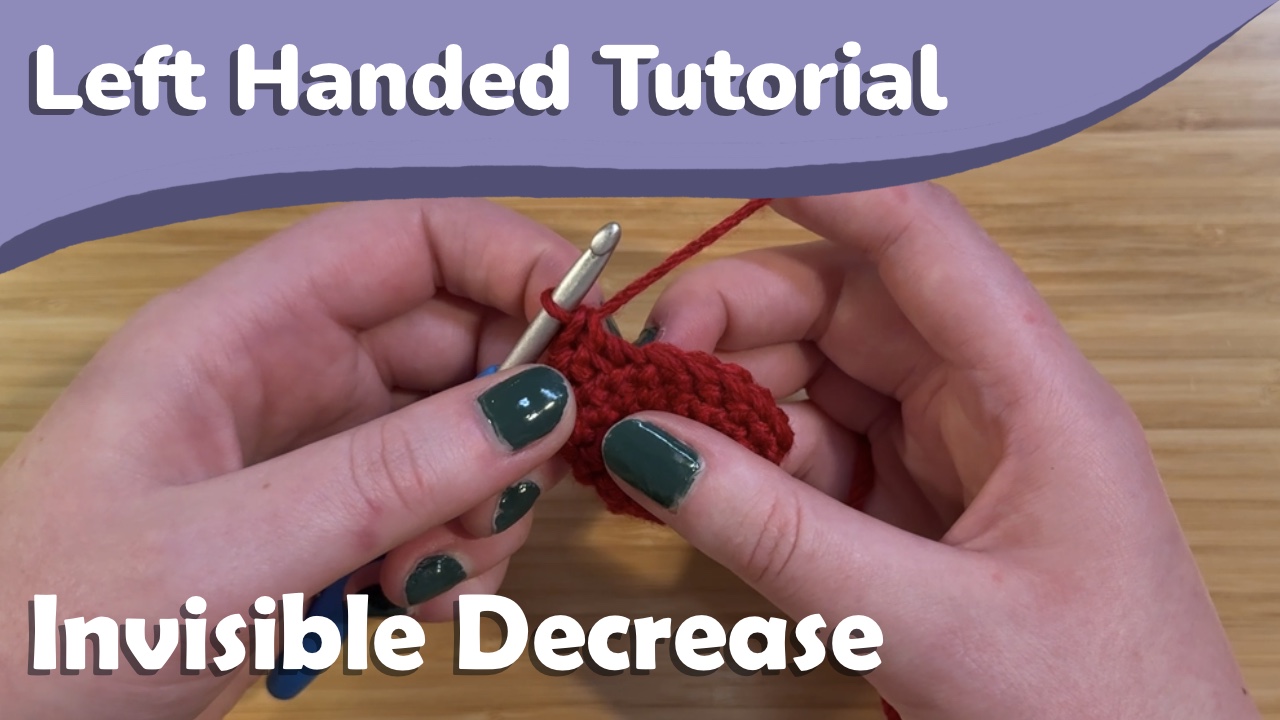
Invisible decreases are, in my opinion, an essential tool for amigurumi or any other crochet project worked in continuous rounds. However, they don’t work when you need to decrease in the back loops of a round. This post will walk you through how I do an invisible decrease in the back loops.
As with all my other tutorials, this is available in multiple formats, as well as in left and right handed versions. If you’re right handed, you can check out that tutorial here, or if you prefer a video tutorial, check that out here.
Using the Stitch
This is not a technique I use often, but it still absolutely has its place. I use this when I’m working a round either partially or entirely in the back loops, but also need some decreases in the same round. This allows me to keep that decrease as invisible as possible and keep the front loops out of the equation.
Stitch Structure
In a traditional invisible decrease, we can just go through the front loops of the next 2 (or however many) stitches. This works because the first loop overlaps the second (which overlaps the third, and so on). It’s really easy to maneuver these loops to go through both at once.
This isn’t as much the case for the back loops. The first loop is under the second when we look at it from the front.
This requires us to take a different approach when trying to do an invisible style decrease through the back loops.
Making the Stitch
Since the first loop is under the second loop, we want to start by inserting our hook into the second loop.
Now, we’re going to go back to work into the first loop. This can be tricky, and is absolutely more difficult than a traditional invisible decrease.
We then finish the stitch as normal. Pull up a loop through the stitches your hook is in.
Yarn over, and pull through both loops on your hook.
And that’s an invisible decrease through the back loops! You can absolutely decrease more than just 2 stitches with this, although the more stitches you decrease, the trickier it will be. Just start in the final stitch of your decrease, and work your way backward through the loops.
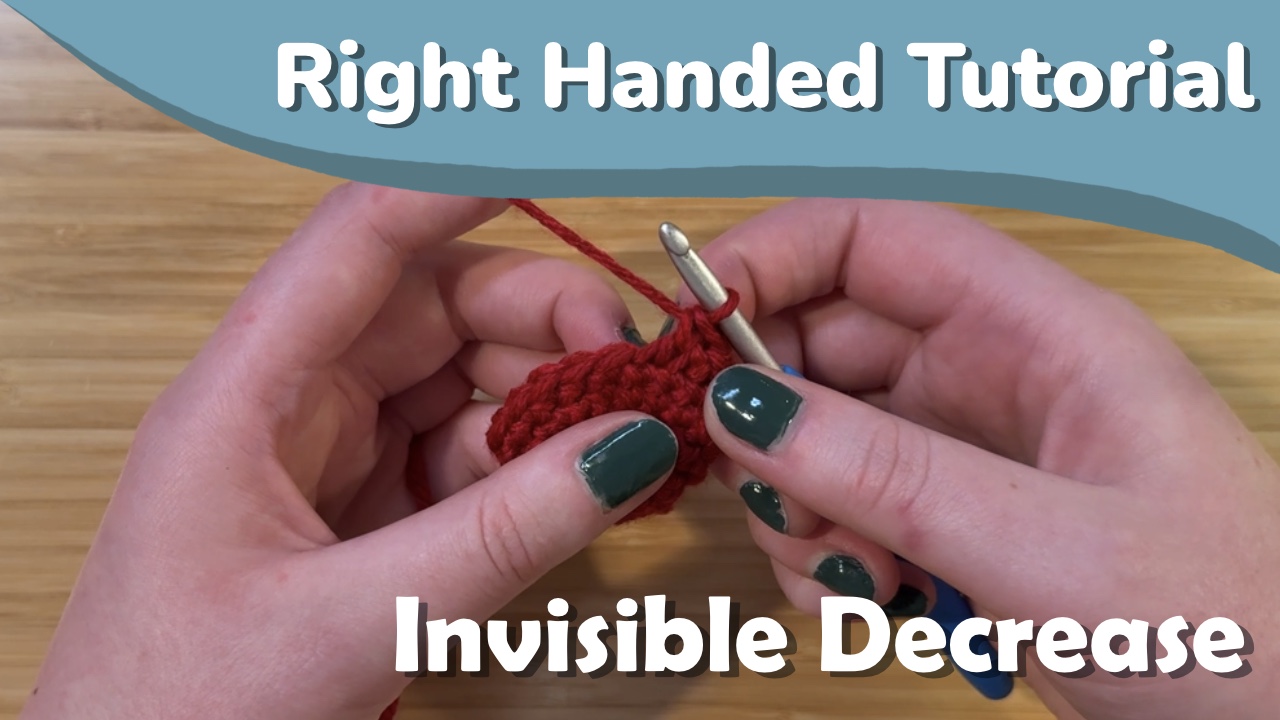
Invisible decreases are, in my opinion, an essential tool for amigurumi or any other crochet project worked in continuous rounds. However, they don’t work when you need to decrease in the back loops of a round. This post will walk you through how I do an invisible decrease in the back loops.
As with all my other tutorials, this is available in multiple formats, as well as in left and right handed versions. If you’re left handed, you can check out that tutorial here, or if you prefer a video tutorial, check that out here.
Using the Stitch
This is not a technique I use often, but it still absolutely has its place. I use this when I’m working a round either partially or entirely in the back loops, but also need some decreases in the same round. This allows me to keep that decrease as invisible as possible and keep the front loops out of the equation.
Stitch Structure
In a traditional invisible decrease, we can just go through the front loops of the next 2 (or however many) stitches. This works because the first loop overlaps the second (which overlaps the third, and so on). It’s really easy to maneuver these loops to go through both at once.
This isn’t as much the case for the back loops. The first loop is under the second when we look at it from the front.
This requires us to take a different approach when trying to do an invisible style decrease through the back loops.
Making the Stitch
Since the first loop is under the second loop, we want to start by inserting our hook into the second loop.
Now, we’re going to go back to work into the first loop. This can be tricky, and is absolutely more difficult than a traditional invisible decrease.
We then finish the stitch as normal. Pull up a loop through the stitches your hook is in.
Yarn over, and pull through both loops on your hook.
And that’s an invisible decrease through the back loops! You can absolutely decrease more than just 2 stitches with this, although the more stitches you decrease, the trickier it will be. Just start in the final stitch of your decrease, and work your way backward through the loops.
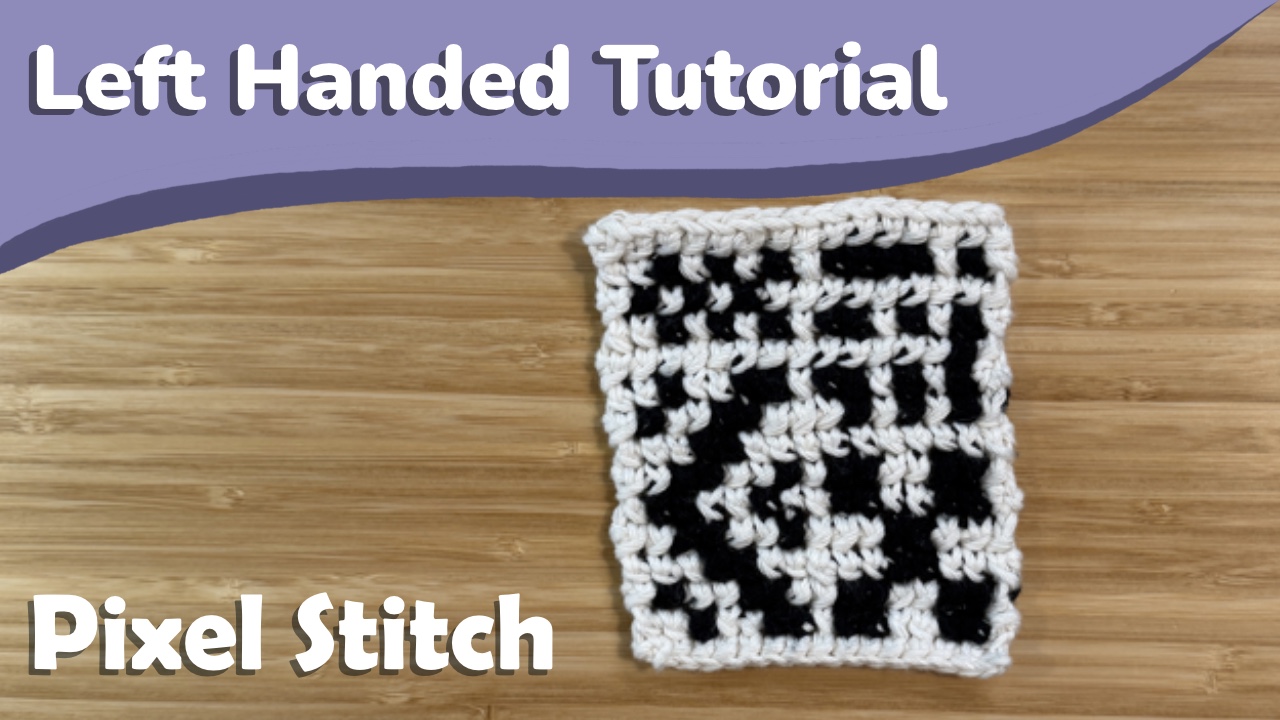
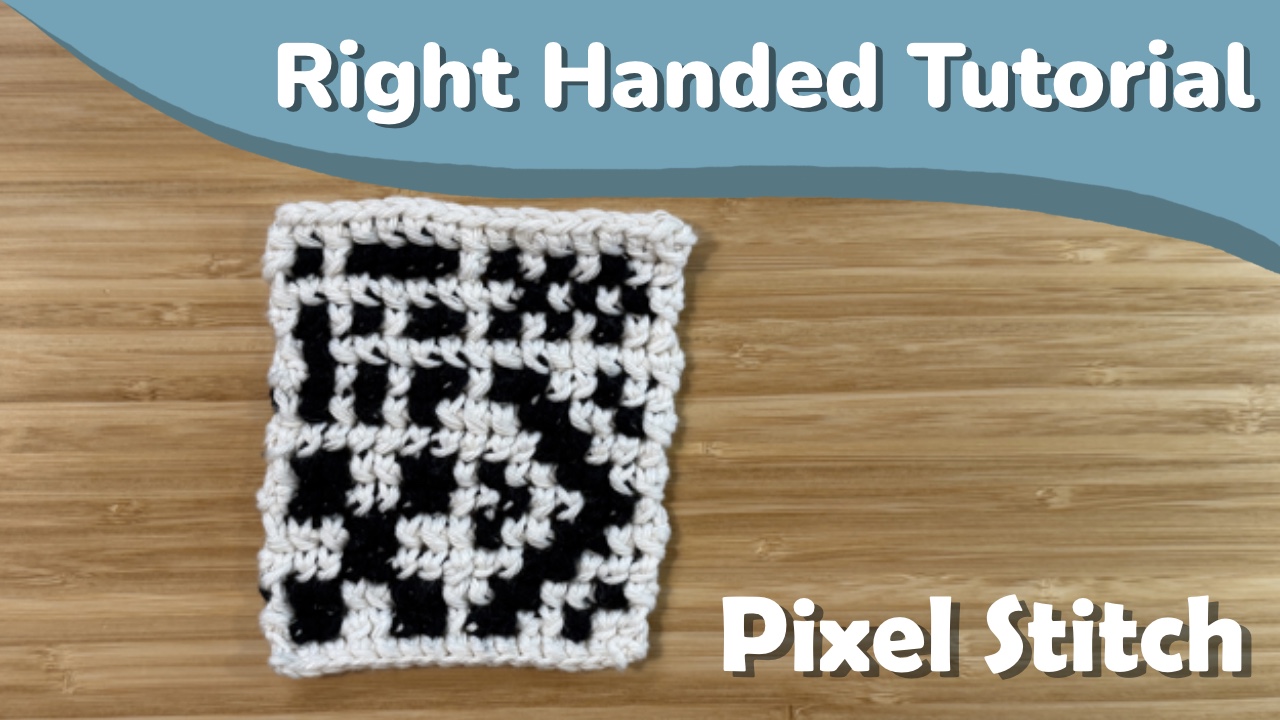
In this post I’ll be covering how to crochet what I call the pixel stitch. I came across a version of this stitch on Pinterest worked in the round, and modified it to be used mirrored in rows for crochet tapestries!
If you’re not familiar with the concept of mirror crochet, I’ve done a tutorial on a mirrored single crochet stitch that you can use to learn the concept. There may be other names for this idea, but what is essentially happening is you’re crocheting as if you were working with your non-dominant hand so the fronts of your stitches are all on the same side when working in rows. You can do this without changing which hand you hold your hook in by just going in through the back of your work on wrong side rows. I’ll show you exactly how to mirror this stitch in this post.
If you’re right handed, you can check out that tutorial here, or if you prefer a video tutorial, check that out here.
The Pixel Stitch
To begin with this stitch, you’re going to want to chain the number of stitches you want plus one. So if you want to work a row of 30 stitches, you’ll chain 31. You may want to size up your hook for this starting chain as well, since the first row tends to be a bit tighter than subsequent ones.
This stitch is worked through two stitches, similar to a decrease.
Working the first row
The first row is definitely one of the harder parts of this stitch. I’ll show you the setup, but if you’re having trouble with the stitch I recommend looking at the next section to see how the stitch is worked into existing rows- it might make it a bit easier to understand.
Make sure you keep track of the second chain from your hook. We’ll start by working around or under our starting chain to pull up a loop.
Now, go into the second chain from your hook and pull up a loop. You should have three loops on your hook at this point.
You’re now going to pull that loop you just pulled up through the middle loop on your hook.
Now, yarn over and pull through the remaining two loops on your hook.
That’s one stitch done! The starts of rows are the trickiest. To work the next stitch, you’re going to go back into the previous chain you worked into- the second chain from your hook. Pull up a loop.
Now, work into the next chain and pull a loop through this chain and the first loop on your hook.
Now yarn over and pull through both loops.
You’ll continue like this across the row- starting in the previous stitch you worked into before going into the next, unworked stitch.
Working at the start of a row
I make my first stitch also a pixel stitch worked around my starting chain and into the first stitch of my row. It’s a little tricky, but it works, and it’s what makes rows of pixel stitch a consistent length since this stitch is worked through two stitches!
This stitch has a chain one turning chain, so make sure you have that done before starting your row.
Now, you’re going to go around and behind this turning chain to pick up a loop. This is your “previous stitch” if you were working in the middle of a row.
Now go into the first stitch of your row and pull a loop through that stitch and the first loop on your hook.
Pull a loop through the two stitches on your hook.
That’s how I do the starts of my rows! It’s definitely a bit tricky, but it keeps everything looking consistent.
Working in the middle of a row
When working this stitch, you’ll be working into the previous and next stitch, just like we did into the starting chain with the first row. These stitches are marked on the image below.
Start by inserting your hook into the previous stitch and pulling up a loop.
Now insert your hook into the next stitch, and pull a loop through this stitch and the first loop on your hook.
Finish the stitch by pulling a loop through both loops on your hook.
That’s the stitch! You’ll always be working into the previous and the next stitch, so if you work in all stitches across the row, you’ll end up with one fewer stitch than the previous row. I make sure that I end with the same number of stitches as I started with by doing that modified stitch at the start of my rows.
Mirroring the Stitch (Wrong Side Rows)
When working the wrong side rows, we need to mirror the stitch to put the fronts on the same side. If this stitch isn’t mirrored, the pixels don’t work! You can find a tutorial on how to mirror a single crochet stitch here if you’re unfamiliar with the technique.
To mirror this stitch we’re going to be following a very similar process to mirroring a single crochet. Usually when you do a yarn over and pull the loop through your work, the mouth of your hook will turn towards you, or towards the front of your work. To mirror this, we’ll be inserting our hook through the back of our work and turning the mouth of the hook away from us.
Starting a mirrored row
The first stitch in our mirrored rows is worked similarly to the first stitches in our non-mirrored rows. I like to turn my work so that my working yarn is on the side of my work that’s facing me- it tends to make the first loop easier to grab in my experience.
Start by working around your turning chain to pull a loop to the back (right side) of your work. I don’t tend to worry as much about mirroring this loop properly since it’s already tricky to pull up a loop.
Now, insert your hook through the back of your next stitch.
Lay the yarn over your hook and turn the mouth of your hook away from you as you pull up a loop.
Pull that loop through the middle loop on your hook. I like to do this by turning the mouth of my hook towards me since it’s more natural.
Lay the yarn over your hook, and turn it away from you as you pull a loop through the last two stitches.
The middle of a mirrored row
Begin by inserting your hook in the previous stitch through the back of your work. Lay the yarn over your hook and turn your hook away from you to pull the loop through the stitch.
Repeat that for the next stitch. Insert your hook through the back of your work, lay the yarn over your hook, and turn it away from you as you pull it through.
Pull that second loop through the first one.
To finish the stitch, lay the yarn over your hook one more time, and turn your hook away from you to catch it and pull it through both loops on your hook.
And that’s how you mirror this stitch! You’ll be alternating mirrored and non-mirrored rows to ensure the fronts of your stitches are all on the same side.
Final notes
This stitch centers each row on top of the previous one, likely due to working in two stitches at once. This centering is most obvious when you compare a 1×1 checkerboard using single crochet and the pixel stitch (the upper right sections of the tapestries below).
If you look at the single crochet example, you can see that although the pattern was worked in a checkerboard, the resulting design seems more like zigzags.
The pixel stitch on the other hand actually shows the checkerboard that the stitches are actually worked in.
I color change with this stitch in the same way I would for any other stitch- by making the last loop you pull up in your new color. This does leave some peek through of other colors, so there might be a better way to color change that mitigates this, but I think this method still works pretty well!
These stitches are also slightly taller than square! It doesn’t tend to be super obvious, but it is something to note.
I hope you find this stitch useful in your tapestries or whatever else you use it for!
In this post I’ll be covering how to crochet what I call the pixel stitch. I came across a version of this stitch on Pinterest worked in the round, and modified it to be used mirrored in rows for crochet tapestries!
If you’re not familiar with the concept of mirror crochet, I’ve done a tutorial on a mirrored single crochet stitch that you can use to learn the concept. There may be other names for this idea, but what is essentially happening is you’re crocheting as if you were working with your non-dominant hand so the fronts of your stitches are all on the same side when working in rows. You can do this without changing which hand you hold your hook in by just going in through the back of your work on wrong side rows. I’ll show you exactly how to mirror this stitch in this post.
If you’re left handed, you can check out that tutorial here, or if you prefer a video tutorial, check that out here.
The Pixel Stitch
To begin with this stitch, you’re going to want to chain the number of stitches you want plus one. So if you want to work a row of 30 stitches, you’ll chain 31. You may want to size up your hook for this starting chain as well, since the first row tends to be a bit tighter than subsequent ones.
This stitch is worked through two stitches, similar to a decrease.
Working the first row
The first row is definitely one of the harder parts of this stitch. I’ll show you the setup, but if you’re having trouble with the stitch I recommend looking at the next section to see how the stitch is worked into existing rows- it might make it a bit easier to understand.
Make sure you keep track of the second chain from your hook. We’ll start by working around or under our starting chain to pull up a loop.
Now, go into the second chain from your hook and pull up a loop. You should have three loops on your hook at this point.
You’re now going to pull that loop you just pulled up through the middle loop on your hook.
Now, yarn over and pull through the remaining two loops on your hook.
That’s one stitch done! The starts of rows are the trickiest. To work the next stitch, you’re going to go back into the previous chain you worked into- the second chain from your hook. Pull up a loop.
Now, work into the next chain and pull a loop through this chain and the first loop on your hook.
Now yarn over and pull through both loops.
You’ll continue like this across the row- starting in the previous stitch you worked into before going into the next, unworked stitch.
Working at the start of a row
I make my first stitch also a pixel stitch worked around my starting chain and into the first stitch of my row. It’s a little tricky, but it works, and it’s what makes rows of pixel stitch a consistent length since this stitch is worked through two stitches!
This stitch has a chain one turning chain, so make sure you have that done before starting your row.
Now, you’re going to go around and behind this turning chain to pick up a loop. This is your “previous stitch” if you were working in the middle of a row.
Now go into the first stitch of your row and pull a loop through that stitch and the first loop on your hook.
Pull a loop through the two stitches on your hook.
That’s how I do the starts of my rows! It’s definitely a bit tricky, but it keeps everything looking consistent.
Working in the middle of a row
When working this stitch, you’ll be working into the previous and next stitch, just like we did into the starting chain with the first row. These stitches are marked on the image below.
Start by inserting your hook into the previous stitch and pulling up a loop.
Now insert your hook into the next stitch, and pull a loop through this stitch and the first loop on your hook.
Finish the stitch by pulling a loop through both loops on your hook.
That’s the stitch! You’ll always be working into the previous and the next stitch, so if you work in all stitches across the row, you’ll end up with one fewer stitch than the previous row. I make sure that I end with the same number of stitches as I started with by doing that modified stitch at the start of my rows.
Mirroring the Stitch (Wrong Side Rows)
When working the wrong side rows, we need to mirror the stitch to put the fronts on the same side. If this stitch isn’t mirrored, the pixels don’t work! You can find a tutorial on how to mirror a single crochet stitch here if you’re unfamiliar with the technique.
To mirror this stitch we’re going to be following a very similar process to mirroring a single crochet. Usually when you do a yarn over and pull the loop through your work, the mouth of your hook will turn towards you, or towards the front of your work. To mirror this, we’ll be inserting our hook through the back of our work and turning the mouth of the hook away from us.
Starting a mirrored row
The first stitch in our mirrored rows is worked similarly to the first stitches in our non-mirrored rows. I like to turn my work so that my working yarn is on the side of my work that’s facing me- it tends to make the first loop easier to grab in my experience.
Start by working around your turning chain to pull a loop to the back (right side) of your work. I don’t tend to worry as much about mirroring this loop properly since it’s already tricky to pull up a loop.
Now, insert your hook through the back of your next stitch.
Lay the yarn over your hook and turn the mouth of your hook away from you as you pull up a loop.
Pull that loop through the middle loop on your hook. I like to do this by turning the mouth of my hook towards me since it’s more natural.
Lay the yarn over your hook, and turn it away from you as you pull a loop through the last two stitches.
The middle of a mirrored row
Begin by inserting your hook in the previous stitch through the back of your work. Lay the yarn over your hook and turn your hook away from you to pull the loop through the stitch.
Repeat that for the next stitch. Insert your hook through the back of your work, lay the yarn over your hook, and turn it away from you as you pull it through.
Pull that second loop through the first one.
To finish the stitch, lay the yarn over your hook one more time, and turn your hook away from you to catch it and pull it through both loops on your hook.
And that’s how you mirror this stitch! You’ll be alternating mirrored and non-mirrored rows to ensure the fronts of your stitches are all on the same side.
Final notes
This stitch centers each row on top of the previous one, likely due to working in two stitches at once. This centering is most obvious when you compare a 1×1 checkerboard using single crochet and the pixel stitch (the upper right sections of the tapestries below).
If you look at the single crochet example, you can see that although the pattern was worked in a checkerboard, the resulting design seems more like zigzags.
The pixel stitch on the other hand actually shows the checkerboard that the stitches are actually worked in.
I color change with this stitch in the same way I would for any other stitch- by making the last loop you pull up in your new color. This does leave some peek through of other colors, so there might be a better way to color change that mitigates this, but I think this method still works pretty well!
These stitches are also slightly taller than square! It doesn’t tend to be super obvious, but it is something to note.
I hope you find this stitch useful in your tapestries or whatever else you use it for!
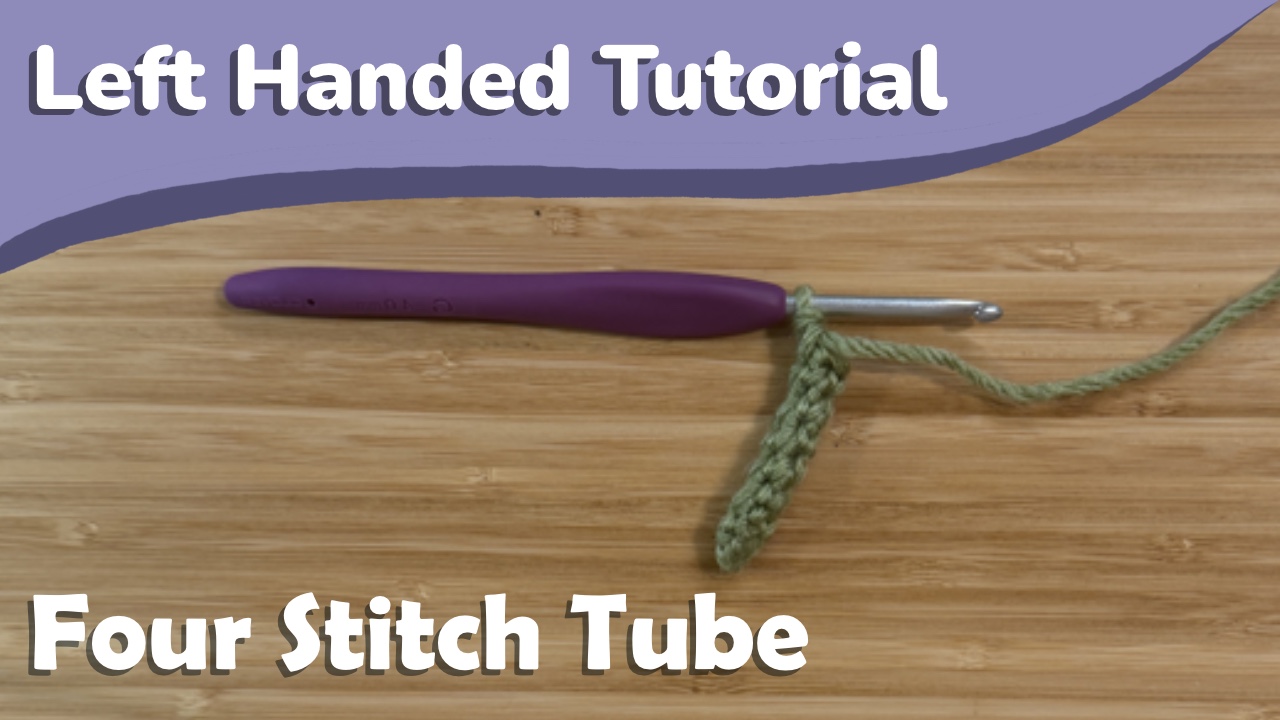
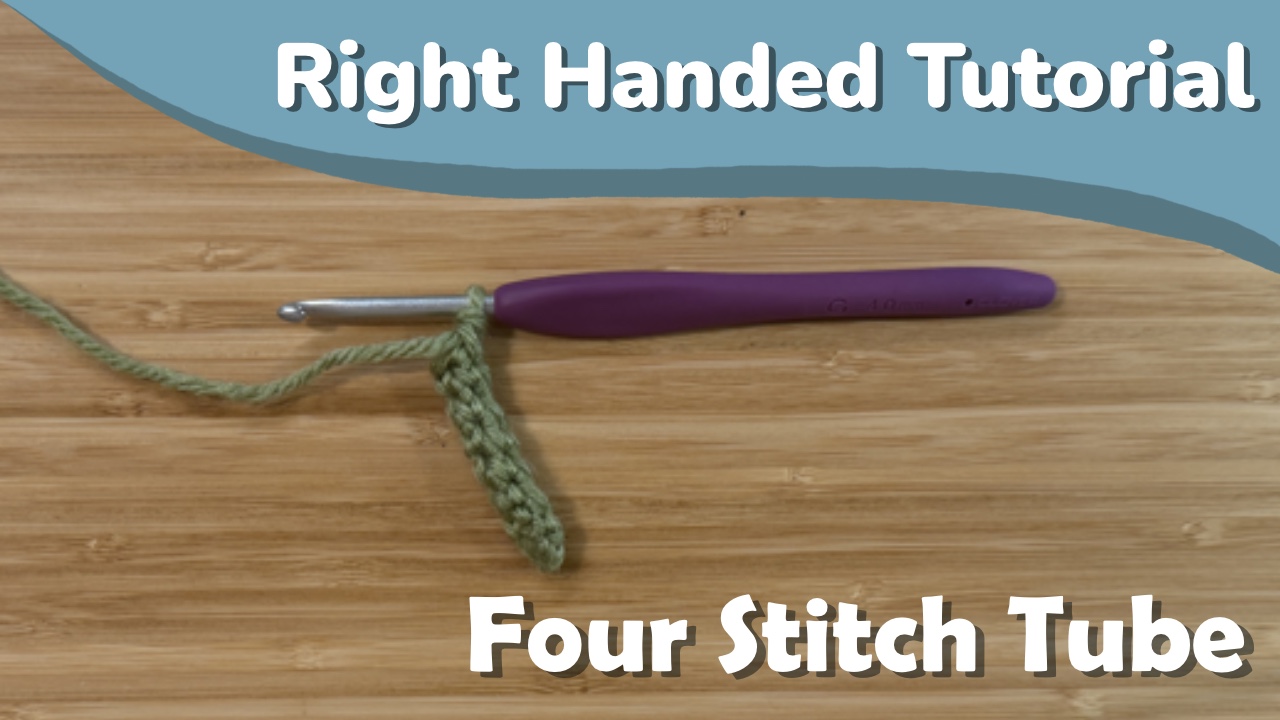
Sometimes I like to make crochet tubes for limbs or hair, but sometimes the tube that works best is four stitches around, and kind of a pain to make. In this post, I’ll show you how I work into a four stitch magic circle while ensuring that my work is flipped right side out.
If you’re right handed, you can find that tutorial here, or if you prefer a video tutorial you can check that out here.
Tutorial
Start by making a magic circle with four stitches.
I don’t put a stitch marker in yet since it tends to get in the way. Sc 3 in your second round.
Your tube will begin to form, but it’s likely to be inside out at this point. You can tell based on where the tail from your magic circle is- if the tail is on the outside of the tube, you’ve got your tube inside out
This is the point where I flip my piece right side out. I’ve found that 3 stitches is the sweet spot where I can still flip the tube right side out but not have it flip itself back the other way with the next stitches worked. This may be a bit tricky, so it could help to use your crochet hook or something similar to push the tube right side out.
The next stitch can be a bit tricky to find with how tight these rounds tend to be worked, but find it and work a final sc into that stitch.
From here on out you’re good to go! You can place your stitch marker in if you want, but I tend to just crochet until my tube is as long as I want it and not pay attention to round starts.
That’s all there is to it! I hope this helps you with any of your tiny tube needs!
Sometimes I like to make crochet tubes for limbs or hair, but sometimes the tube that works best is four stitches around, and kind of a pain to make. In this post, I’ll show you how I work into a four stitch magic circle while ensuring that my work is flipped right side out.
If you’re left handed, you can find that tutorial here, or if you prefer a video tutorial you can check that out here.
Tutorial
Start by making a magic circle with four stitches.
I don’t put a stitch marker in yet since it tends to get in the way. Sc 3 in your second round.
Your tube will begin to form, but it’s likely to be inside out at this point. You can tell based on where the tail from your magic circle is- if the tail is on the outside of the tube, you’ve got your tube inside out
This is the point where I flip my piece right side out. I’ve found that 3 stitches is the sweet spot where I can still flip the tube right side out but not have it flip itself back the other way with the next stitches worked. This may be a bit tricky, so it could help to use your crochet hook or something similar to push the tube right side out.
The next stitch can be a bit tricky to find with how tight these rounds tend to be worked, but find it and work a final sc into that stitch.
From here on out you’re good to go! You can place your stitch marker in if you want, but I tend to just crochet until my tube is as long as I want it and not pay attention to round starts.
That’s all there is to it! I hope this helps you with any of your tiny tube needs!
In this post, we’ll cover how to do an invisible decrease. This stitch is often used in amigurumi or other patterns worked in continuous rounds because it creates a stitch that is less visible than a traditional single crochet decrease.
If you’re left handed, you can find that tutorial here, or if you prefer a video tutorial you can find that here.
Working the invisible decrease
This stitch really only works in continuous rounds due to the way the stitches overlap. We’re working into the front stitches of the two stitches we want to decrease into, marked in the image below.
Put your hook through the front loop of the first stitch.
Now put your hook through the front loop of the second stitch.
Your hook is now through the front loops of the two stitches we want to decrease through. We do this by working a single crochet through them both. Yarn over and pull a loop through both of these front loops.
Now, yarn over and pull through both loops on your hook.
And that’s all there is to an invisible decrease! You can also do this with more than just 2 stitches if you need to- I tend to use 3 stitch decreases when I’m making a cube shape.
In this post, we’ll cover how to do an invisible decrease. This stitch is often used in amigurumi or other patterns worked in continuous rounds because it creates a stitch that is less visible than a traditional single crochet decrease.
If you’re left handed, you can find that tutorial here, or if you prefer a video tutorial you can find that here.
Working the invisible decrease
This stitch really only works in continuous rounds due to the way the stitches overlap. We’re working into the front stitches of the two stitches we want to decrease into, marked in the image below.
Put your hook through the front loop of the first stitch.
Now put your hook through the front loop of the second stitch.
Your hook is now through the front loops of the two stitches we want to decrease through. We do this by working a single crochet through them both. Yarn over and pull a loop through both of these front loops.
Now, yarn over and pull through both loops on your hook.
And that’s all there is to an invisible decrease! You can also do this with more than just 2 stitches if you need to- I tend to use 3 stitch decreases when I’m making a cube shape.
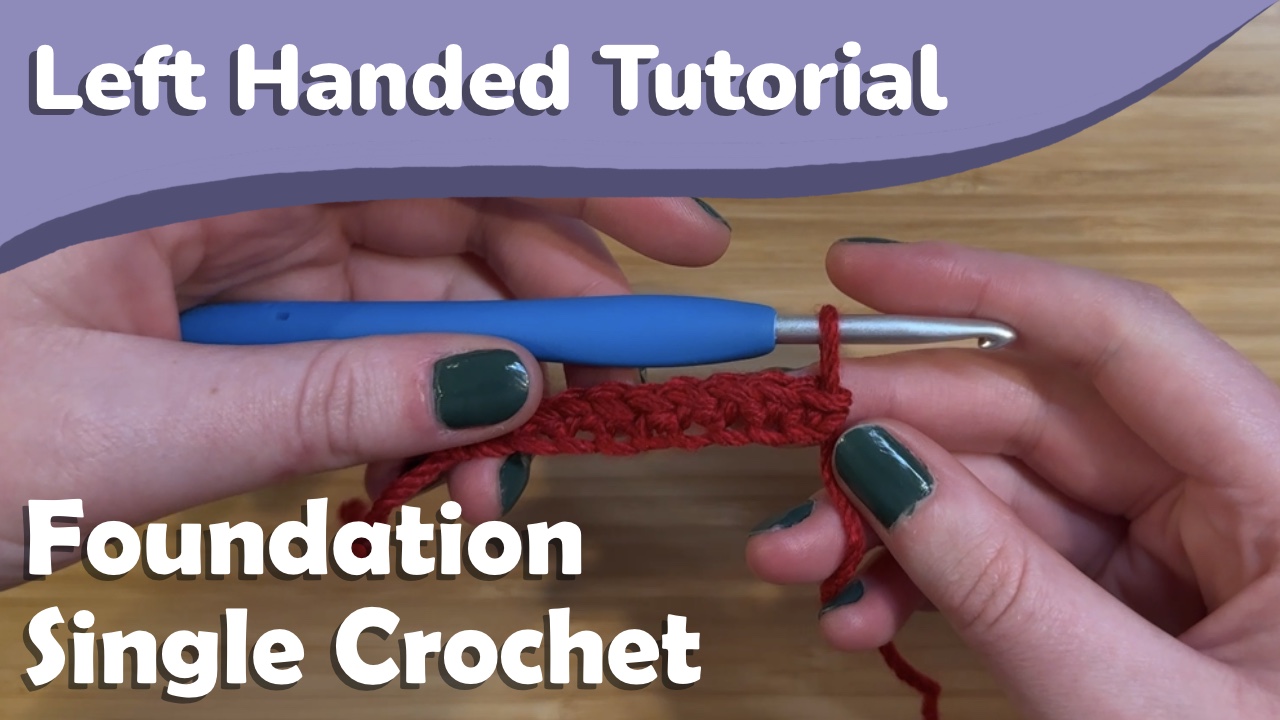
Foundation stitches allow you to make the first row of your crochet work without a starting chain, as well as extend an existing piece (more on that here!). They don’t always work for everything, and they don’t have as clean of an edge as if you were to work in the back bumps of a starting chain, but they’re a great tool to have in your crochet toolbelt.
This post focuses on a foundation single crochet, but at the end we’ll also cover using this technique to do the foundation version of other stitches.
If you prefer a video tutorial, you can find that here, and if you’re right handed you can find that tutorial here.
Working the First Stitch
Start with a slip knot on your hook and chain 2.
Insert your hook into the second chain from your hook, and pull up a loop.
Yarn over, and pull through the first loop on your hook. This step is what allows us to extend our single crochets into a foundation stitch- it sort of turns the loop we pulled up into a chain.
Now, yarn over, and pull through both loops on your hook.
That’s the start of our foundation single crochet!
Working the Next Stitches
The process for working a foundation single crochet is the same as for the first stitch, but we’re going to be working in the bottom of the previous foundation stitch.
Insert your hook into the bottom of the previous foundation single crochet. This is the loop that I mentioned acted as a chain in our first stitch, and is indicated in the image below.
From here on, the steps to work a foundation single crochet are the same as the first stitch. Pull up a loop.
Yarn over, and pull through one loop on your hook.
Yarn over and pull through both loops on your hook.
For Other Stitches
The process for working other stitches in a foundation-like way is the same as for single crochet. Start with a chain of length turning chain + 1, as if you’re working a row of 1 stitch. For double crochet, since it requires a turning chain of 3, this means chaining 4.
You’ll then go into the first chain as if you’re making a row of one stitch. For double crochet, this means yarning over, inserting your hook into that first chain, and pulling up a loop.
You’re then going to yarn over and pull a loop through one loop on your hook. Again, this is creating the “chain” for our foundation stitches. From there you complete your stitch as normal.
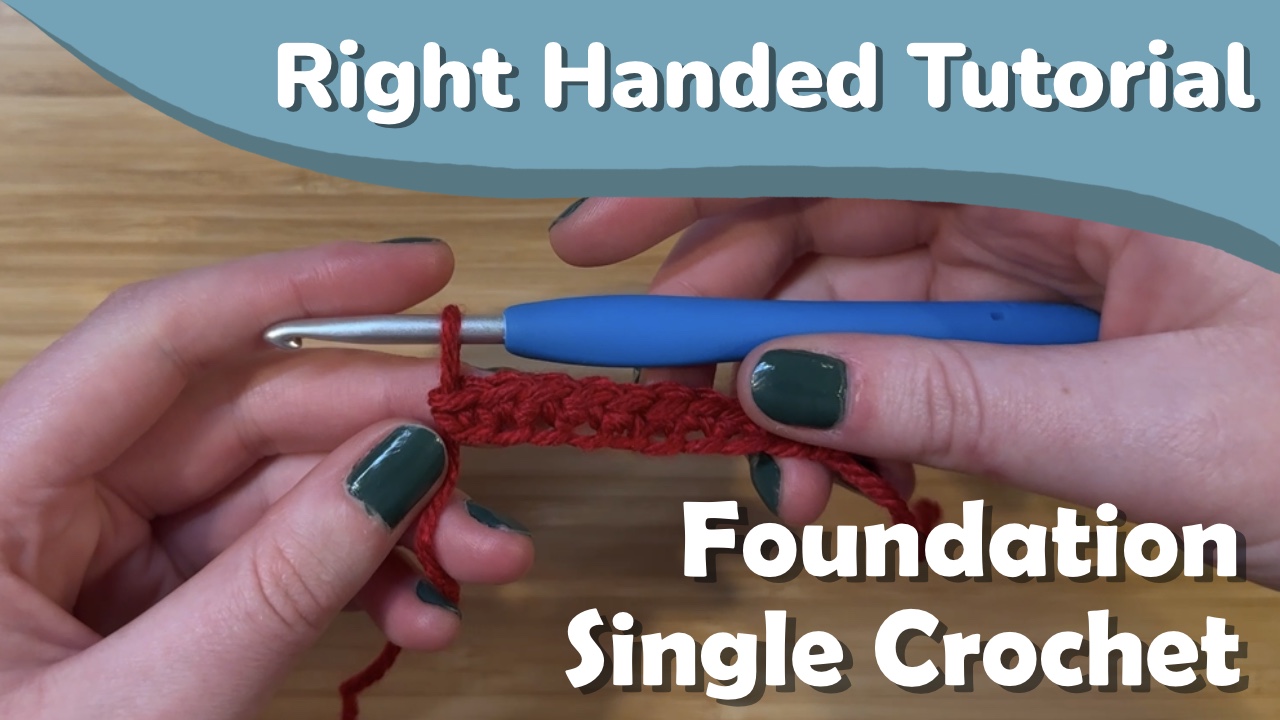
Foundation stitches allow you to make the first row of your crochet work without a starting chain, as well as extend an existing piece (more on that here!). They don’t always work for everything, and they don’t have as clean of an edge as if you were to work in the back bumps of a starting chain, but they’re a great tool to have in your crochet toolbelt.
This post focuses on a foundation single crochet, but at the end we’ll also cover using this technique to do the foundation version of other stitches.
If you prefer a video tutorial, you can find that here, and if you’re left handed you can find that tutorial here.
Working the First Stitch
Start with a slip knot on your hook and chain 2.
Insert your hook into the second chain from your hook, and pull up a loop.
Yarn over, and pull through the first loop on your hook. This step is what allows us to extend our single crochets into a foundation stitch- it sort of turns the loop we pulled up into a chain.
Now, yarn over, and pull through both loops on your hook.
That’s the start of our foundation single crochet!
Working the Next Stitches
The process for working a foundation single crochet is the same as for the first stitch, but we’re going to be working in the bottom of the previous foundation stitch.
Insert your hook into the bottom of the previous foundation single crochet. This is the loop that I mentioned acted as a chain in our first stitch, and is indicated in the image below.
From here on, the steps to work a foundation single crochet are the same as the first stitch. Pull up a loop.
Yarn over, and pull through one loop on your hook.
Yarn over and pull through both loops on your hook.
For Other Stitches
The process for working other stitches in a foundation-like way is the same as for single crochet. Start with a chain of length turning chain + 1, as if you’re working a row of 1 stitch. For double crochet, since it requires a turning chain of 3, this means chaining 4.
You’ll then go into the first chain as if you’re making a row of one stitch. For double crochet, this means yarning over, inserting your hook into that first chain, and pulling up a loop.
You’re then going to yarn over and pull a loop through one loop on your hook. Again, this is creating the “chain” for our foundation stitches. From there you complete your stitch as normal.
Cookie Consent
We use cookies to improve your experience on our site. By using our site, you consent to cookies.
Used to monitor number of Google Analytics server requests when using Google Tag Manager
1 minute
_gid
ID used to identify users for 24 hours after last activity
24 hours
_gac_
Contains information related to marketing campaigns of the user. These are shared with Google AdWords / Google Ads when the Google Ads and Google Analytics accounts are linked together.
90 days
_gali
Used by Google Analytics to determine which links on a page are being clicked
30 seconds
_ga
ID used to identify users
2 years
__utmx
Used to determine whether a user is included in an A / B or Multivariate test.
18 months
__utmv
Contains custom information set by the web developer via the _setCustomVar method in Google Analytics. This cookie is updated every time new data is sent to the Google Analytics server.
2 years after last activity
__utmz
Contains information about the traffic source or campaign that directed user to the website. The cookie is set when the GA.js javascript is loaded and updated when data is sent to the Google Anaytics server
6 months after last activity
__utmc
Used only with old Urchin versions of Google Analytics and not with GA.js. Was used to distinguish between new sessions and visits at the end of a session.
End of session (browser)
__utmb
Used to distinguish new sessions and visits. This cookie is set when the GA.js javascript library is loaded and there is no existing __utmb cookie. The cookie is updated every time data is sent to the Google Analytics server.
30 minutes after last activity
__utmt
Used to monitor number of Google Analytics server requests
10 minutes
__utma
ID used to identify users and sessions
2 years after last activity
SourceBuster is used by WooCommerce for order attribution based on user source.
Name
Description
Duration
sbjs_migrations
Technical data to help with migrations between different versions of the tracking feature
session
sbjs_current_add
Timestamp, referring URL, and entry page for your visitor’s current visit to your store
session
sbjs_first_add
Timestamp, referring URL, and entry page for your visitor’s first visit to your store (only applicable if the visitor returns before the session expires)
session
sbjs_current
Traffic origin information for the visitor’s current visit to your store
session
sbjs_first
Traffic origin information for the visitor’s first visit to your store (only applicable if the visitor returns before the session expires)
session
sbjs_udata
Information about the visitor’s user agent, such as IP, the browser, and the device type
session
sbjs_session
The number of page views in this session and the current page path