If you’ve made it here, that means you’ve (probably) finished the Crochetsics Basics course! Congratulations!
I hope this course was useful in getting you started with crochet and you can now hit the ground running with future patterns you come across. We obviously didn’t cover everything possible with crochet, since that’s impossible, but if you’re looking for next steps I’d suggest looking into color changes and stitch patterns, like moss stitch, griddle stitch, or suzette stitch. Or just go find a pattern you like and look up tutorials for things you don’t know! The best way to learn in crochet (or in general) is through practice, and it helps if it’s practice on a project you’re excited about.
I’ll be continuing posting patterns, tutorials, and techniques on this site (and on my YouTube channel!), so if you have any interest in amigurumi or tapestry crochet, consider looking around here! Those are some of my favorite parts of crochet and I personally find them super fun.
If you found this series helpful to you, consider buying me a coffee over on my Ko-Fi! You don’t have to do this, but it helps me keep working on stuff like this, and helps keep the website up.
Thanks so much for going on this journey with me, and enjoy your future crochet adventures!
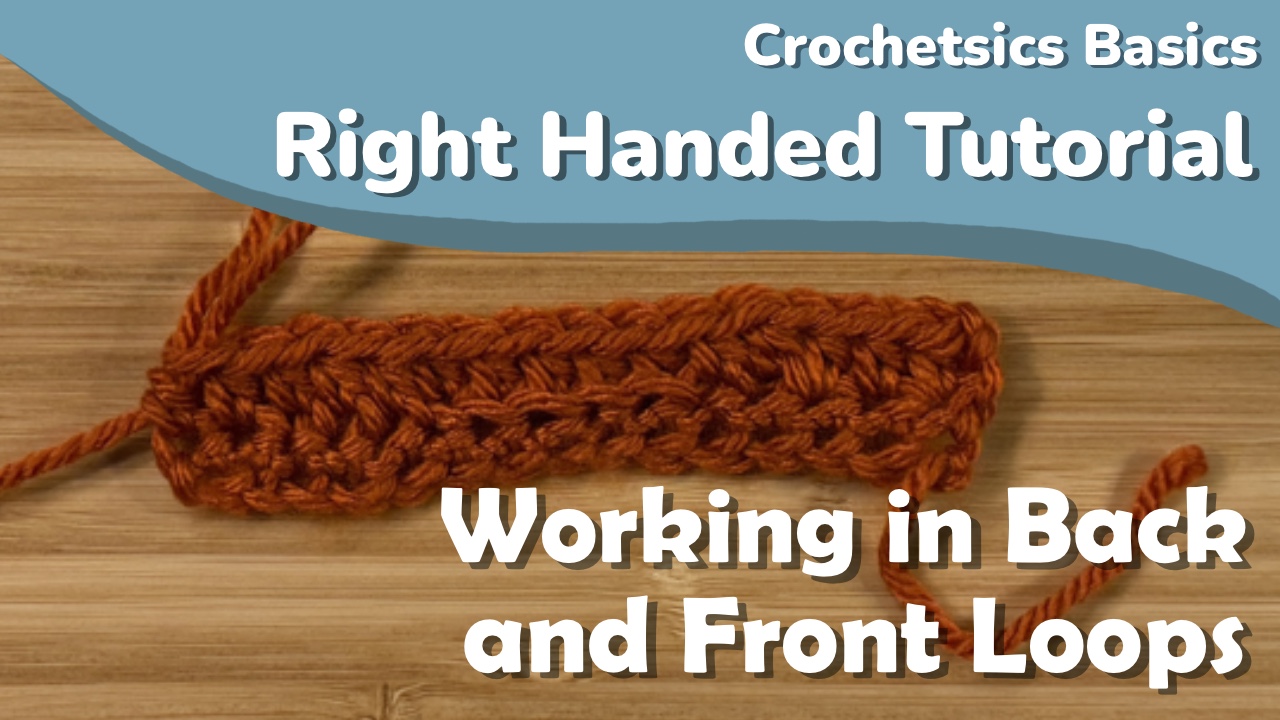
Every stitch so far we’ve worked under both loops of the stitch we’re working into. For the most part, this is how crochet stitches are worked. Sometimes, however, you’ll be asked to work into only one of these loops, noted as BLO (back loop only) or FLO (front loop only).
If you’re left-handed, check that tutorial out here, or if you prefer a video tutorial check that out here.
Here’s an image with the front and back loops of a stitch annotated and held as you’d be starting to work across the row:
Which loop is the “back” versus the “front” depends on which loop is closest to you. The front loop is the closest loop, and the back loop is the furthest loop. If your stitches are facing the other way (for example, in continuous rounds), the front and back loops look like this:
You can see that the front and back loops are in the same location, but the stitch itself is flipped.
This tutorial will use single crochets as an example stitch.
Working in Back Loops
The shorthand for working in the back loops in a written pattern is BLO.
The chart symbol for working in the back loops is
This symbol will be at the bottom of the stitch to be worked in the back loops of the previous row.
To work into just the back loop, insert your hook through the middle of the top of the stitch.
You’ll push through the stitch so that the only part overlapping your hook is that one piece of yarn- the back loop
You can now complete your stitch as normal!
Working in Front Loops
The shorthand for working in the front loops in a written pattern is FLO.
The chart symbol for working in the front loops is
This symbol will be at the bottom of the stitch to be worked in the front loops of the previous row.
To work into just the front loop, your hook will start in the same place as it would when you work a stitch normally.
Instead of going under both loops, tilt your hook upwards to catch just that first loop on your hook and go between the loops.
Now you can complete your stitch as normal!
Final notes
These are the last techniques used in the second cinch sack pattern! There are some tips or replacements in that pattern if you’re struggling with the cluster stitches, but other than that you now know everything you need to make it! I’ll see you in the next post for the finale 🙂
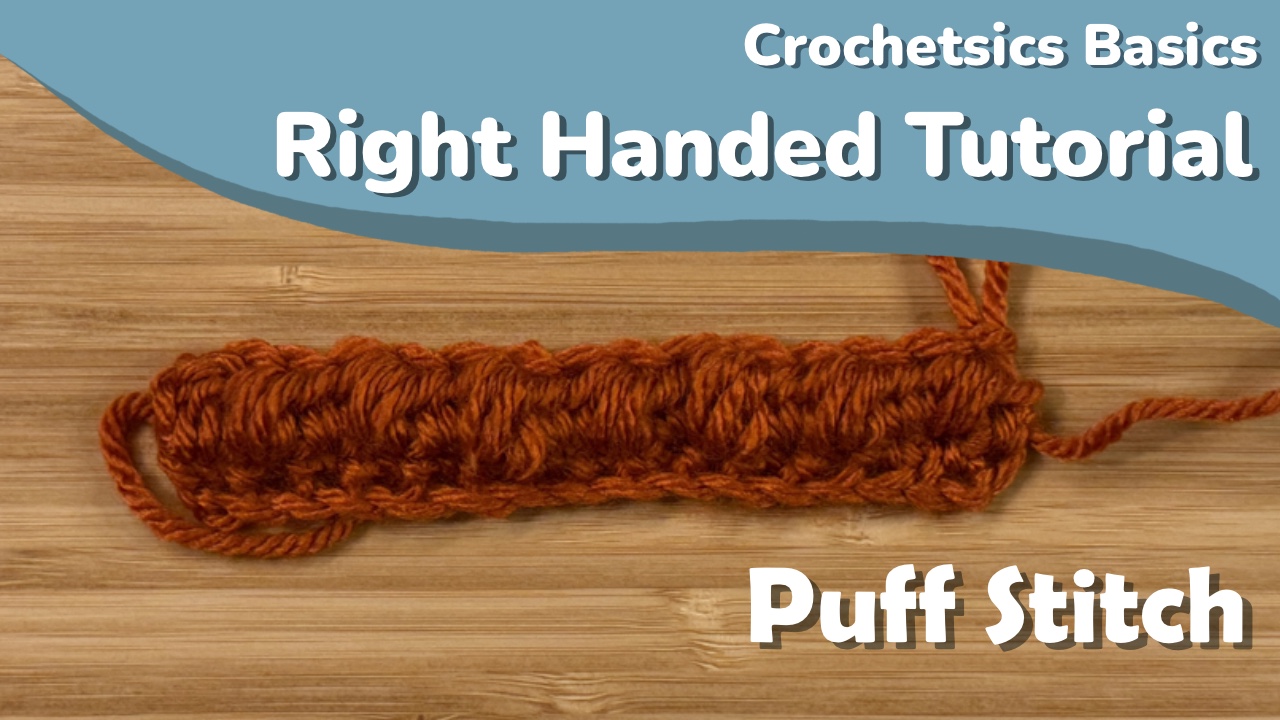
In this post, we’ll cover how to do the puff stitch. If you’ve ever seen a textured crochet afghan, this was likely one of the stitches used to make those little bumps.
This isn’t the only texture creating stitch like this- there’s also the bobble and popcorn stitch- but if you’re following the Crochetsics Basics course, this is the one we use in the second cinch sack.
If you’re left-handed, check that tutorial out here, or if you prefer a video tutorial check that out here.
Puff stitch
Puff stitches are a number of incomplete half double crochets, usually 3 to 5 from what I’ve seen. This example will use 3 half double crochets.
Here’s what the puff stitch looks like:
Stitch Instructions
The shorthand for puff stitches in a written pattern is puff.
The chart symbol for puff stitches is
We’ll start by yarning over and inserting our hook into the next stitch to pull up a loop.
You’ll now have three loops on your hook. We’ll now repeat that process two more times. Yarn over, insert your hook into the same stitch and pull up a loop
You’ll now have five loops on your hook. One more time: yarn over, insert your hook into the same stitch and pull up a loop
You should now have seven loops on your hook. Yarn over, and pull that loop through all the loops on your hook.
You’ve completed a puff stitch!
This stitch is also worked from the wrong side of your work, meaning that the front of the puff stitch is on the side opposite you when you stitch it. The side opposite you is the side that protrudes more from the crocheted fabric.
Below you can see a comparison between the front and back of some puff stitches.
Tips/common issues
The biggest issue with these stitches is being able to keep hold of your final loop while pulling it through every other stitch on your hook. It truly does just take practice and time, and making sure your tension isn’t so tight you can’t pull your hook through, or so loose you lose the loop you’re trying to pull through.
If you’re following along with the Crochetsics course and making the projects that go along with it, there is an alternative in the second pattern if you find yourself struggling with this stitch and want an alternative.
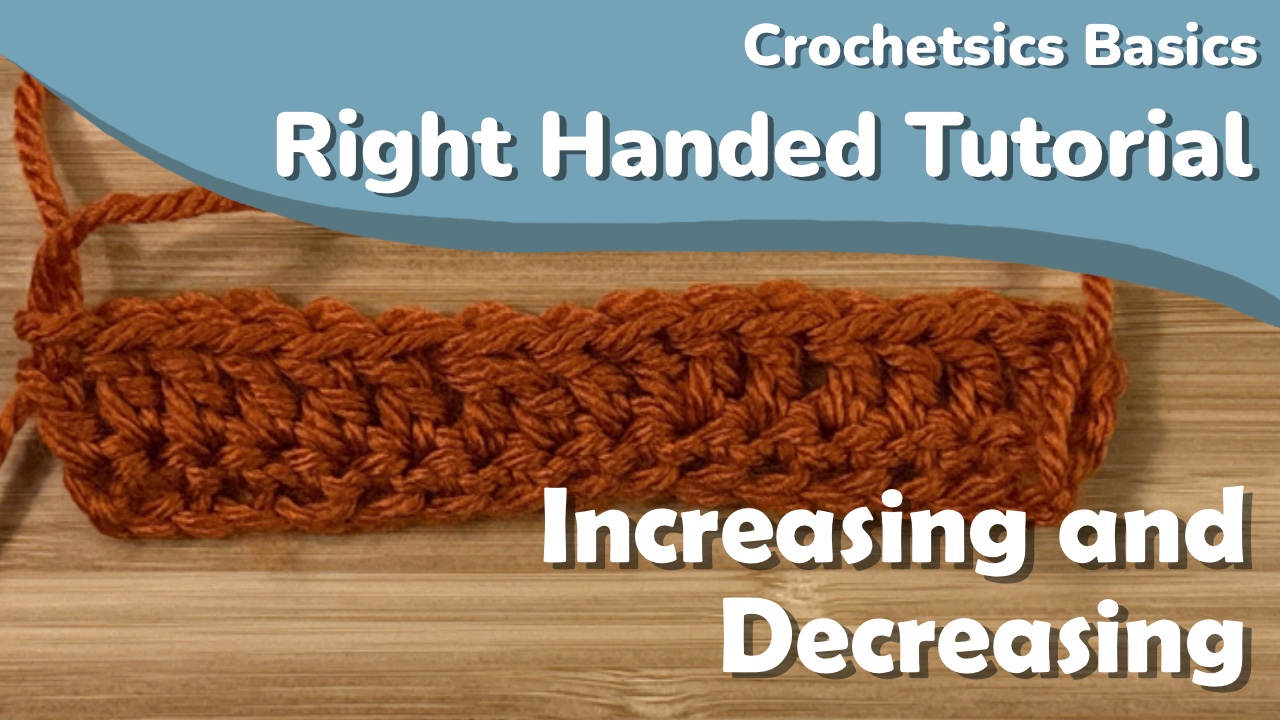
Here we’ll cover how to increase and decrease in crochet. Increasing is relatively simple, just putting two stitches in the same stitch, while decreasing is a bit more difficult since you leave a stitch unfinished, start a stitch in the next stitch, then finish the two stitches at the same time. We’ll cover each of these in more detail below.
If you’re left-handed, check that tutorial out here, or if you prefer a video tutorial check that out here.
Increasing
Increasing is the same regardless of stitch- you’ll just place another stitch in the same stitch you just worked into. The example below uses single crochets, but the same thing works for half double, double, or treble crochets.
Single Crochet Increase
The shorthand for a single crochet increase in a written pattern is sc inc.
The chart symbol for single crochet increases is
First, make a single crochet stitch in the next stitch
Now, insert your hook into the stitch you just worked into.
Do a single crochet into this stitch.
In the image above you can see that there are now two stitches in the same gap!
Some patterns might require you to increase more than this, which may be notated as sc 3 inc, or something similar.
Double Crochet Increase
The shorthand for a double crochet increase in a written pattern is dc inc.
The chart symbol for double crochet increases is
A double crochet increase works the exact same way as a single crochet increase. Do a double crochet into the next stitch.
Now, yarn over and insert your hook back into the stitch you just worked into.
Complete a double crochet in this stitch.
It’s a little easier here to see the two double crochets in the same stitch than two single crochets.
Decreasing
Decreases are a little trickier, so we’ll go over a single and double crochet decrease as examples. All decrease types work mostly the same!
Single crochet decrease
The shorthand for a single crochet decrease in a written pattern is sc dec or sc2tog.
The chart symbol for single crochet decreases is
To do a single crochet decrease, insert your hook into the next stitch and pull up a loop.
You aren’t going to finish your stitch here. Insert your hook into the next stitch and pull up another loop.
Now you should have three loops on your hook. Yarn over, and pull that loop through all three loops on your hook.
It’s a little difficult to see, but there are two v’s for the front of each single crochet, but they meet under a single v at the top of the stitch. If you look at what the double crochet decrease looks like, it’s a bit clearer to see the two stitches coming under the single v at the top.
Double crochet decrease
The shorthand for a double crochet decrease in a written pattern is dc dec or dc2tog.
The chart symbol for double crochet decreases is
Other stitch decreases work similarly- you’ll work all of a stitch except for the final loop, then work another stitch in the next stitch. You’ll do the last yarn over and pull through for both of these stitches at the same time. We’ll see an example of this with double crochet. Start by yarning over, inserting your hook in the next stitch, and pulling up a loop.
Now, yarn over, and pull through two loops. You’ll have two loops left on your hook.
If we were to yarn over and pull through now, we’d have completed a double crochet. Since we want to decrease, we’ll leave these loops on our hook, and start another double crochet. Yarn over, insert your hook into the next stitch, and pull up a loop. You’ll have 4 loops on your hook at this point
Now, yarn over and pull through the first two loops on your hook.
You’ll have 3 loops on your hook at this point, with two unfinished double crochets. Yarn over, and pull through all three loops.
You’ve finished a double crochet decrease!
Generally, any decrease is going to be a process of doing all but the final yarn over of a stitch, then starting the next stitch, and using the final yarn over of that one to complete both stitches.
>2 stitch decreases
You can also decrease more than one stitch if it calls for it- it might be written something like 3 sc dec, or sc3tog, which means you’re going to have three incomplete single crochets on your hook before doing that last yarn over and pull through. This turns 3 stitches into 1.
Next up is the puff stitch which is like a combination of increasing and decreasing to create texture in a project.
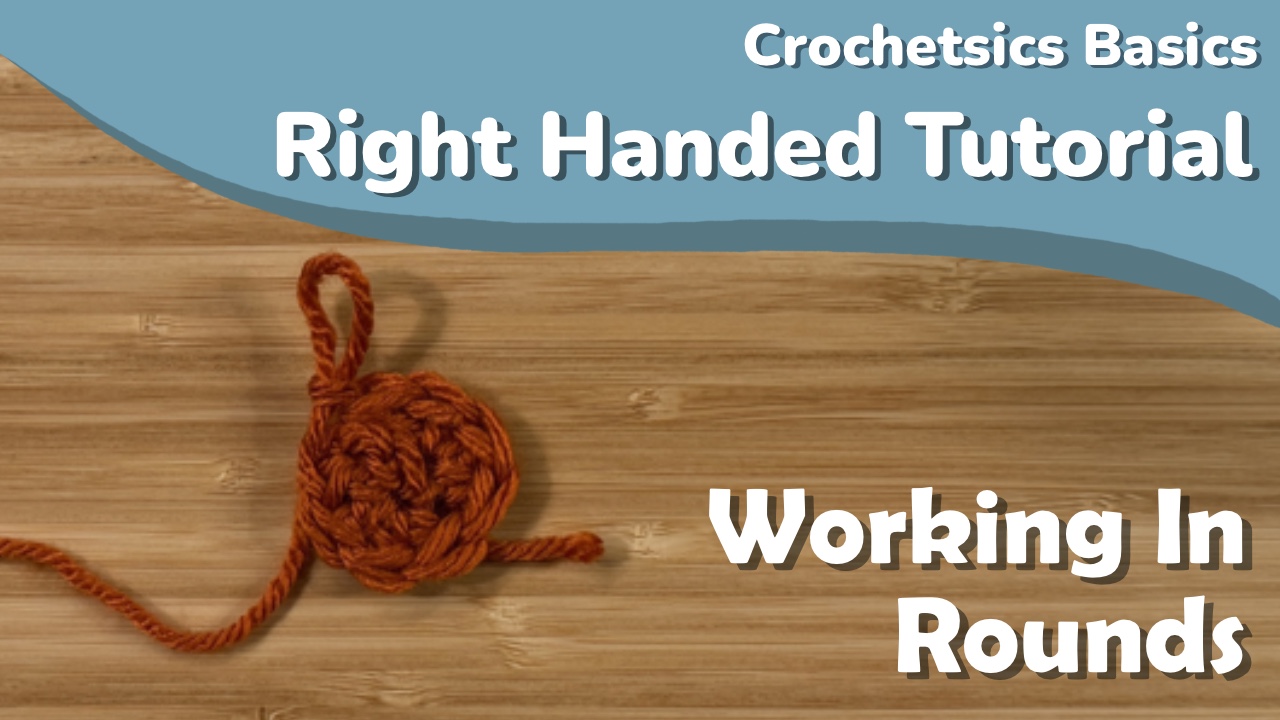
In the Crochetsics Basics course so far we’ve been working in rows, but many projects (including the second cinch sack) are worked in rounds. There are a few different ways to make your first round, as well as a few ways to work in rounds once you’ve started. For the sake of this course, we’ll only cover what’s needed for the second cinch sack pattern, just to keep things simple.
If you’re left-handed, check that tutorial out here, or if you prefer a video tutorial check that out here.
Starting rounds
One way to start your rounds is by making a chain and working into the first chain. This is likely the easiest and most intuitive for beginners as well.
Start by chaining the length of your turning chain for your stitch plus one. For double crochet, our turning chain is three, so we’ll chain four.
Now, we’ll work as many stitches as we need into the first chain. Usually you’re working enough stitches into this starting chain that you may need to rotate your work and work into the other side of the chain:
Working rounds
So you’ve got your first round done and now need to start the second. Every pattern is different, but there’s two main methods: continuous or concentric rounds. Here, we’ll cover continuous rounds and concentric turned rounds (often just called turned rounds).
Continuous rounds
Continuous rounds create a spiral look. From our double crochet example, the way we would continue would be to stitch directly into our first stitch, which you can see below:
With continuous rounds, there’s no clear start and end to your round, so stitch markers are a must. I tend to mark the final stitch of a round with my markers.
This also creates a spiral look, which is a bit easier to see in the bottom of the cinch sack below, worked in single crochet:
Concentric turned rounds
Concentric rounds work much like rows in that there’s always a turning chain to get back up to height. They also use a slip stitch to connect the start and end of rounds.
When you get to the end of your round while working in turned rounds, you’ll slip stitch to the first stitch of the round to close it.
Then, you’ll make your turning chain just like you would when working in rows. For this double crochet example, we’d chain 3 and turn our work since we’re working in turned rounds.
You’re then going to work back along your circle, the same as you would for working in rows. The first stitch of the round is marked in the image below.
Again, there are a few other ways to start or work in rounds with crochet, but those are the ways we need for the second cinch sack. If you’re following a pattern, it should tell you the way to start and the way to work your rounds (i.e. continuous spiral rounds).
Next up is increasing and decreasing, which are essential when working in rounds!
Reading a crochet pattern is all about understanding the shorthand. So far in the Crochetsics course we’ve covered every basic stitch in crochet, and you’ll be able to make the first cinch sack using just those.
First, there are a few different ways that crochet patterns may be created: written, charts, or video.
Written
Written patterns I think are the most common. These patterns are a written set of instructions using shorthand for the stitches you need to do. For example, if a pattern says “sc 3” that means single crochet in each of the next 3 stitches.
These will also note starts and ends of rows or rounds. Here’s an example of how I write a pattern, using a few rows from the first cinch sack in the Crochetsics course:
The numbers at the end of the row instructions note how many total stitches should be worked in the row before turning. In Row 2, you’ll see it says (RS) which is short for right side. This is the side of the cinch sack that will face outward when you’re done.
You’ll also see that in Row 4 there are a bunch of stitches in square brackets. This is how I personally notate stitch repeats. Row 4 is saying to work the stitches in the brackets 5 times (that’s the “x5” at the end) to finish the row. This is easier to read (and write!) than listing every single stitch in the row when it’s a repeated pattern.
Sometimes repeats will be noted with normal parentheses or with asterisks, but shorthand like this will likely be defined at the start of a pattern. If you’re ever unclear on what a pattern is saying, the Craft Yarn Council has a crochet abbreviations master list that I find useful.
The source above also lists translations between UK terminology and US terminology, since there are differences! I write my patterns in US terminology because I’m from the US, but also because I find it far more intuitive. UK patterns don’t have a single crochet stitch- what the US calls a single crochet, the UK calls a double crochet. The rule of thumb is that UK stitches are one more than US (US single = UK double, US double = UK treble, etc.). Patterns should note their terminology at the start, so make sure you check so you read the pattern correctly.
Charts
Charts are a visual representation of the stitches present in a pattern and where they’re placed. These are likely more useful once you have a bit of crochet experience and are able to identify stitches and stitch locations. Below is the chart I made for the first cinch sack pattern in the Crochetsics course.
In charts, each stitch is represented with a different symbol, which tend to be standardized.
In this chart, you can see how the stitches are stacked on top of each other. The chart shows both what stitches are made in each row and what stitches they’re worked into in the previous round.
Charts are often used for lacework, where a few sections of a repeated pattern are charted up. Lacework is worked flat and usually doesn’t have too many stitches, which also makes it ideal for charts.
Video
Video patterns I think are generally preferred by people who are just beginning with crochet. That’s not to say that people who have been crocheting a long time don’t use these, just that it can be very helpful to see exactly what someone is doing when you’re just starting out. In my experience, video patterns may also put the written version of each row somewhere on the screen while each row is being crocheted.
The pattern for the first cinch sack I’ve designed for the Crochetsics Basics course is available in all three formats so you can gain some familiarity with what each format looks like. I’d suggest using the video format with the written pattern next to you. The video pattern has the written format for each row on screen as well, but getting familiarity with written patterns is useful since those are the most common.
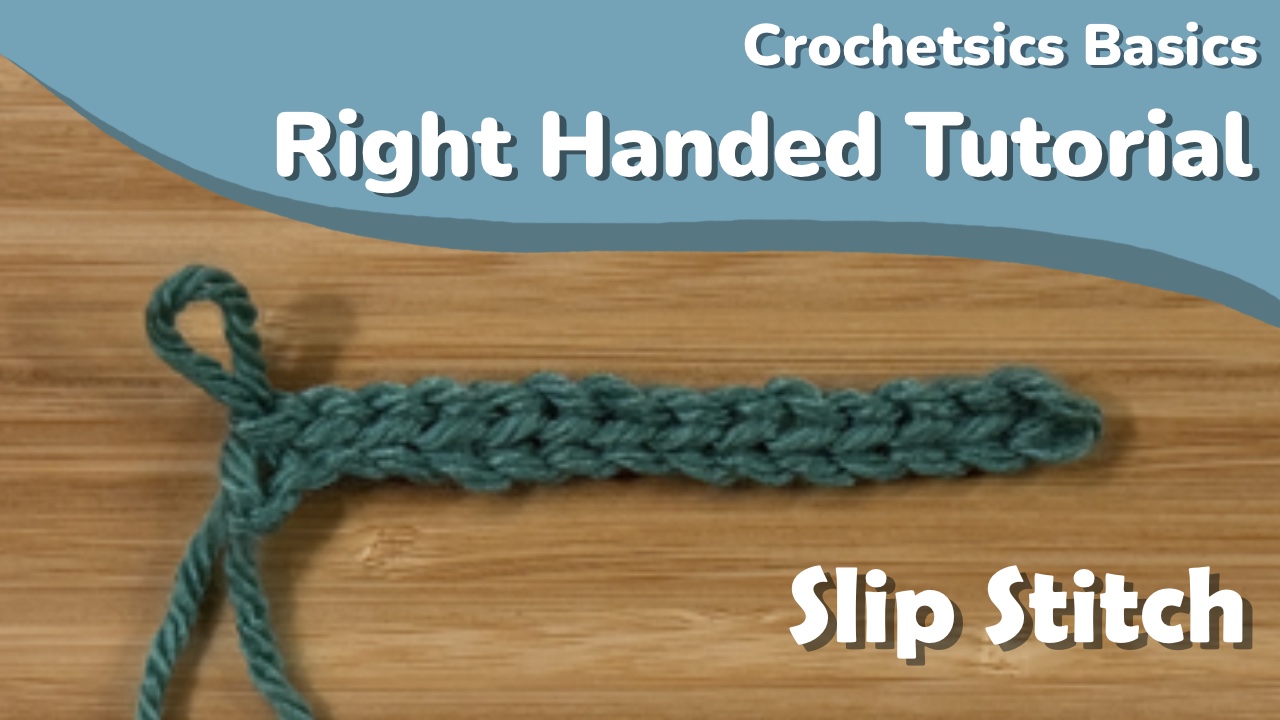
In this post, we’ll cover how to do the slip stitch in crochet. If you’re left-handed, check that tutorial out here, or if you prefer a video tutorial check that out here.
This stitch is easiest to learn in the middle of a row of existing stitches, so that’s how this tutorial will be presented.
Here’s what the slip stitch looks like:
Stitch instructions
The shorthand for slip stitches in a written pattern is sl st.
The chart symbol for slip stitches is
To do a slip stitch, you’ll start the same way as a single crochet: inserting your hook into the next stitch and yarning over.
You’re going to take that loop and pull it through the stitch AND through the loop on your hook
This is not a stitch that adds height- you’re not going to be working into these stitches very often. They’re often used to connect rounds or at the edge of a piece to vary height.
That’s the last stitch for the first half of the Crochetsics course as well, so if you’re following along, next post is going to be a little bit on crochet terminology and pattern reading, as well as our first pattern!
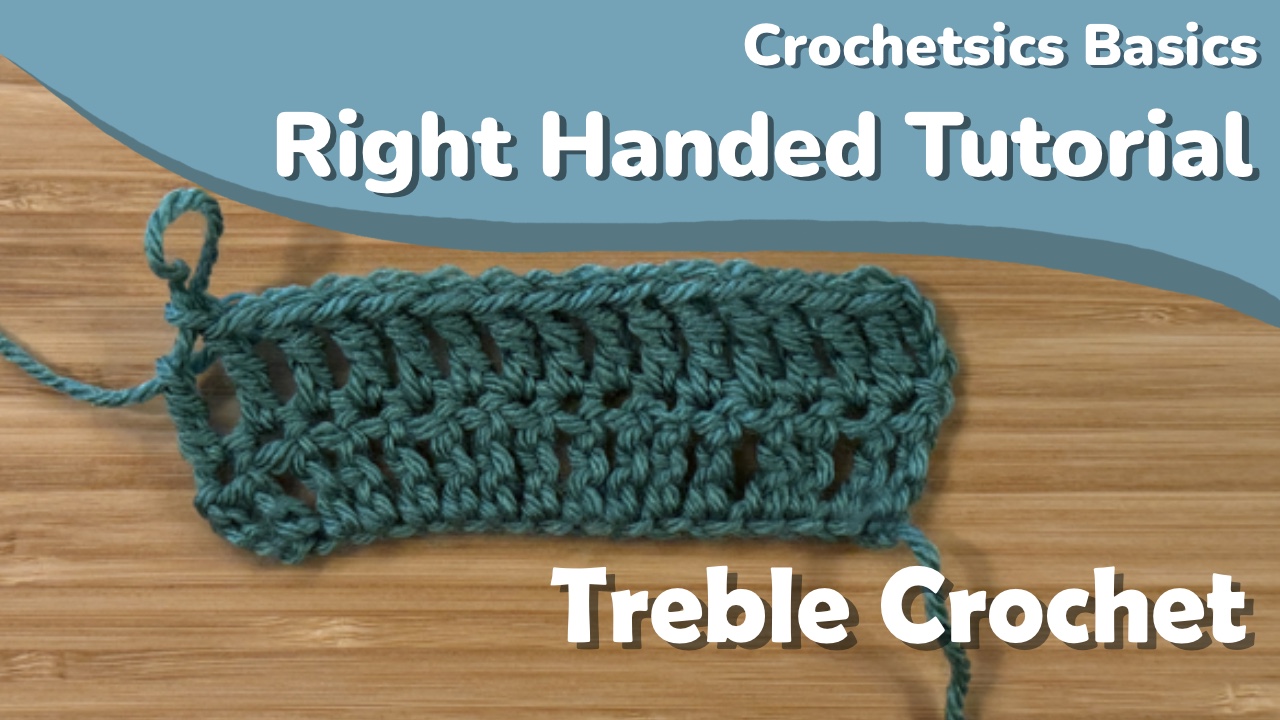
In this post, we’ll cover how to do the treble crochet stitch. If you’re left-handed, check that tutorial out here, or if you prefer a video tutorial check that out here.
Before we get started, make sure you have a chain of about 15 or so, which you can learn how to do here.
Here’s what the treble crochet looks like:
Stitch instructions
The shorthand for treble crochets in a written pattern is tc.
The chart symbol for treble crochets is
Start by identifying the fifth chain from your hook which is indicated in the image below. This is one chain further than double crochet.
Treble crochet starts similarly to double crochet, except it has two yarn overs before inserting your hook into the starting chain. So yarn over once, then yarn over again.
Once you’ve yarned over twice, you’re going to want to insert your hook into the fifth chain from your hook that we identified earlier.
We’ll then yarn over and pull that loop through the chain.
You now have four loops on your hook.
Yarn over again, and pull that loop through just two loops on your hook.
You should have three loops left on your hook after this.
You’ll now yarn over again, and pull that loop through two more loops on your hook.
You’ll have two loops left on your hook.
Finally, yarn over and pull that loop through both loops on your hook so you have a single loop left on your hook.
That’s a treble crochet!
Continue working one treble crochet in every chain until you get to the end of the chain.
Continuing in rows
To continue with rows in treble crochet, you’re going to make a turning chain of 4 and then turn your work.
Now you can work treble crochets in the top of every stitch from the previous row. If you’re having trouble identifying the first stitch to work into, it’s marked in the image below:
Tips/common issues
If you’re having issues with this stitch, they’re likely similar to issues that may come up with half double crochet or double crochet.
Trouble inserting your hook into the stitch after yarning over- This is even more difficult now that there are two yarn overs before inserting your hook. If you watch the gif, you can see that I’m holding the yarn overs with my index finger as I insert my hook into the stitch. This can help keep the loops on your hook as you insert it.
Having trouble pulling through only two loops- This can be hard with this many loops on your hook. It’s really just an issue of practice and control-try and go slowly as you pull your hook through, making sure you’re not holding anything too tightly. It might be helpful to try and go through a single loop at a time rather than two in one pass.
Our last stitch for the first half of the Crochetsics course is the slip stitch, and then we’ll start our first project! I’ll see you in the next post for the slip stitch.
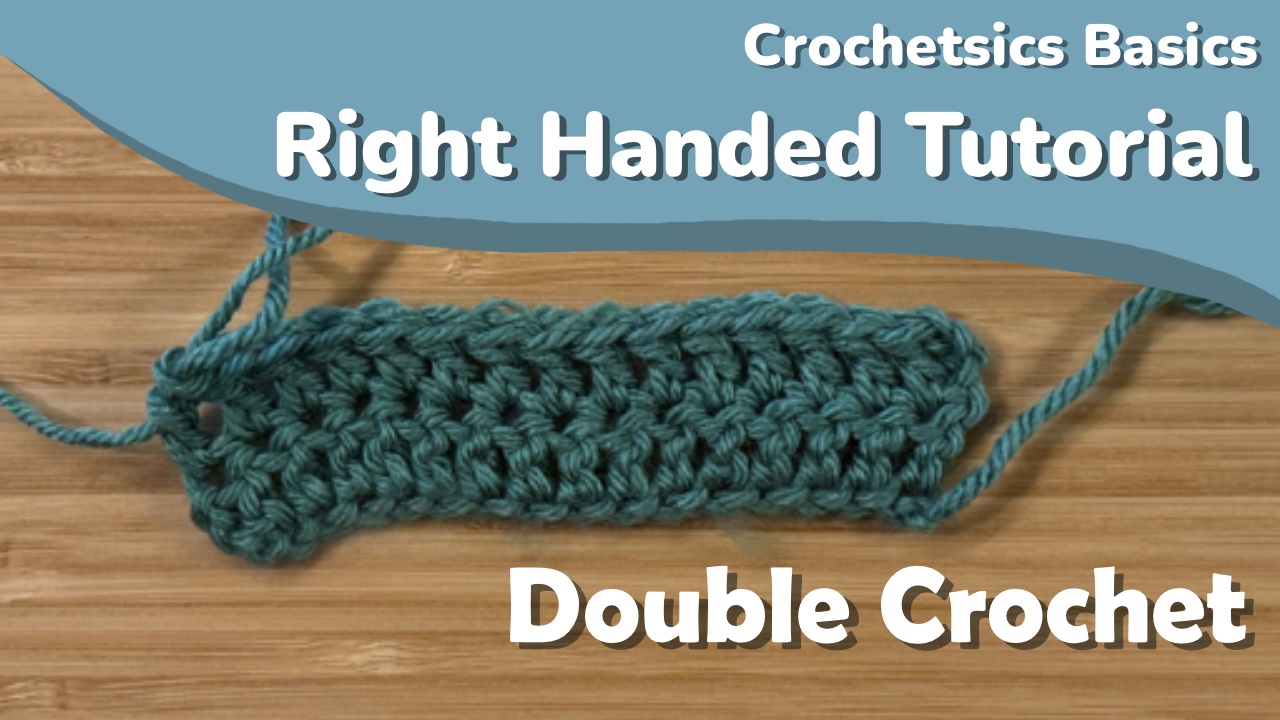
In this post, we’ll cover how to do the double crochet stitch. If you’re left-handed, check that tutorial out here, or if you prefer a video tutorial check that out here.
Before we get started, make sure you have a chain of about 15 or so, which you can learn how to do here.
Here’s what the double crochet looks like:
Stitch instructions
The shorthand for double crochets in a written pattern is dc.
The chart symbol for double crochets is
Start by identifying the fourth chain from your hook which is indicated in the image below. This is one chain further than half double crochet since double crochet is taller.
Double crochet starts the same way as half double crochet, with a yarn over before inserting your hook into the starting chain.
Once you’ve yarned over, you’re going to want to insert your hook into the fourth chain from your hook that we identified earlier
We’ll then yarn over and pull that loop through the chain.
You now have three loops on your hook.
Yarn over again, and pull that loop through just two loops on your hook.
You should have two loops left on your hook after this.
You’ll now yarn over again, and pull that loop through both loops on your hook.
You’ve completed a double crochet!
Continue working one double crochet in every chain until you get to the end of the chain.
Continuing in rows
Continuing rows in double crochet works in the same way as half double and single crochet, but we’ll chain 3 for our turning chain.
Now you can work double crochets in the top of every stitch from the previous row. If you’re having trouble identifying the first stitch to work into, it’s marked in the image below:
Tips/common issues
Some issues you may come across while trying to make this stitch are:
Trouble inserting your hook into the stitch after yarning over- If you had issues with this in half double crochet, you probably still have that here. If you look at the gif, you can see that I use the index finger of my right hand to hold that loop as I put my hook into the chain.
Having trouble pulling through only two loops- If you’ve been able to do single and half double crochet without major issues, then this is just one of practice. You might be holding your tension too tight or too loose. I also tend to use my index finger on some loops on my hook to help control how far my hook moves or what loops move, so that may help you. You can see that in the gif above or in the video tutorial (here).
The next stitch is one that doesn’t come up all too often in my experience, but is still important- the treble crochet. I’ll see you there when you’re ready!
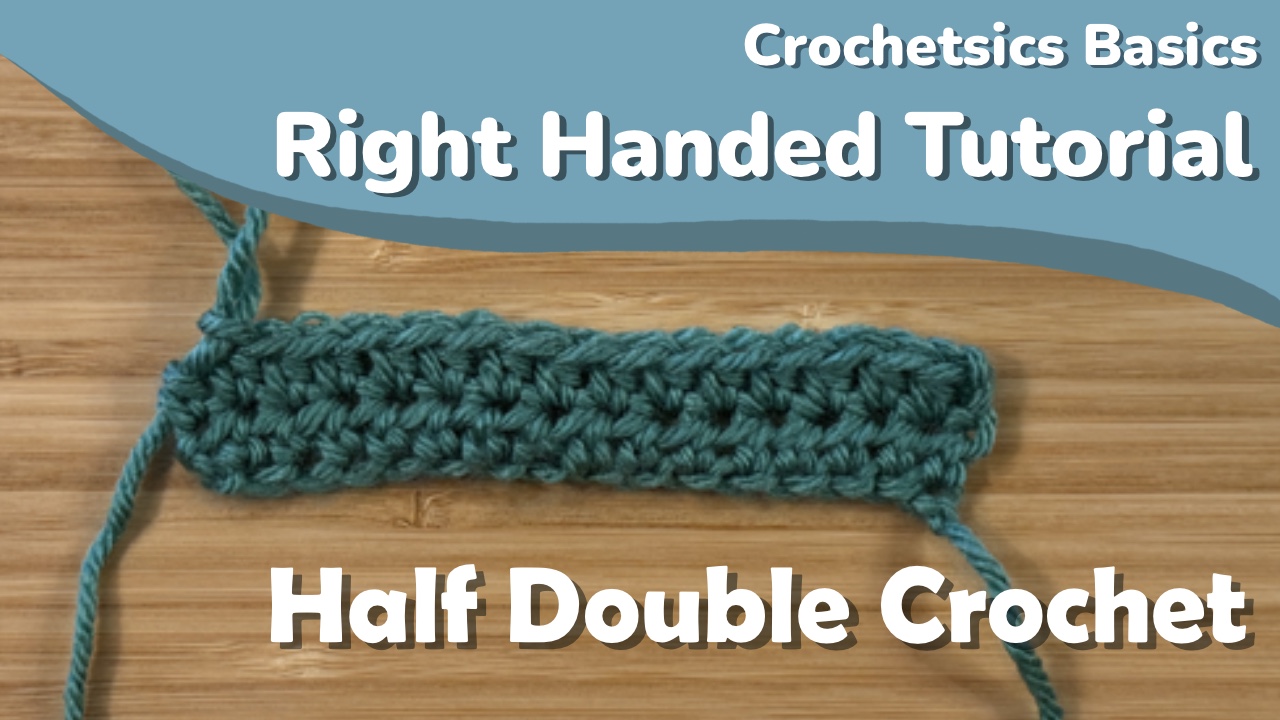
In this post, we’ll cover how to do the half double crochet stitch. If you’re left-handed, check that tutorial out here, or if you prefer a video tutorial check that out here.
Before we get started, make sure you have a chain of about 15 or so, which you can learn how to do here.
Here’s what the half double crochet looks like:
Stitch instructions
The shorthand for half double crochets in a written pattern is hdc.
The chart symbol for half double crochets is
I’m going to be working into a chain for my example.
Start by identifying the third chain from your hook which is indicated in the image below. This is one chain further than single crochet, and where we’re going to work into for this stitch.
Half double crochet starts with a yarn over before inserting your hook into the starting chain.
Once you’ve yarned over, you’re going to want to insert your hook into that third chain from your hook we identified earlier. You can put a finger from your hook hand on that yarn over to make it a little easier to insert your hook.
We’ll then yarn over and pull that loop through the chain
You now have three loops on your hook.
Yarn over one more time, and pull that through all three loops on your hook.
That’s the half double crochet!
Continue working one half double crochet in every chain.
Continuing in rows
Continuing rows in half double crochet works very similarly to single crochet. Once you get to the end of your row, chain 2 for your turning chain since half double crochet is a bit taller than single crochet, and turn your work.
Now you can work half double crochets in the top of every stitch from the previous row. If you’re having trouble identifying the first stitch to work into, it’s marked in the image below:
Tips/common issues
Some issues you may come across while trying to make this stitch are:
Trouble inserting your hook into the stitch after yarning over- Keeping that yarn over on your hook can make it more difficult to insert your hook into the stitch. If you look at the gif, you can see that I use the index finger of my right hand to hold that loop as I put my hook into the chain.
Having trouble pulling the final loop through 3 loops- Issues with this are likely similar to that of single crochet. Try and make sure your tension isn’t too tight, especially on the first yarn over before inserting your hook into a stitch.
I really suggest finding a way to grab both your work and your yarn at the same time with your left hand. If you’re not already doing that and you’re running into issues with this stitch, that’s a good way to make the stitch just a little easier. Keeping tension on your work and your yarn at the same time can help you pull that final loop through.
Used to monitor number of Google Analytics server requests when using Google Tag Manager
1 minute
_gid
ID used to identify users for 24 hours after last activity
24 hours
_gac_
Contains information related to marketing campaigns of the user. These are shared with Google AdWords / Google Ads when the Google Ads and Google Analytics accounts are linked together.
90 days
_gali
Used by Google Analytics to determine which links on a page are being clicked
30 seconds
_ga
ID used to identify users
2 years
__utmx
Used to determine whether a user is included in an A / B or Multivariate test.
18 months
__utmv
Contains custom information set by the web developer via the _setCustomVar method in Google Analytics. This cookie is updated every time new data is sent to the Google Analytics server.
2 years after last activity
__utmz
Contains information about the traffic source or campaign that directed user to the website. The cookie is set when the GA.js javascript is loaded and updated when data is sent to the Google Anaytics server
6 months after last activity
__utmc
Used only with old Urchin versions of Google Analytics and not with GA.js. Was used to distinguish between new sessions and visits at the end of a session.
End of session (browser)
__utmb
Used to distinguish new sessions and visits. This cookie is set when the GA.js javascript library is loaded and there is no existing __utmb cookie. The cookie is updated every time data is sent to the Google Analytics server.
30 minutes after last activity
__utmt
Used to monitor number of Google Analytics server requests
10 minutes
__utma
ID used to identify users and sessions
2 years after last activity
SourceBuster is used by WooCommerce for order attribution based on user source.
Name
Description
Duration
sbjs_migrations
Technical data to help with migrations between different versions of the tracking feature
session
sbjs_current_add
Timestamp, referring URL, and entry page for your visitor’s current visit to your store
session
sbjs_first_add
Timestamp, referring URL, and entry page for your visitor’s first visit to your store (only applicable if the visitor returns before the session expires)
session
sbjs_current
Traffic origin information for the visitor’s current visit to your store
session
sbjs_first
Traffic origin information for the visitor’s first visit to your store (only applicable if the visitor returns before the session expires)
session
sbjs_udata
Information about the visitor’s user agent, such as IP, the browser, and the device type
session
sbjs_session
The number of page views in this session and the current page path