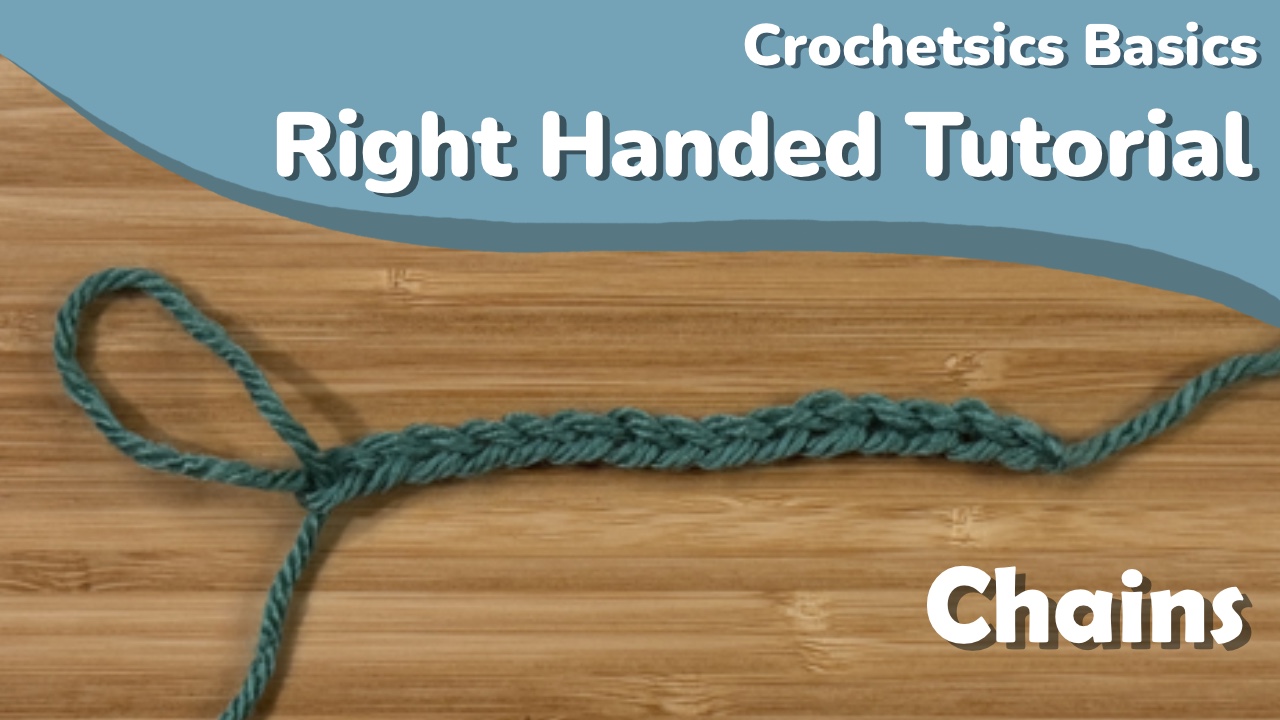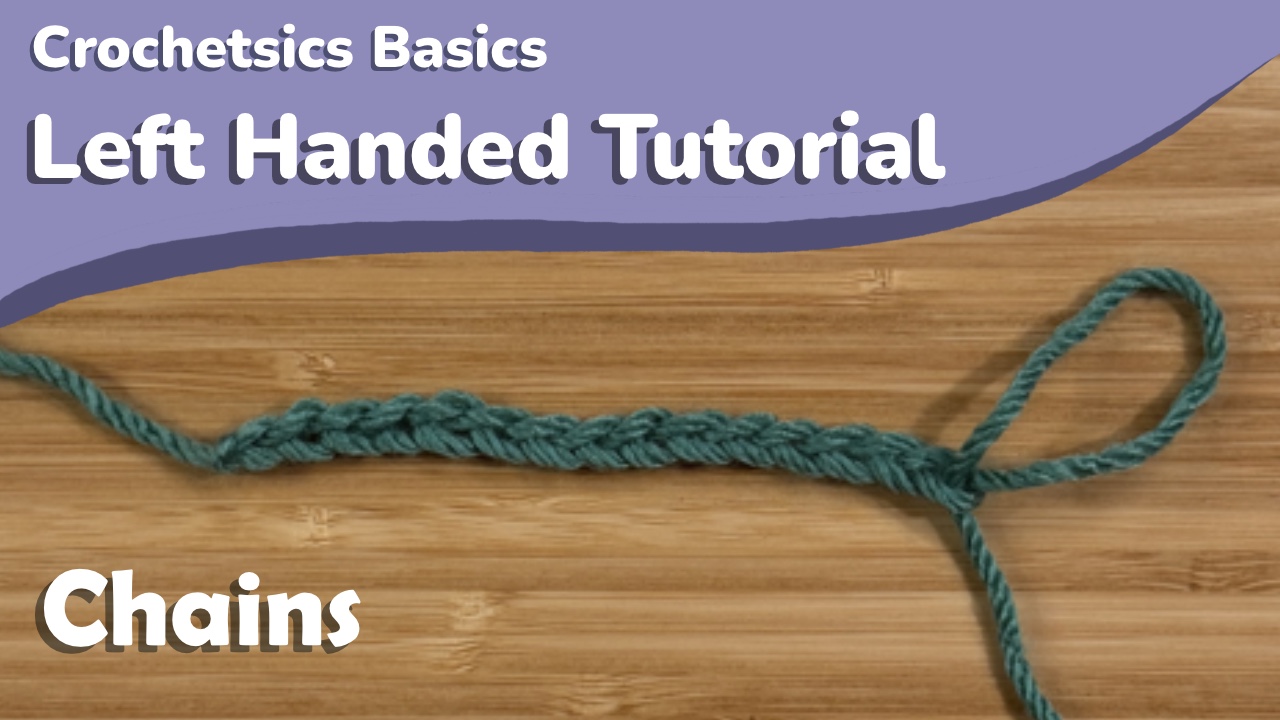
In this post, we’ll cover how to hold your yarn, as well as how to make the base for a lot of crochet projects: the chain stitch. If you prefer a video tutorial, check that out here and if you’re right handed, check out that tutorial here.
First things first, you’ll need to make a slip knot and put the loop on your hook.
Making a slip knot
Hold your yarn tail in your right hand, and your working end, which is the end connected to your yarn ball, in your left hand.

Now, twist your working yarn over the top of your tail. The ends of the yarn tail and working yarn should still be in the same places, with your tail lying to your right and your working yarn to your left.

Now, grab the end of your working yarn through the loop you’ve created. While holding that loop, close the slip knot by pulling on the yarn tail.


You should now have a slip knot! If you pull on the working yarn you should begin to shrink the loop of your slip knot. Pull on the working yarn to close the loop around your hook.
Holding your yarn and hook
Everyone holds their yarn differently. Personally, I’d suggest having two points of contact with your yarn on your non-dominant hand. Here’s what that means for me:

You can see that it loops around my fingers. There’s one point of contact between my pinkie and ring finger, and once over my index finger. I feel like this allows me to control the amount of yarn coming through on that first point of contact, and control the tension of the individual stitch on the second. Search around and see how other people hold their yarn too, because you might hate this.
In terms of holding your hook, there’s knife and pencil grip


I think most people tend to use knife grip, but again it’s up to you and what you feel comfortable with.
Stitch instructions
The shorthand for chains in a written pattern is ch.
The chart symbol for chains is

Here’s what a chain looks like:

Hold your working yarn and yarn tail in your right hand. This allows you to keep tension on your work as well, which helps you pull loops through the ones on your hook. Hold your yarn behind your hook.

Our first step is to yarn over, putting the yarn over your hook. Then, grab the yarn with your hook. You’re going to be twisting the mouth of the hook down and away from you a little bit here.

Now, you’re going to start using your hook to pull the yarn through the loop on your hook. Don’t hold your yarn or work too tight here! Try and keep it loose. Also, try and angle the mouth or opening of your hook to be at the knot of your slip knot as you pull it through.


You’ve just completed your first chain stitch!
In chains after your first, you want the mouth of your hook to face the v of the loop currently on your hook when you pull the loop through:

Final appearance
When you do a bunch of these, they start to make this almost braided or chain like texture. You can see a bunch of nested v shapes in the longer chain.

Tips/common issues
Here’s some common issues you may come across:
Holding your yarn too tight- If you can’t pull your hook through the loop on your hook, you’re probably holding your yarn too tight. Try and hold the yarn just tight enough you don’t lose your grip on it.
Losing hold of your yarn- This one does take a bit of practice. It may be that you’re holding your yarn a little too lose. Again, try and hold the yarn just tight enough that you don’t lose your grip on it. How tight or loose you hold your yarn is called your tension and it can be pretty tricky to get right, so just keep practicing.
Catching the hook on the loop when pulling through– When trying to pull your new loop through the one already on your hook, you might be catching the existing loop and struggling to pull the new loop through. Try to make sure the mouth (or opening) of your hook is facing that v of the chain stitch- this means the mouth of your hook isn’t facing a strand of yarn when pulling through.
Pulling the loop tight- Once you finish your chain stitch, don’t pull the chain tight! We want these chain stitches to be open and loose- you’re going to be working into them later and so you’ll need space for your hook to enter.
My advice for now is to just go ahead and make a long chain and try to get comfortable with the process. We’ll start with single crochets in the next post!
Previous: Welcome to Crochetsics Basics!