In this post, we’ll cover how to do the puff stitch. If you’ve ever seen a textured crochet afghan, this was likely one of the stitches used to make those little bumps.
This isn’t the only texture creating stitch like this- there’s also the bobble and popcorn stitch- but if you’re following the Crochetsics Basics course, this is the one we use in the second cinch sack.
If you’re right-handed, check that tutorial out here, or if you prefer a video tutorial check that out here.
Puff stitch
Puff stitches are a number of incomplete half double crochets, usually 3 to 5 from what I’ve seen. This example will use 3 half double crochets.
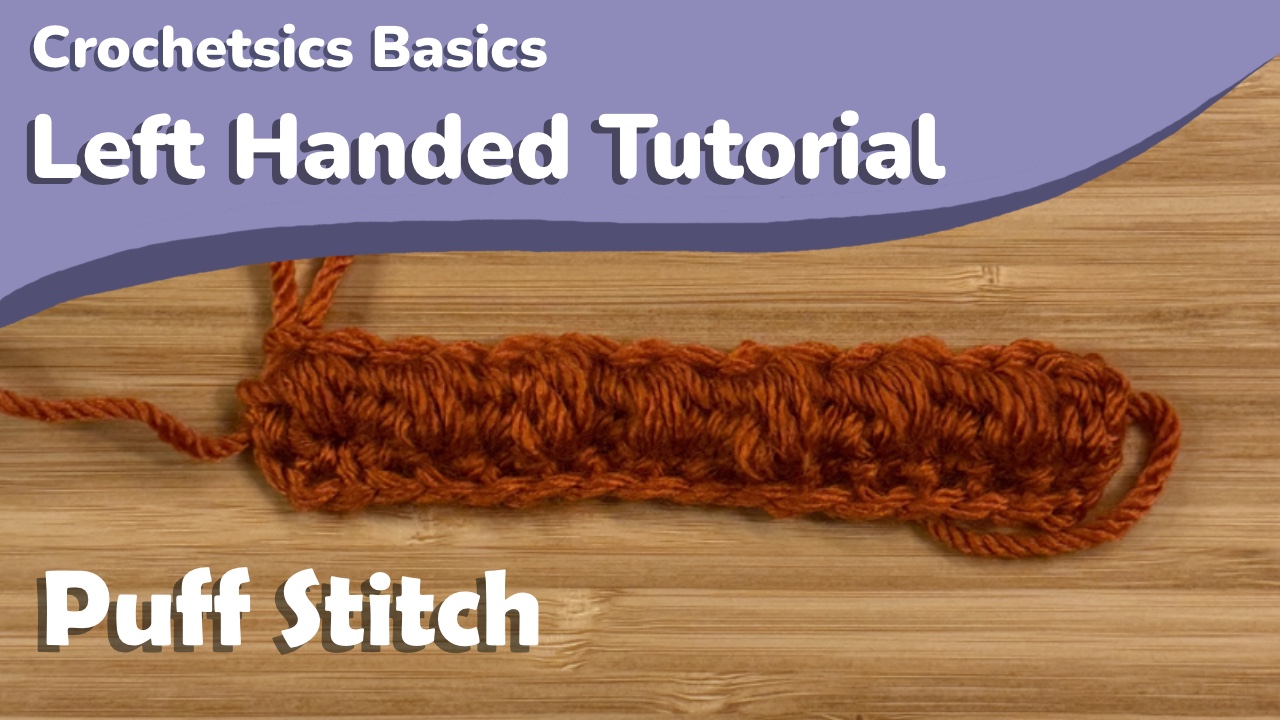
Here’s what the puff stitch looks like:

Stitch Instructions
The shorthand for puff stitches in a written pattern is puff.
The chart symbol for puff stitches is

We’ll start by yarning over and inserting our hook into the next stitch to pull up a loop.


You’ll now have three loops on your hook. We’ll now repeat that process two more times. Yarn over, insert your hook into the same stitch and pull up a loop


You’ll now have five loops on your hook. One more time: yarn over, insert your hook into the same stitch and pull up a loop


You should now have seven loops on your hook. Yarn over, and pull that loop through all the loops on your hook.


You’ve completed a puff stitch!
This stitch is also worked from the wrong side of your work, meaning that the front of the puff stitch is on the side opposite you when you stitch it. The side opposite you is the side that protrudes more from the crocheted fabric.

Below you can see a comparison between the front and back of some puff stitches.


Tips/common issues
The biggest issue with these stitches is being able to keep hold of your final loop while pulling it through every other stitch on your hook. It truly does just take practice and time, and making sure your tension isn’t so tight you can’t pull your hook through, or so loose you lose the loop you’re trying to pull through.
If you’re following along with the Crochetsics course and making the projects that go along with it, there is an alternative in the second pattern if you find yourself struggling with this stitch and want an alternative.
Previous: Increasing and Decreasing – Left Handed
Leave a Reply