In this post, we’ll cover how to do the slip stitch in crochet. If you’re left-handed, check that tutorial out here, or if you prefer a video tutorial check that out here.
This stitch is easiest to learn in the middle of a row of existing stitches, so that’s how this tutorial will be presented.
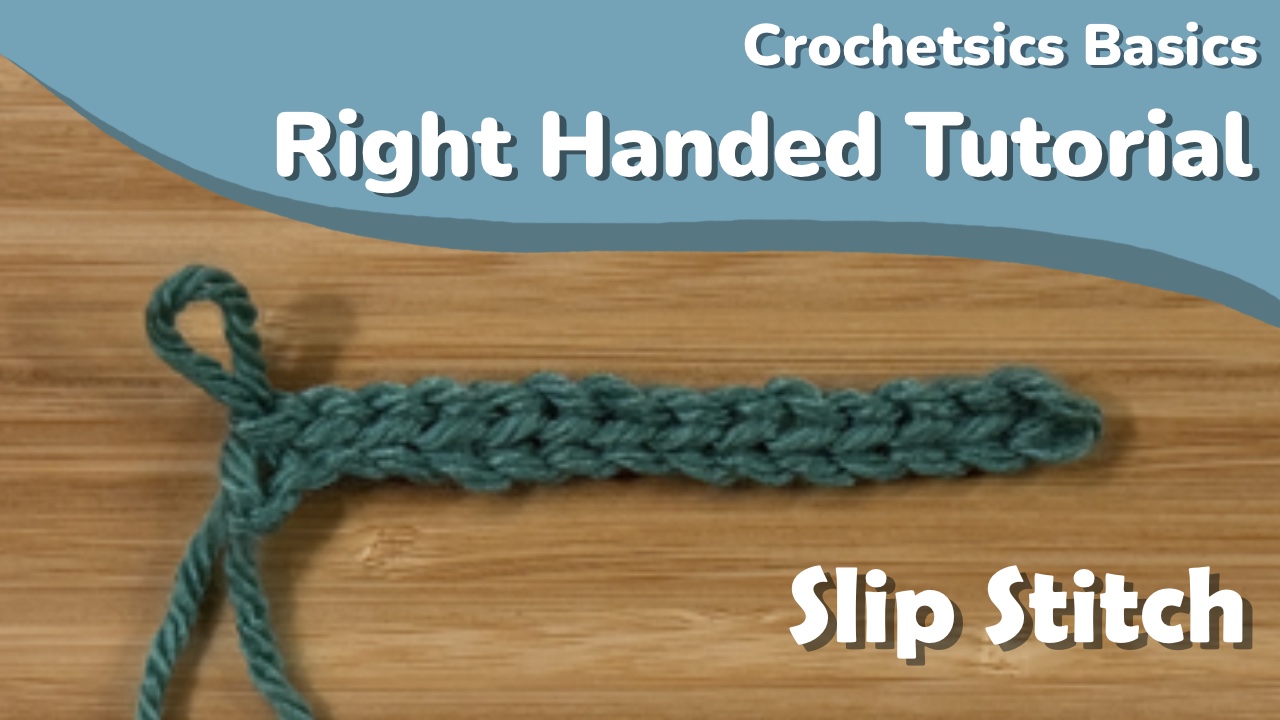
Here’s what the slip stitch looks like:

Stitch instructions
The shorthand for slip stitches in a written pattern is sl st.
The chart symbol for slip stitches is

To do a slip stitch, you’ll start the same way as a single crochet: inserting your hook into the next stitch and yarning over.


You’re going to take that loop and pull it through the stitch AND through the loop on your hook


This is not a stitch that adds height- you’re not going to be working into these stitches very often. They’re often used to connect rounds or at the edge of a piece to vary height.
That’s the last stitch for the first half of the Crochetsics course as well, so if you’re following along, next post is going to be a little bit on crochet terminology and pattern reading, as well as our first pattern!
Previous: Treble Crochets – Right Handed
Next: Pattern Reading
Leave a Reply