Tag: crochet tutorial

  • Puff Stitches – Right Handed

    Puff Stitches – Right Handed

    In this post, we’ll cover how to do the puff stitch. If you’ve ever seen a textured crochet afghan, this was likely one of the stitches used to make those little bumps.

    This isn’t the only texture creating stitch like this- there’s also the bobble and popcorn stitch- but if you’re following the Crochetsics Basics course, this is the one we use in the second cinch sack.

    If you’re left-handed, check that tutorial out here, or if you prefer a video tutorial check that out here.

    Puff stitch

    Puff stitches are a number of incomplete half double crochets, usually 3 to 5 from what I’ve seen. This example will use 3 half double crochets.

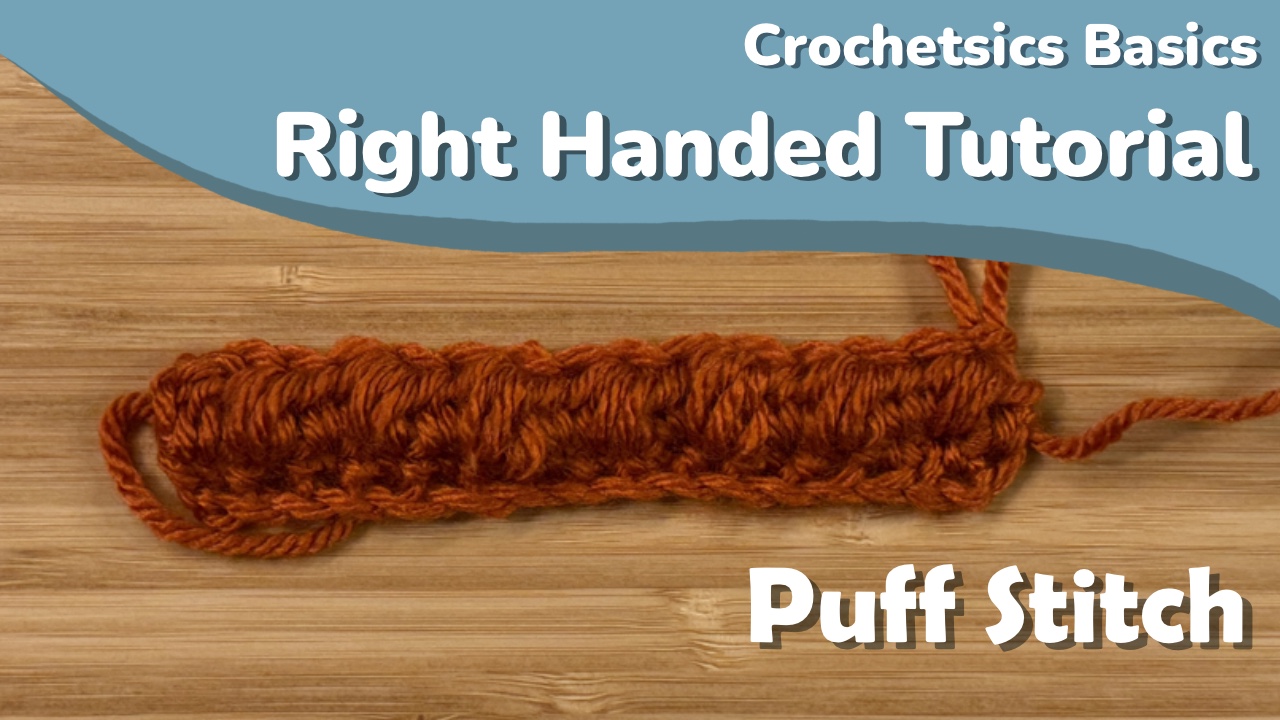
    Here’s what the puff stitch looks like:

    Stitch Instructions

    The shorthand for puff stitches in a written pattern is puff.

    The chart symbol for puff stitches is

    We’ll start by yarning over and inserting our hook into the next stitch to pull up a loop.

    You’ll now have three loops on your hook. We’ll now repeat that process two more times. Yarn over, insert your hook into the same stitch and pull up a loop

    You’ll now have five loops on your hook. One more time: yarn over, insert your hook into the same stitch and pull up a loop

    You should now have seven loops on your hook. Yarn over, and pull that loop through all the loops on your hook.

    You’ve completed a puff stitch!

    This stitch is also worked from the wrong side of your work, meaning that the front of the puff stitch is on the side opposite you when you stitch it. The side opposite you is the side that protrudes more from the crocheted fabric.

    Below you can see a comparison between the front and back of some puff stitches.

    Tips/common issues

    The biggest issue with these stitches is being able to keep hold of your final loop while pulling it through every other stitch on your hook. It truly does just take practice and time, and making sure your tension isn’t so tight you can’t pull your hook through, or so loose you lose the loop you’re trying to pull through.

    If you’re following along with the Crochetsics course and making the projects that go along with it, there is an alternative in the second pattern if you find yourself struggling with this stitch and want an alternative.


  • Increasing and Decreasing – Left Handed

    Increasing and Decreasing – Left Handed

    Here we’ll cover how to increase and decrease in crochet. Increasing is relatively simple, just putting two stitches in the same stitch, while decreasing is a bit more difficult since you leave a stitch unfinished, start a stitch in the next stitch, then finish the two stitches at the same time. We’ll cover each of these in more detail below.

    If you’re right-handed, check that tutorial out here, or if you prefer a video tutorial check that out here.

    Increasing

    Increasing is the same regardless of stitch- you’ll just place another stitch in the same stitch you just worked into. The example below uses single crochets, but the same thing works for half double, double, or treble crochets.

    Single Crochet Increase

    The shorthand for a single crochet increase in a written pattern is sc inc.

    The chart symbol for single crochet increases is

    First, make a single crochet stitch in the next stitch

    Now, insert your hook into the stitch you just worked into.

    Do a single crochet into this stitch.

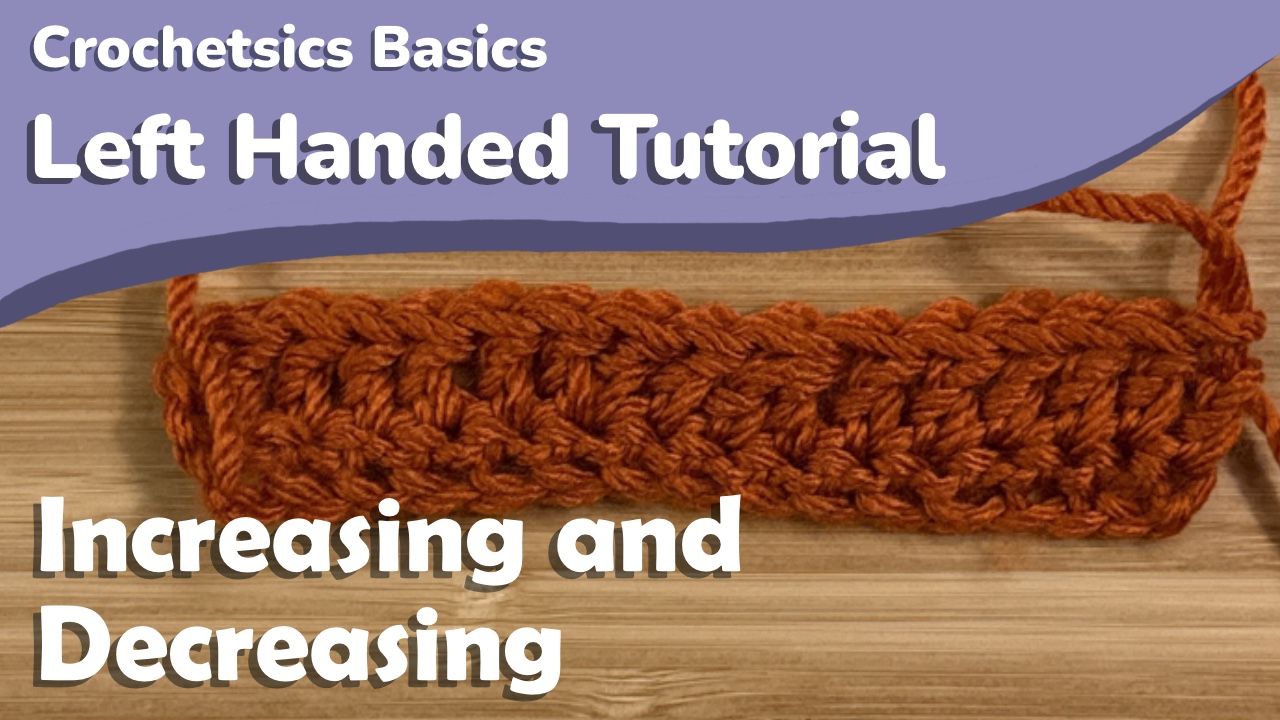
    In the image above you can see that there are now two stitches in the same gap!

    Some patterns might require you to increase more than this, which may be notated as sc 3 inc, or something similar.

    Double Crochet Increase

    The shorthand for a double crochet increase in a written pattern is dc inc.

    The chart symbol for double crochet increases is

    A double crochet increase works the exact same way as a single crochet increase. Do a double crochet into the next stitch.

    Now, yarn over and insert your hook back into the stitch you just worked into.

    Complete a double crochet in this stitch.

    It’s a little easier here to see the two double crochets in the same stitch than two single crochets.

    Decreasing

    Decreases are a little trickier, so we’ll go over a single and double crochet decrease as examples. All decrease types work mostly the same!

    Single crochet decrease

    The shorthand for a single crochet decrease in a written pattern is sc dec or sc2tog.

    The chart symbol for single crochet decreases is

    To do a single crochet decrease, insert your hook into the next stitch and pull up a loop.

    You aren’t going to finish your stitch here. Insert your hook into the next stitch and pull up another loop.

    Now you should have three loops on your hook. Yarn over, and pull that loop through all three loops on your hook.

    It’s a little difficult to see, but there are two v’s for the front of each single crochet, but they meet under a single v at the top of the stitch. If you look at what the double crochet decrease looks like, it’s a bit clearer to see the two stitches coming under the single v at the top.

    Double crochet decrease

    The shorthand for a double crochet decrease in a written pattern is dc dec or dc2tog.

    The chart symbol for double crochet decreases is

    Other stitch decreases work similarly- you’ll work all of a stitch except for the final loop, then work another stitch in the next stitch. You’ll do the last yarn over and pull through for both of these stitches at the same time. We’ll see an example of this with double crochet. Start by yarning over, inserting your hook in the next stitch, and pulling up a loop.

    Now, yarn over, and pull through two loops. You’ll have two loops left on your hook.

    If we were to yarn over and pull through now, we’d have completed a double crochet. Since we want to decrease, we’ll leave these loops on our hook, and start another double crochet. Yarn over, insert your hook into the next stitch, and pull up a loop. You’ll have 4 loops on your hook at this point

    Now, yarn over and pull through the first two loops on your hook.

    You’ll have 3 loops on your hook at this point, with two unfinished double crochets. Yarn over, and pull through all three loops.

    You’ve finished a double crochet decrease!

    Generally, any decrease is going to be a process of doing all but the final yarn over of a stitch, then starting the next stitch, and using the final yarn over of that one to complete both stitches.

    >2 stitch decreases

    You can also decrease more than one stitch if it calls for it- it might be written something like 3 sc dec, or sc3tog, which means you’re going to have three incomplete single crochets on your hook before doing that last yarn over and pull through. This turns 3 stitches into 1.

    Next up is the puff stitch which is like a combination of increasing and decreasing to create texture in a project.


  • Increasing and Decreasing – Right Handed
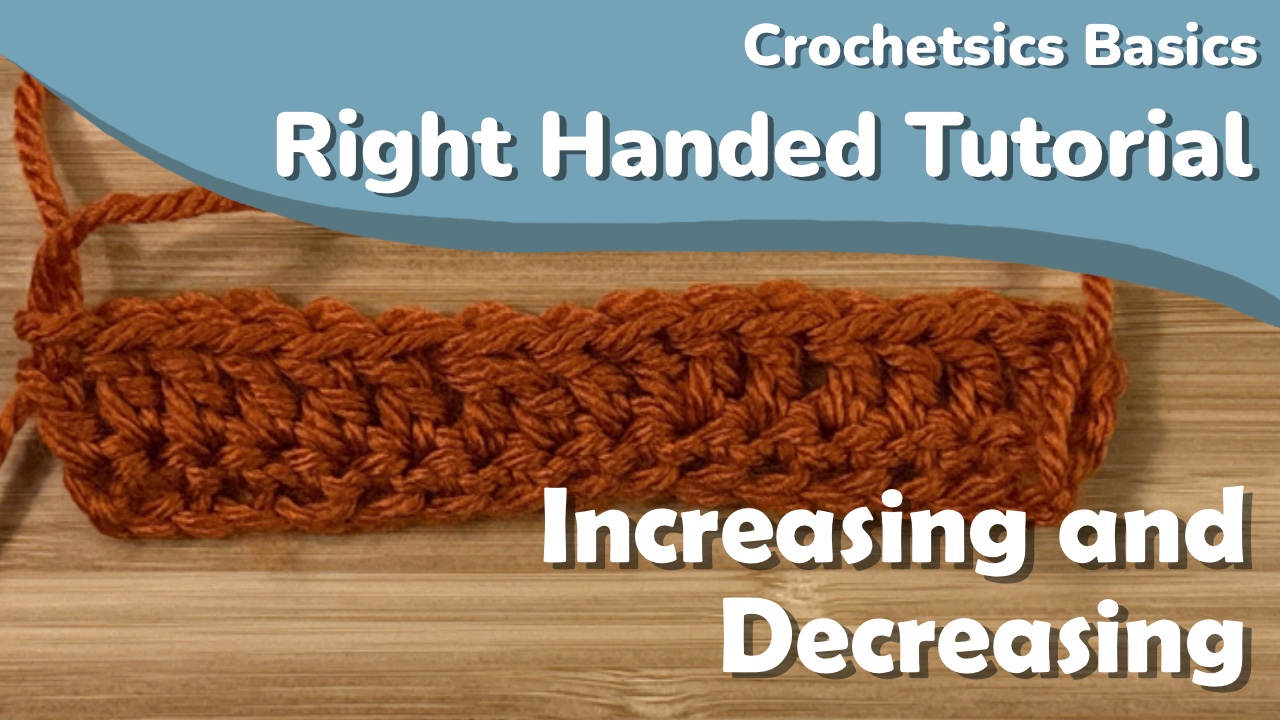
    Increasing and Decreasing – Right Handed

    Here we’ll cover how to increase and decrease in crochet. Increasing is relatively simple, just putting two stitches in the same stitch, while decreasing is a bit more difficult since you leave a stitch unfinished, start a stitch in the next stitch, then finish the two stitches at the same time. We’ll cover each of these in more detail below.

    If you’re left-handed, check that tutorial out here, or if you prefer a video tutorial check that out here.

    Increasing

    Increasing is the same regardless of stitch- you’ll just place another stitch in the same stitch you just worked into. The example below uses single crochets, but the same thing works for half double, double, or treble crochets.

    Single Crochet Increase

    The shorthand for a single crochet increase in a written pattern is sc inc.

    The chart symbol for single crochet increases is

    First, make a single crochet stitch in the next stitch

    Now, insert your hook into the stitch you just worked into.

    Do a single crochet into this stitch.

    In the image above you can see that there are now two stitches in the same gap!

    Some patterns might require you to increase more than this, which may be notated as sc 3 inc, or something similar.

    Double Crochet Increase

    The shorthand for a double crochet increase in a written pattern is dc inc.

    The chart symbol for double crochet increases is

    A double crochet increase works the exact same way as a single crochet increase. Do a double crochet into the next stitch.

    Now, yarn over and insert your hook back into the stitch you just worked into.

    Complete a double crochet in this stitch.

    It’s a little easier here to see the two double crochets in the same stitch than two single crochets.

    Decreasing

    Decreases are a little trickier, so we’ll go over a single and double crochet decrease as examples. All decrease types work mostly the same!

    Single crochet decrease

    The shorthand for a single crochet decrease in a written pattern is sc dec or sc2tog.

    The chart symbol for single crochet decreases is

    To do a single crochet decrease, insert your hook into the next stitch and pull up a loop.

    You aren’t going to finish your stitch here. Insert your hook into the next stitch and pull up another loop.

    Now you should have three loops on your hook. Yarn over, and pull that loop through all three loops on your hook.

    It’s a little difficult to see, but there are two v’s for the front of each single crochet, but they meet under a single v at the top of the stitch. If you look at what the double crochet decrease looks like, it’s a bit clearer to see the two stitches coming under the single v at the top.

    Double crochet decrease

    The shorthand for a double crochet decrease in a written pattern is dc dec or dc2tog.

    The chart symbol for double crochet decreases is

    Other stitch decreases work similarly- you’ll work all of a stitch except for the final loop, then work another stitch in the next stitch. You’ll do the last yarn over and pull through for both of these stitches at the same time. We’ll see an example of this with double crochet. Start by yarning over, inserting your hook in the next stitch, and pulling up a loop.

    Now, yarn over, and pull through two loops. You’ll have two loops left on your hook.

    If we were to yarn over and pull through now, we’d have completed a double crochet. Since we want to decrease, we’ll leave these loops on our hook, and start another double crochet. Yarn over, insert your hook into the next stitch, and pull up a loop. You’ll have 4 loops on your hook at this point

    Now, yarn over and pull through the first two loops on your hook.

    You’ll have 3 loops on your hook at this point, with two unfinished double crochets. Yarn over, and pull through all three loops.

    You’ve finished a double crochet decrease!

    Generally, any decrease is going to be a process of doing all but the final yarn over of a stitch, then starting the next stitch, and using the final yarn over of that one to complete both stitches.

    >2 stitch decreases

    You can also decrease more than one stitch if it calls for it- it might be written something like 3 sc dec, or sc3tog, which means you’re going to have three incomplete single crochets on your hook before doing that last yarn over and pull through. This turns 3 stitches into 1.

    Next up is the puff stitch which is like a combination of increasing and decreasing to create texture in a project.


  • Working in Rounds – Left Handed

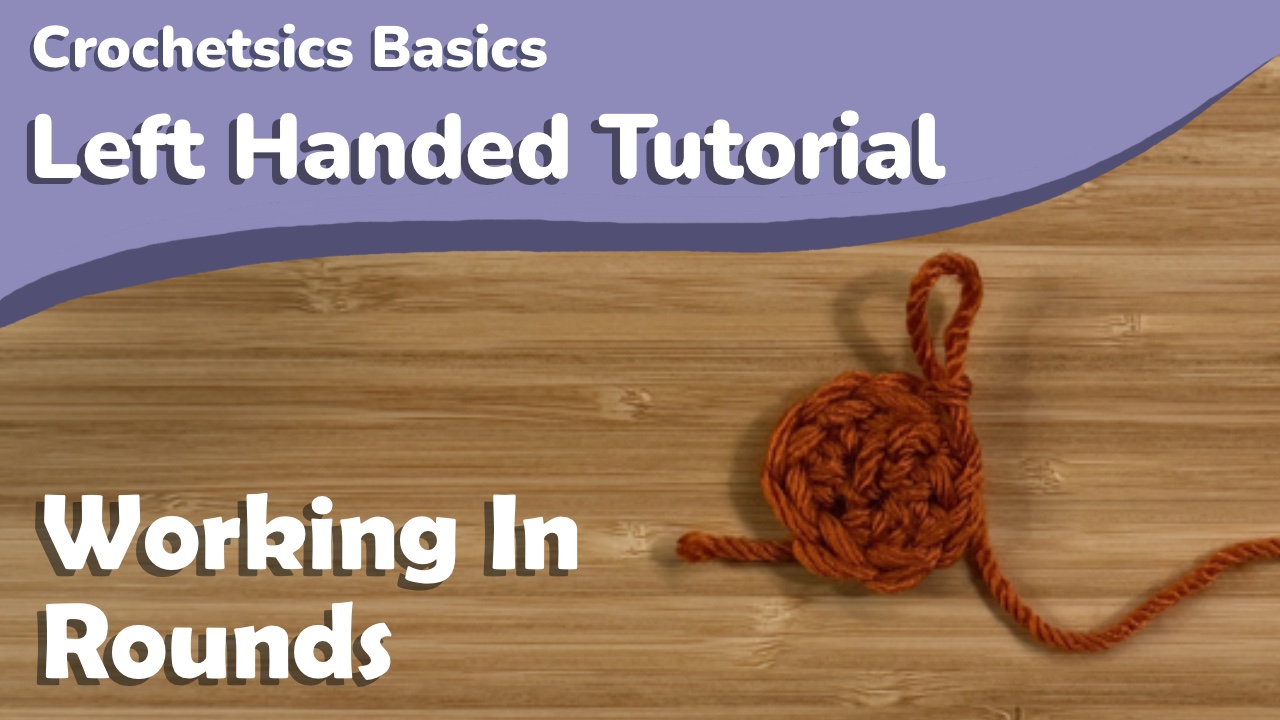
    Working in Rounds – Left Handed

    In the Crochetsics Basics course so far we’ve been working in rows, but many projects (including the second cinch sack) are worked in rounds. There are a few different ways to make your first round, as well as a few ways to work in rounds once you’ve started. For the sake of this course, we’ll only cover what’s needed for the second cinch sack pattern, just to keep things simple.

    If you’re right-handed, check that tutorial out here, or if you prefer a video tutorial check that out here.

    Starting rounds

    One way to start your rounds is by making a chain and working into the first chain. This is likely the easiest and most intuitive for beginners as well.

    Start by chaining the length of your turning chain for your stitch plus one. For double crochet, our turning chain is three, so we’ll chain four.

    Now, we’ll work as many stitches as we need into the first chain. Usually you’re working enough stitches into this starting chain that you may need to rotate your work and work into the other side of the chain:

    Working rounds

    So you’ve got your first round done and now need to start the second. Every pattern is different, but there’s two main methods: continuous or concentric rounds. Here, we’ll cover continuous rounds and concentric turned rounds (often just called turned rounds).

    Continuous rounds

    Continuous rounds create a spiral look. From our double crochet example, the way we would continue would be to stitch directly into our first stitch, which you can see below:

    With continuous rounds, there’s no clear start and end to your round, so stitch markers are a must. I tend to mark the final stitch of a round with my markers.

    This also creates a spiral look, which is a bit easier to see in the bottom of the cinch sack below, worked in single crochet:

    Concentric turned rounds

    Concentric rounds work much like rows in that there’s always a turning chain to get back up to height. They also use a slip stitch to connect the start and end of rounds.

    When you get to the end of your round while working in turned rounds, you’ll slip stitch to the first stitch of the round to close it.

    Then, you’ll make your turning chain just like you would when working in rows. For this double crochet example, we’d chain 3 and turn our work since we’re working in turned rounds.

    You’re then going to work back along your circle, the same as you would for working in rows. The first stitch of the round is marked in the image below.

    Again, there are a few other ways to start or work in rounds with crochet, but those are the ways we need for the second cinch sack. If you’re following a pattern, it should tell you the way to start and the way to work your rounds (i.e. continuous spiral rounds).

    Next up is increasing and decreasing, which are essential when working in rounds!


  • Working in Rounds – Right Handed

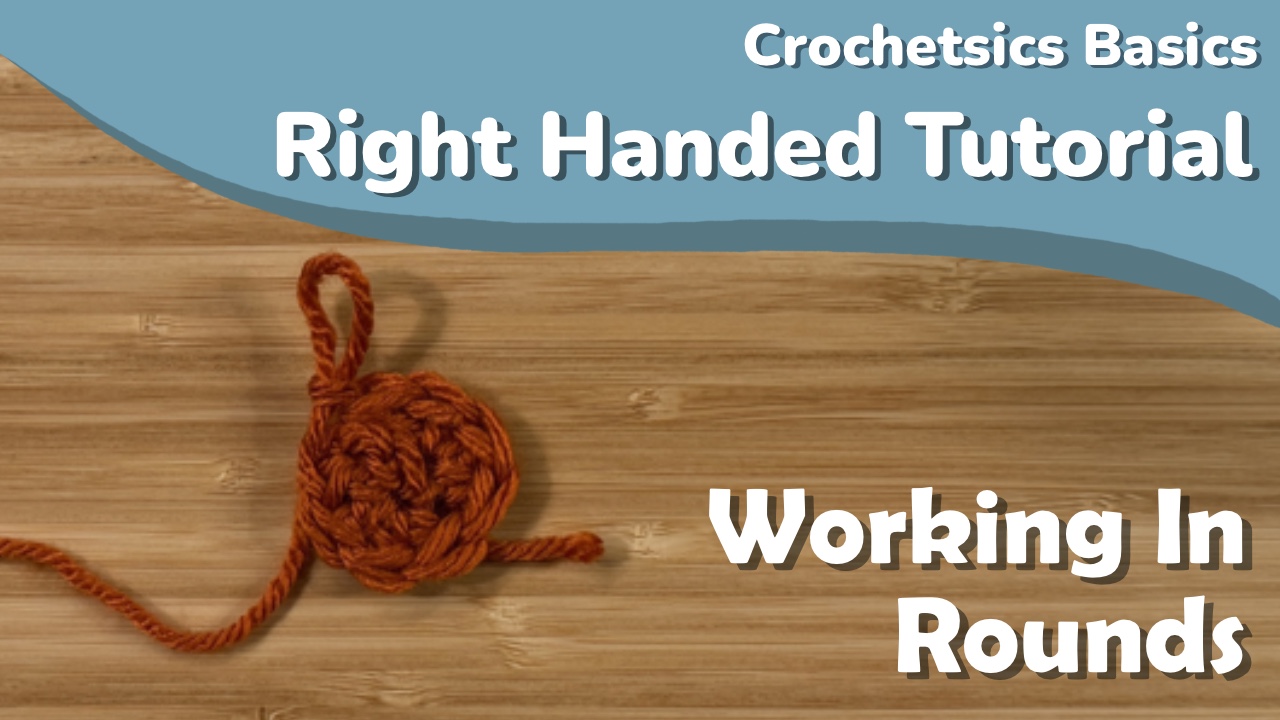
    Working in Rounds – Right Handed

    In the Crochetsics Basics course so far we’ve been working in rows, but many projects (including the second cinch sack) are worked in rounds. There are a few different ways to make your first round, as well as a few ways to work in rounds once you’ve started. For the sake of this course, we’ll only cover what’s needed for the second cinch sack pattern, just to keep things simple.

    If you’re left-handed, check that tutorial out here, or if you prefer a video tutorial check that out here.

    Starting rounds

    One way to start your rounds is by making a chain and working into the first chain. This is likely the easiest and most intuitive for beginners as well.

    Start by chaining the length of your turning chain for your stitch plus one. For double crochet, our turning chain is three, so we’ll chain four.

    Now, we’ll work as many stitches as we need into the first chain. Usually you’re working enough stitches into this starting chain that you may need to rotate your work and work into the other side of the chain:

    Working rounds

    So you’ve got your first round done and now need to start the second. Every pattern is different, but there’s two main methods: continuous or concentric rounds. Here, we’ll cover continuous rounds and concentric turned rounds (often just called turned rounds).

    Continuous rounds

    Continuous rounds create a spiral look. From our double crochet example, the way we would continue would be to stitch directly into our first stitch, which you can see below:

    With continuous rounds, there’s no clear start and end to your round, so stitch markers are a must. I tend to mark the final stitch of a round with my markers.

    This also creates a spiral look, which is a bit easier to see in the bottom of the cinch sack below, worked in single crochet:

    Concentric turned rounds

    Concentric rounds work much like rows in that there’s always a turning chain to get back up to height. They also use a slip stitch to connect the start and end of rounds.

    When you get to the end of your round while working in turned rounds, you’ll slip stitch to the first stitch of the round to close it.

    Then, you’ll make your turning chain just like you would when working in rows. For this double crochet example, we’d chain 3 and turn our work since we’re working in turned rounds.

    You’re then going to work back along your circle, the same as you would for working in rows. The first stitch of the round is marked in the image below.

    Again, there are a few other ways to start or work in rounds with crochet, but those are the ways we need for the second cinch sack. If you’re following a pattern, it should tell you the way to start and the way to work your rounds (i.e. continuous spiral rounds).

    Next up is increasing and decreasing, which are essential when working in rounds!


  • Slip Stitch – Left Handed

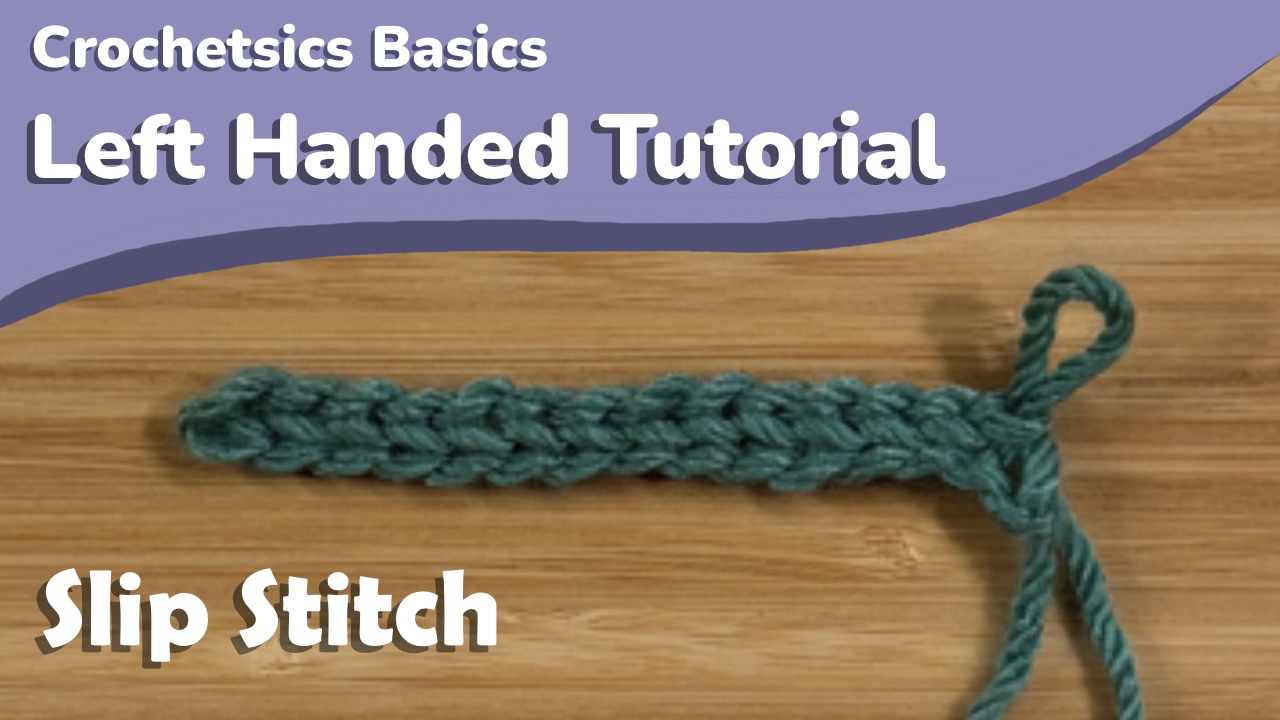
    Slip Stitch – Left Handed

    In this post, we’ll cover how to do the slip stitch in crochet. If you’re right-handed, check that tutorial out here, or if you prefer a video tutorial check that out here.

    This stitch is easiest to learn in the middle of a row of existing stitches, so that’s how this tutorial will be presented.

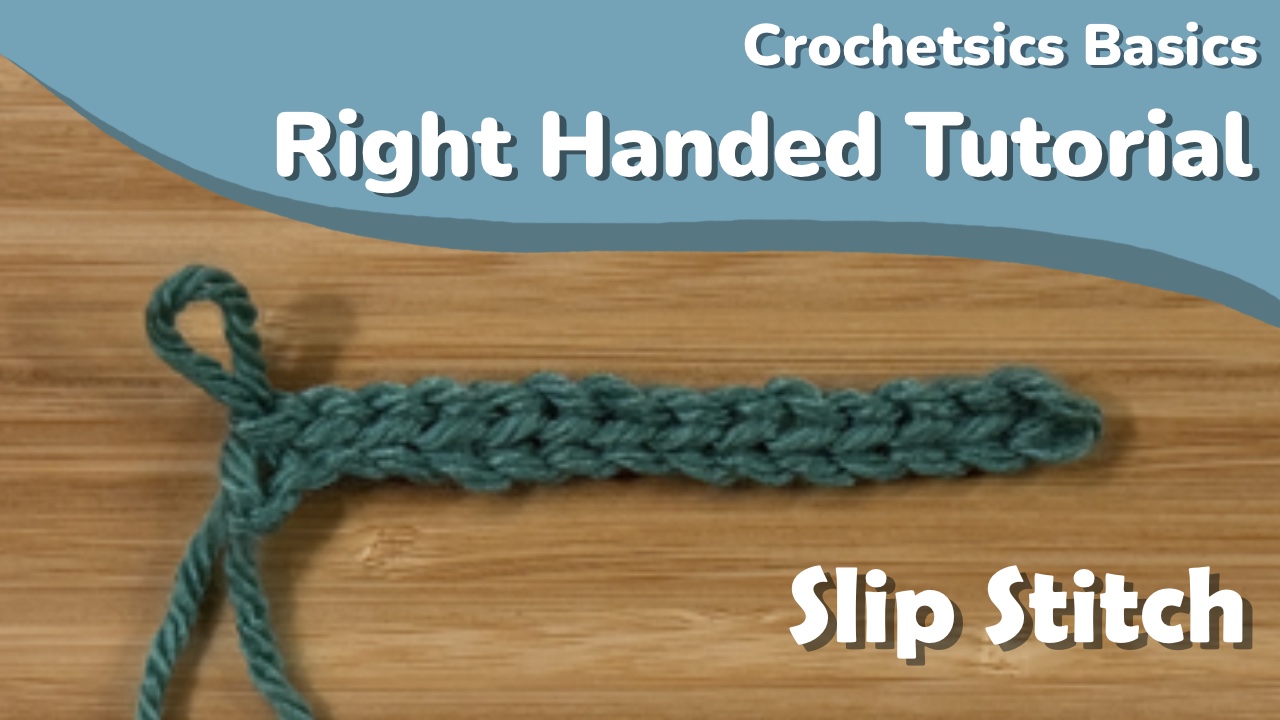
    Here’s what the slip stitch looks like:

    Stitch instructions

    The shorthand for slip stitches in a written pattern is sl st.

    The chart symbol for slip stitches is

    To do a slip stitch, you’ll start the same way as a single crochet: inserting your hook into the next stitch and yarning over.

    You’re going to take that loop and pull it through the stitch AND through the loop on your hook

    This is not a stitch that adds height- you’re not going to be working into these stitches very often. They’re often used to connect rounds or at the edge of a piece to vary height.

    That’s the last stitch for the first half of the Crochetsics course as well, so if you’re following along, next post is going to be a little bit on crochet terminology and pattern reading, as well as our first pattern!


  • Slip Stitch – Right Handed

    Slip Stitch – Right Handed

    In this post, we’ll cover how to do the slip stitch in crochet. If you’re left-handed, check that tutorial out here, or if you prefer a video tutorial check that out here.

    This stitch is easiest to learn in the middle of a row of existing stitches, so that’s how this tutorial will be presented.

    Here’s what the slip stitch looks like:

    Stitch instructions

    The shorthand for slip stitches in a written pattern is sl st.

    The chart symbol for slip stitches is

    To do a slip stitch, you’ll start the same way as a single crochet: inserting your hook into the next stitch and yarning over.

    You’re going to take that loop and pull it through the stitch AND through the loop on your hook

    This is not a stitch that adds height- you’re not going to be working into these stitches very often. They’re often used to connect rounds or at the edge of a piece to vary height.

    That’s the last stitch for the first half of the Crochetsics course as well, so if you’re following along, next post is going to be a little bit on crochet terminology and pattern reading, as well as our first pattern!


  • Treble Crochet – Left Handed

    Treble Crochet – Left Handed

    In this post, we’ll cover how to do the treble crochet stitch. If you’re right-handed, check that tutorial out here, or if you prefer a video tutorial check that out here.

    Before we get started, make sure you have a chain of about 15 or so, which you can learn how to do here.

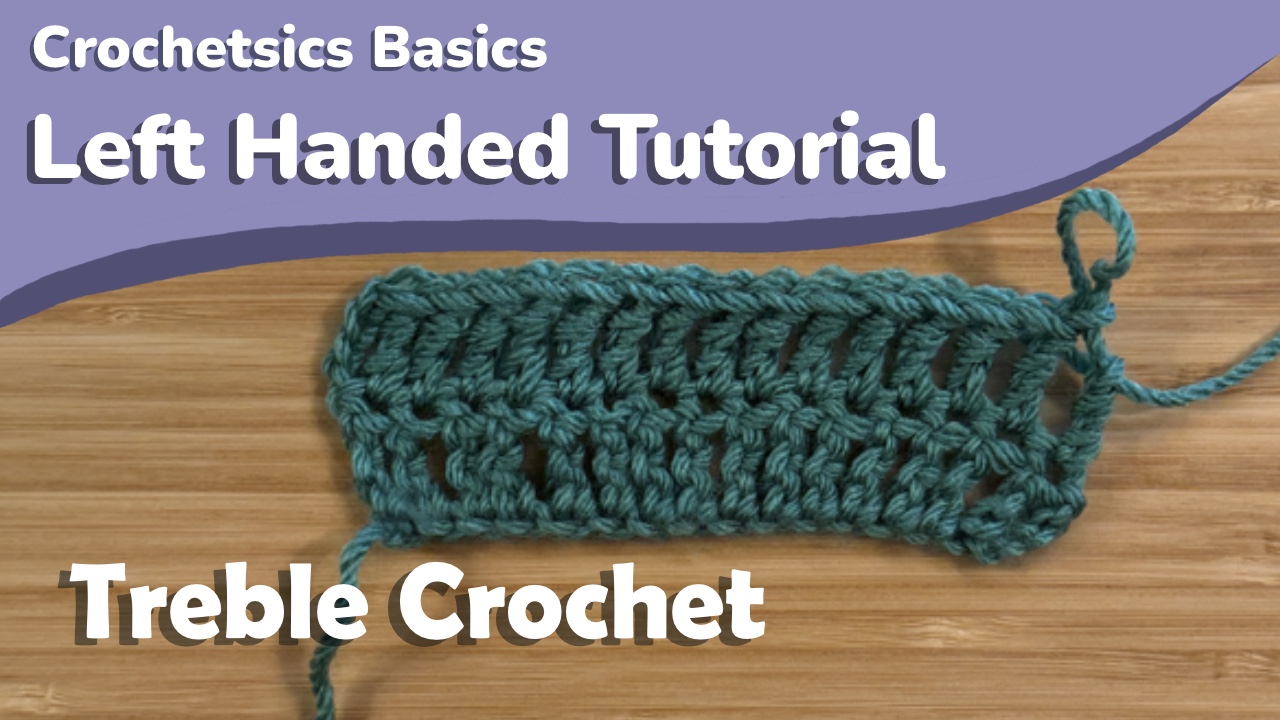
    Here’s what the treble crochet looks like:

    Stitch instructions

    The shorthand for treble crochets in a written pattern is tc.

    The chart symbol for treble crochets is

    Start by identifying the fifth chain from your hook which is indicated in the image below. This is one chain further than double crochet.

    Treble crochet starts similarly to double crochet, except it has two yarn overs before inserting your hook into the starting chain. So yarn over once, then yarn over again.

    Once you’ve yarned over twice, you’re going to want to insert your hook into the fifth chain from your hook that we identified earlier.

    We’ll then yarn over and pull that loop through the chain.

    You now have four loops on your hook.

    Yarn over again, and pull that loop through just two loops on your hook.

    You should have three loops left on your hook after this.

    You’ll now yarn over again, and pull that loop through two more loops on your hook.

    You’ll have two loops left on your hook.

    Finally, yarn over and pull that loop through both loops on your hook so you have a single loop left on your hook.

    That’s a treble crochet!

    Continue working one treble crochet in every chain until you get to the end of the chain.

    Continuing in rows

    To continue with rows in treble crochet, you’re going to make a turning chain of 4 and then turn your work.

    Now you can work treble crochets in the top of every stitch from the previous row. If you’re having trouble identifying the first stitch to work into, it’s marked in the image below:

    Tips/common issues

    If you’re having issues with this stitch, they’re likely similar to issues that may come up with half double crochet or double crochet.

    Trouble inserting your hook into the stitch after yarning over- This is even more difficult now that there are two yarn overs before inserting your hook. If you watch the gif, you can see that I’m holding the yarn overs with my index finger as I insert my hook into the stitch. This can help keep the loops on your hook as you insert it.

    Having trouble pulling through only two loops- This can be hard with this many loops on your hook. It’s really just an issue of practice and control-try and go slowly as you pull your hook through, making sure you’re not holding anything too tightly. It might be helpful to try and go through a single loop at a time rather than two in one pass.

    Our last stitch for the first half of the Crochetsics course is the slip stitch, and then we’ll start our first project! I’ll see you in the next post for the slip stitch.


  • Treble Crochet – Right Handed

    Treble Crochet – Right Handed

    In this post, we’ll cover how to do the treble crochet stitch. If you’re left-handed, check that tutorial out here, or if you prefer a video tutorial check that out here.

    Before we get started, make sure you have a chain of about 15 or so, which you can learn how to do here.

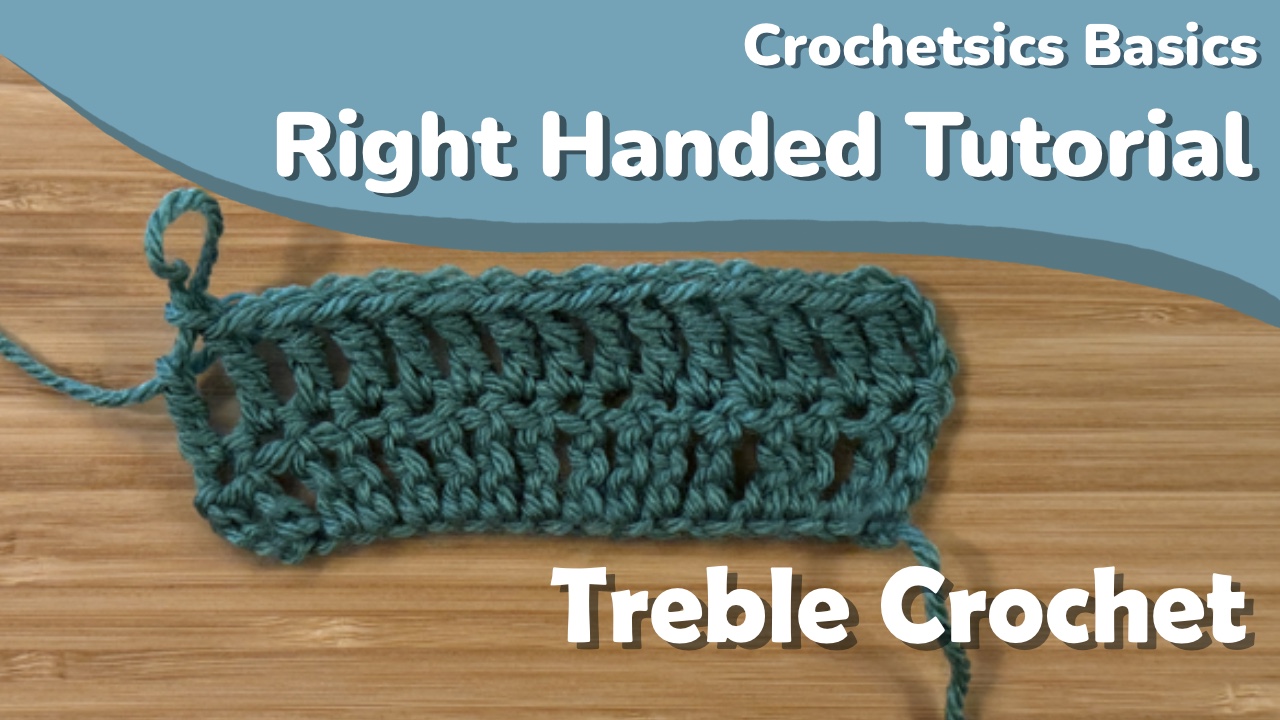
    Here’s what the treble crochet looks like:

    Stitch instructions

    The shorthand for treble crochets in a written pattern is tc.

    The chart symbol for treble crochets is

    Start by identifying the fifth chain from your hook which is indicated in the image below. This is one chain further than double crochet.

    Treble crochet starts similarly to double crochet, except it has two yarn overs before inserting your hook into the starting chain. So yarn over once, then yarn over again.

    Once you’ve yarned over twice, you’re going to want to insert your hook into the fifth chain from your hook that we identified earlier.

    We’ll then yarn over and pull that loop through the chain.

    You now have four loops on your hook.

    Yarn over again, and pull that loop through just two loops on your hook.

    You should have three loops left on your hook after this.

    You’ll now yarn over again, and pull that loop through two more loops on your hook.

    You’ll have two loops left on your hook.

    Finally, yarn over and pull that loop through both loops on your hook so you have a single loop left on your hook.

    That’s a treble crochet!

    Continue working one treble crochet in every chain until you get to the end of the chain.

    Continuing in rows

    To continue with rows in treble crochet, you’re going to make a turning chain of 4 and then turn your work.

    Now you can work treble crochets in the top of every stitch from the previous row. If you’re having trouble identifying the first stitch to work into, it’s marked in the image below:

    Tips/common issues

    If you’re having issues with this stitch, they’re likely similar to issues that may come up with half double crochet or double crochet.

    Trouble inserting your hook into the stitch after yarning over- This is even more difficult now that there are two yarn overs before inserting your hook. If you watch the gif, you can see that I’m holding the yarn overs with my index finger as I insert my hook into the stitch. This can help keep the loops on your hook as you insert it.

    Having trouble pulling through only two loops- This can be hard with this many loops on your hook. It’s really just an issue of practice and control-try and go slowly as you pull your hook through, making sure you’re not holding anything too tightly. It might be helpful to try and go through a single loop at a time rather than two in one pass.

    Our last stitch for the first half of the Crochetsics course is the slip stitch, and then we’ll start our first project! I’ll see you in the next post for the slip stitch.


  • Double Crochet – Left Handed

    Double Crochet – Left Handed

    In this post, we’ll cover how to do the double crochet stitch. If you’re right-handed, check that tutorial out here, or if you prefer a video tutorial check that out here.

    Before we get started, make sure you have a chain of about 15 or so, which you can learn how to do here.

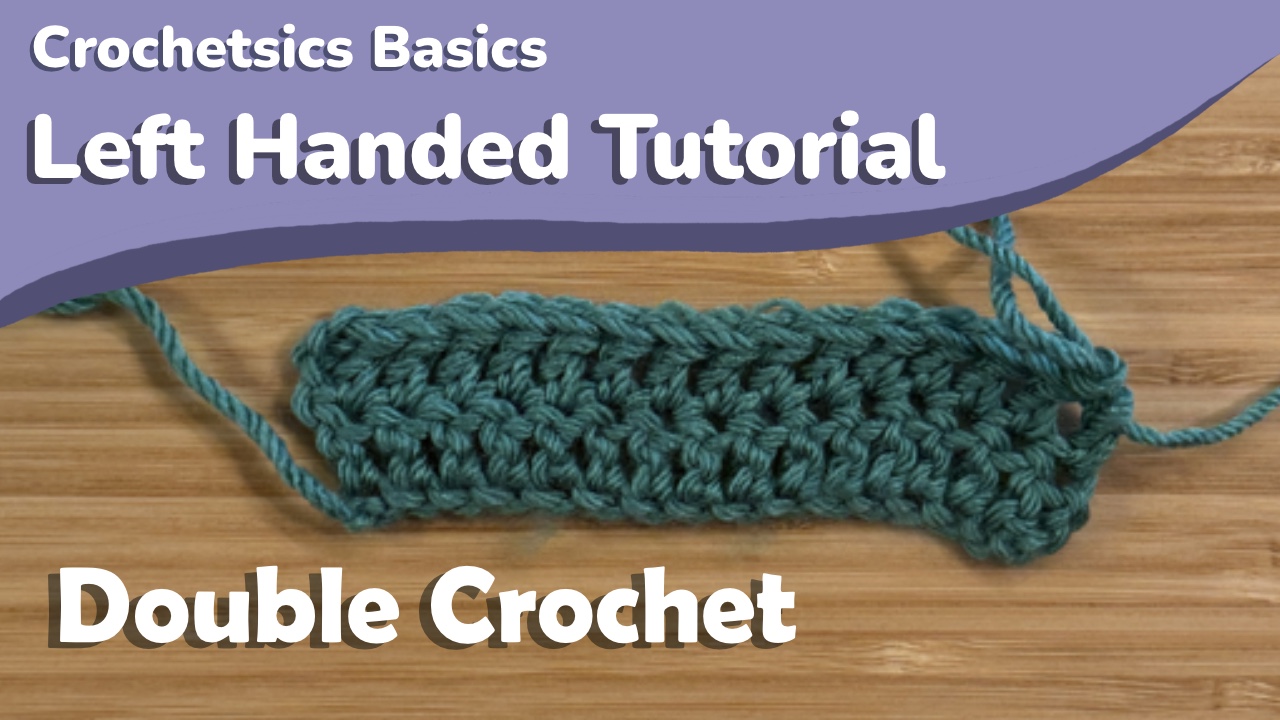
    Here’s what the double crochet looks like:

    Stitch instructions

    The shorthand for double crochets in a written pattern is dc.

    The chart symbol for double crochets is

    Start by identifying the fourth chain from your hook which is indicated in the image below. This is one chain further than half double crochet since double crochet is taller.

    Double crochet starts the same way as half double crochet, with a yarn over before inserting your hook into the starting chain.

    Once you’ve yarned over, you’re going to want to insert your hook into the fourth chain from your hook that we identified earlier

    We’ll then yarn over and pull that loop through the chain.

    You now have three loops on your hook.

    Yarn over again, and pull that loop through just two loops on your hook.

    You should have two loops left on your hook after this.

    You’ll now yarn over again, and pull that loop through both loops on your hook.

    You’ve completed a double crochet!

    Continue working one double crochet in every chain until you get to the end of the chain.

    Continuing in rows

    Continuing rows in double crochet works in the same way as half double and single crochet, but we’ll chain 3 for our turning chain.

    Now you can work double crochets in the top of every stitch from the previous row. If you’re having trouble identifying the first stitch to work into, it’s marked in the image below:

    Tips/common issues

    Some issues you may come across while trying to make this stitch are:

    Trouble inserting your hook into the stitch after yarning over- If you had issues with this in half double crochet, you probably still have that here. If you look at the gif, you can see that I use the index finger of my right hand to hold that loop as I put my hook into the chain.

    Having trouble pulling through only two loops- If you’ve been able to do single and half double crochet without major issues, then this is just one of practice. You might be holding your tension too tight or too loose. I also tend to use my index finger on some loops on my hook to help control how far my hook moves or what loops move, so that may help you. You can see that in the gif above or in the video tutorial (here).

    The next stitch is one that doesn’t come up all too often in my experience, but is still important- the treble crochet. I’ll see you there when you’re ready!