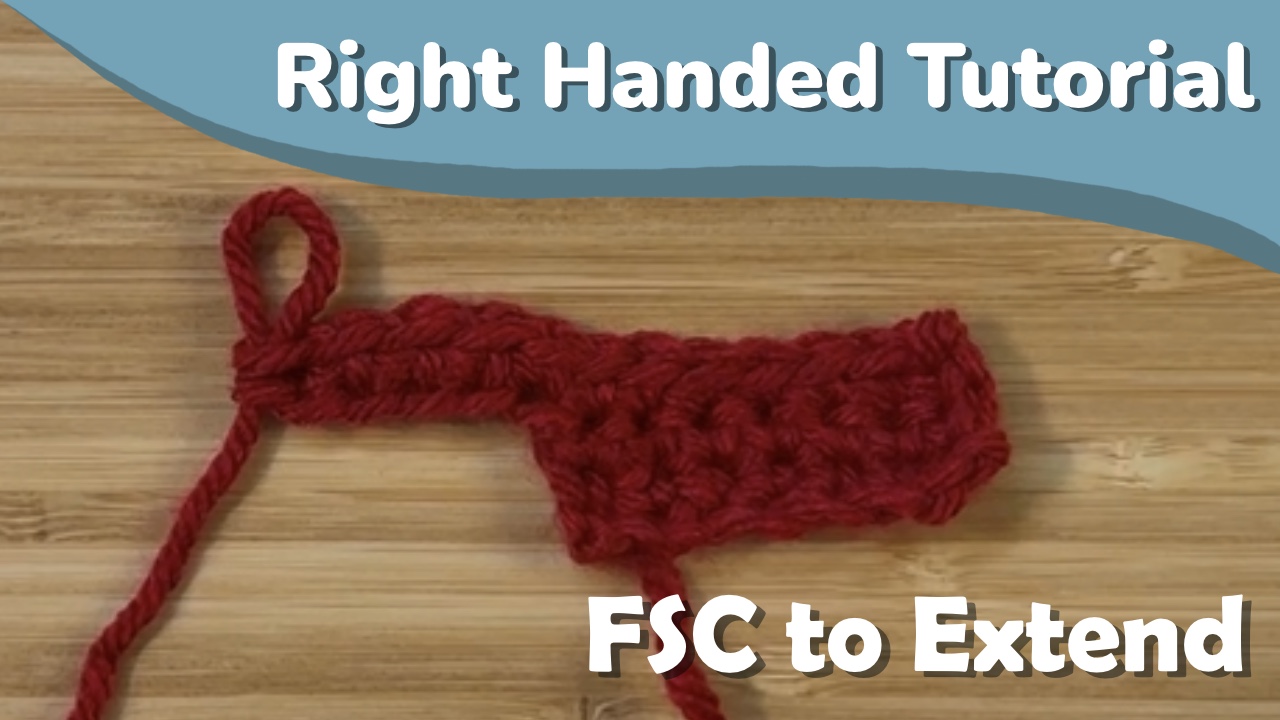
In this post, we’ll cover how to use a foundation single crochet (fsc) to extend an existing crochet piece. This is great for creating 90° corners on flat pieces, or creating branching in a 3D piece.
If you aren’t familiar with foundation single crochets, you can find a tutorial for them here.
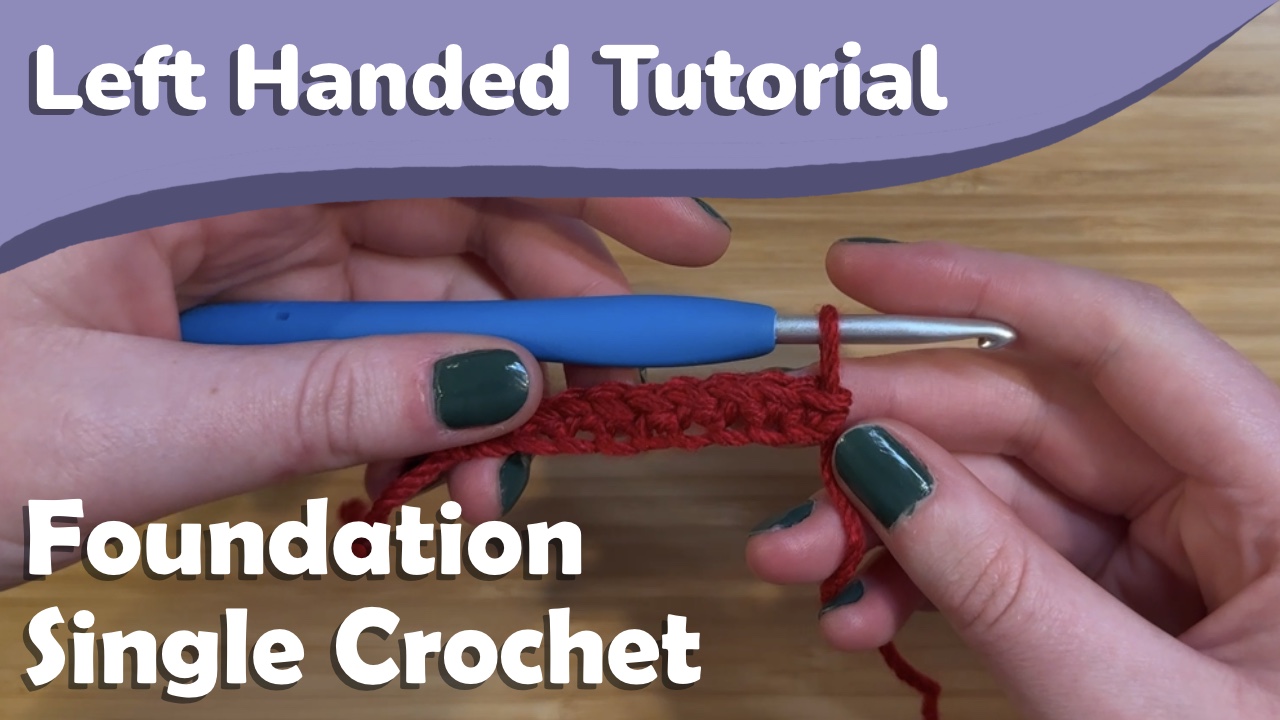
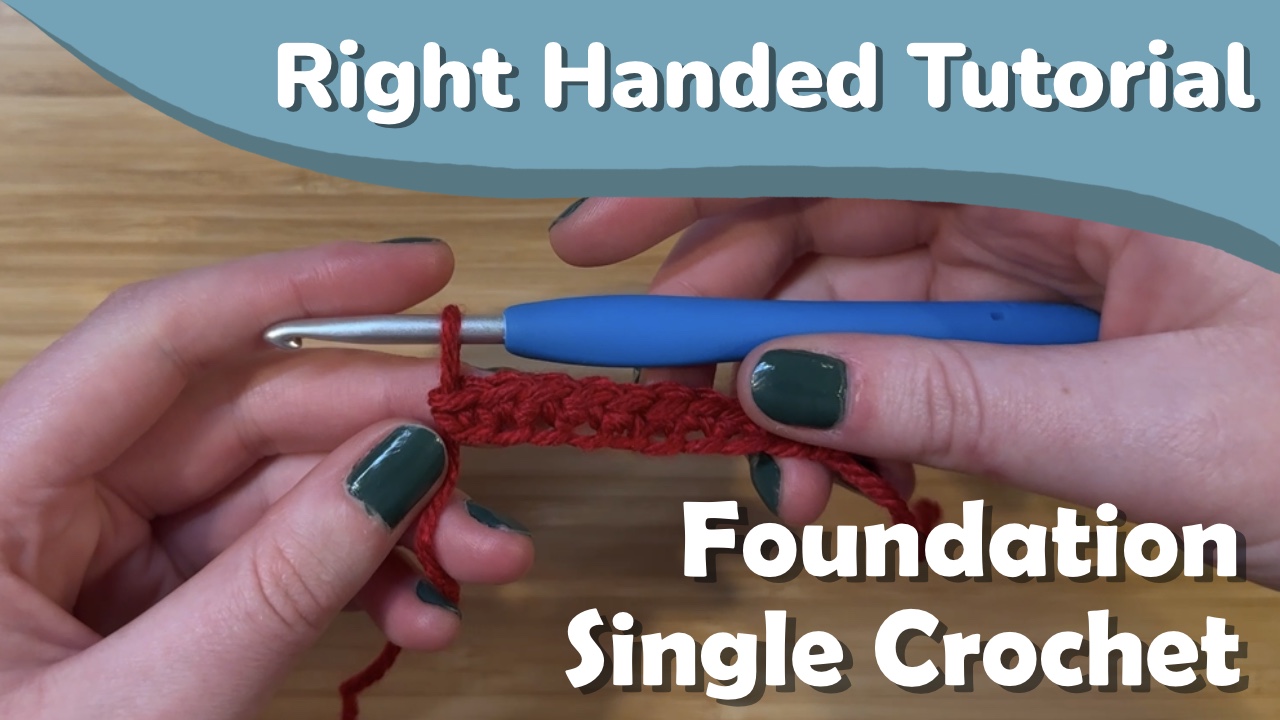
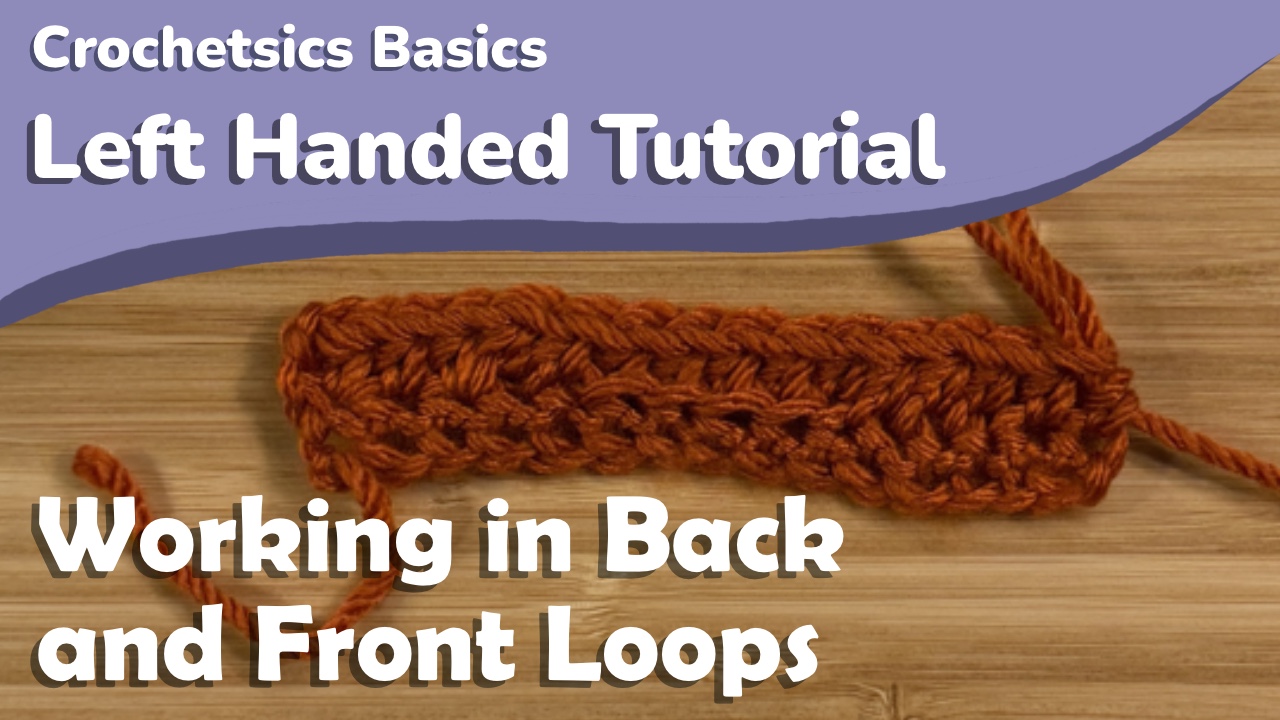
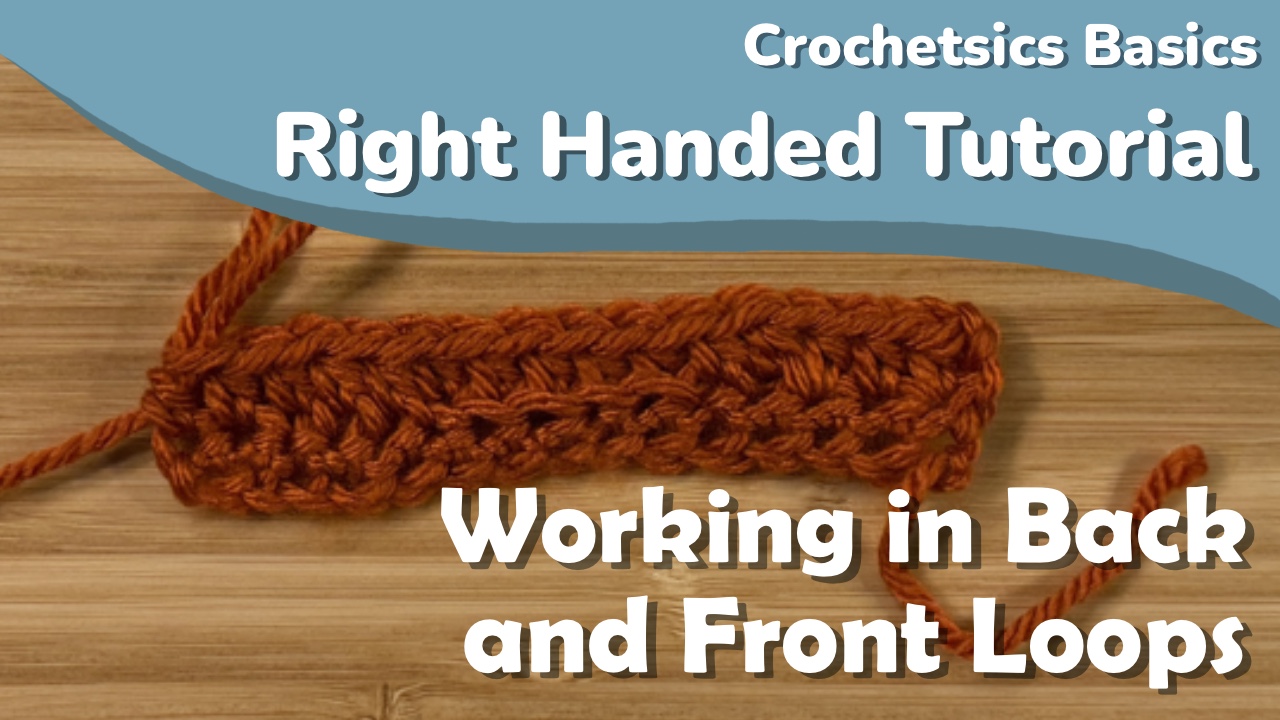
If you prefer a video tutorial, you can find that here, and if you’re left handed you can find that tutorial here.
Working into an existing piece
The foundation single crochet is worked the same as normal, but the difference is where we begin the stitch. We aren’t working into a chain or into another foundation stitch, since we already have a piece we’re working on.
To extend a piece with foundation single crochet at the end of a row, you’ll insert your hook back into the last stitch and pull up a loop, as if you’re doing an increase


Now, you’ll yarn over and pull through just one loop on your hook.


Then you’ll yarn over and pull through both loops.


That point where we pull a loop through just one loop on our hook is essentially creating a chain at the bottom of the current row we’re working into. This keeps the fsc’s we’re using to extend this piece in line with the existing row. If we were to chain at the end of this row and work back, we’d be extending on the other side of our row. Using a chain at the start of a row and fsc’s at the end can allow you to make more of a T shape in your piece, with the chain and fsc’s keeping all stitches in line.